224
Print settings
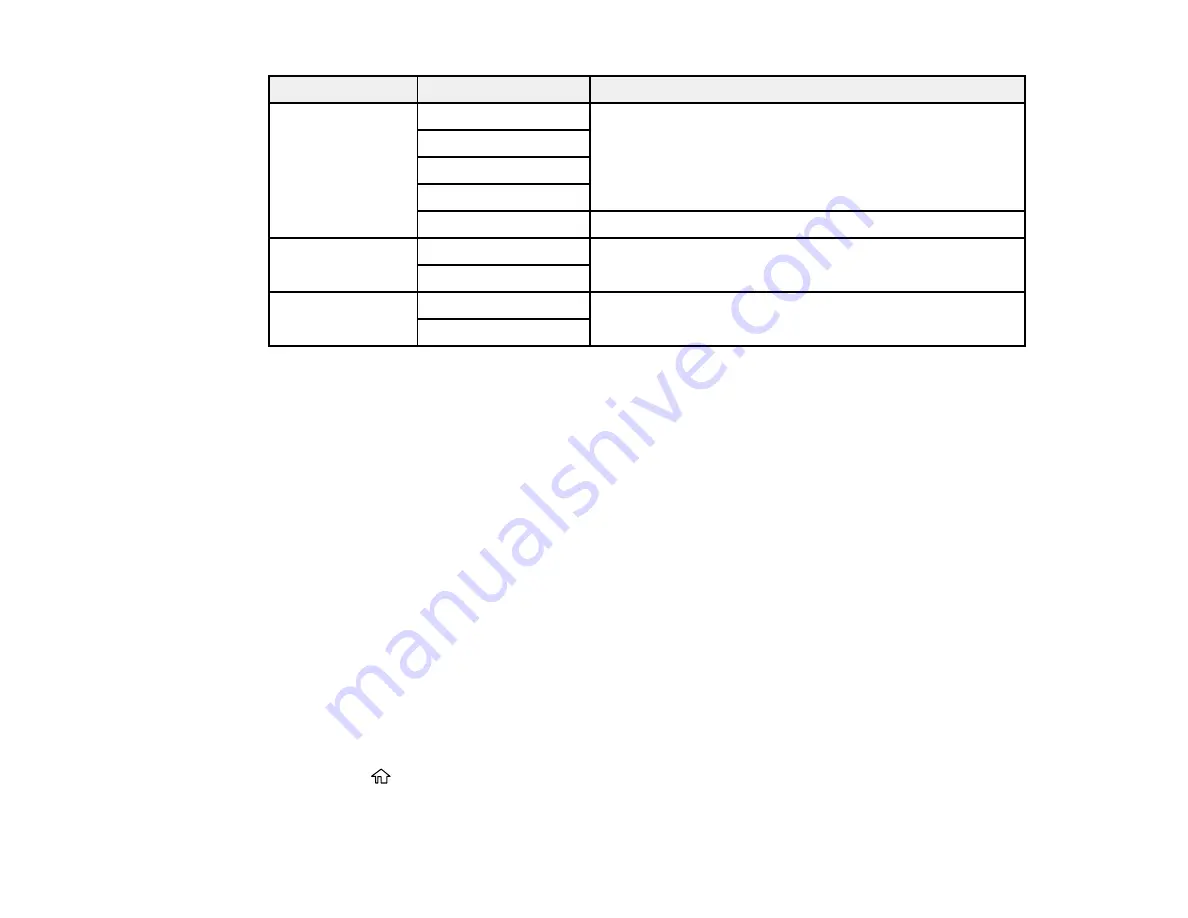
Available options
Description
Fix Photo
Auto
Automatically adjusts the brightness, contrast, and
saturation of the photo based on the setting that is
selected
People
Landscape
Night Scene
Enhance Off
Turns off automatic adjustments; see
Note
below
Fix Red-Eye
On
Automatically fixes the red-eye effect in photos
Off
Print Order
Last Page on Top
Select the order for printing multi-page TIFF files
First Page on Top
Note: Fix Photo
uses a sophisticated face recognition technology to optimize photos that include faces.
For this to work, both eyes and the nose must be visible in the subject's face. If your photo includes a
face with an intentional color cast, such as a statue, you may want to turn off
Fix Photo
to retain the
special color effects.
Parent topic:
Viewing and Printing from the LCD Screen
Transferring Files on a USB Device
You can transfer files to and from a USB device inserted into the USB port on the front of your product.
Setting Up File Sharing for File Transfers from Your Computer
Transferring Files from a USB Device to Your Computer
Parent topic:
Using External USB Devices with Your Product
Setting Up File Sharing for File Transfers from Your Computer
Before you transfer files from a computer to a USB device inserted into the USB port on the front of your
product, you may need to set up your product's file sharing settings.
Caution:
Remove the USB device before you change this setting or you may lose data from the device.
1.
Press the
home button, if necessary.
2.
Select
Settings
>
General Settings
>
Printer Settings
>
Memory Device Interface
.
Summary of Contents for WF-7710 series
Page 1: ...WF 7710 WF 7720 User s Guide ...
Page 2: ......
Page 67: ...67 3 Slide the edge guides outward 4 Slide the edge guide to your paper size ...
Page 76: ...76 3 Open the rear paper feed slot and push it back 4 Slide out the edge guides ...
Page 94: ...94 4 Slide the ADF edge guide against the originals but not too tightly ...
Page 152: ...152 You see an Epson Scan 2 window like this ...
Page 154: ...154 You see an Epson Scan 2 window like this ...
Page 156: ...156 1 Start Epson Scan 2 You see this window ...
Page 167: ...167 DSL connection 1 Telephone wall jack 2 DSL filter 3 DSL modem ...
Page 168: ...168 ISDN connection 1 ISDN wall jack 2 Terminal adapter or ISDN router ...
Page 248: ...248 You see a window like this 5 Click Print ...
Page 286: ...286 Front 6 Open the duplexer ...
Page 287: ...287 7 Carefully remove any jammed paper stuck inside 8 Reinstall the duplexer ...


