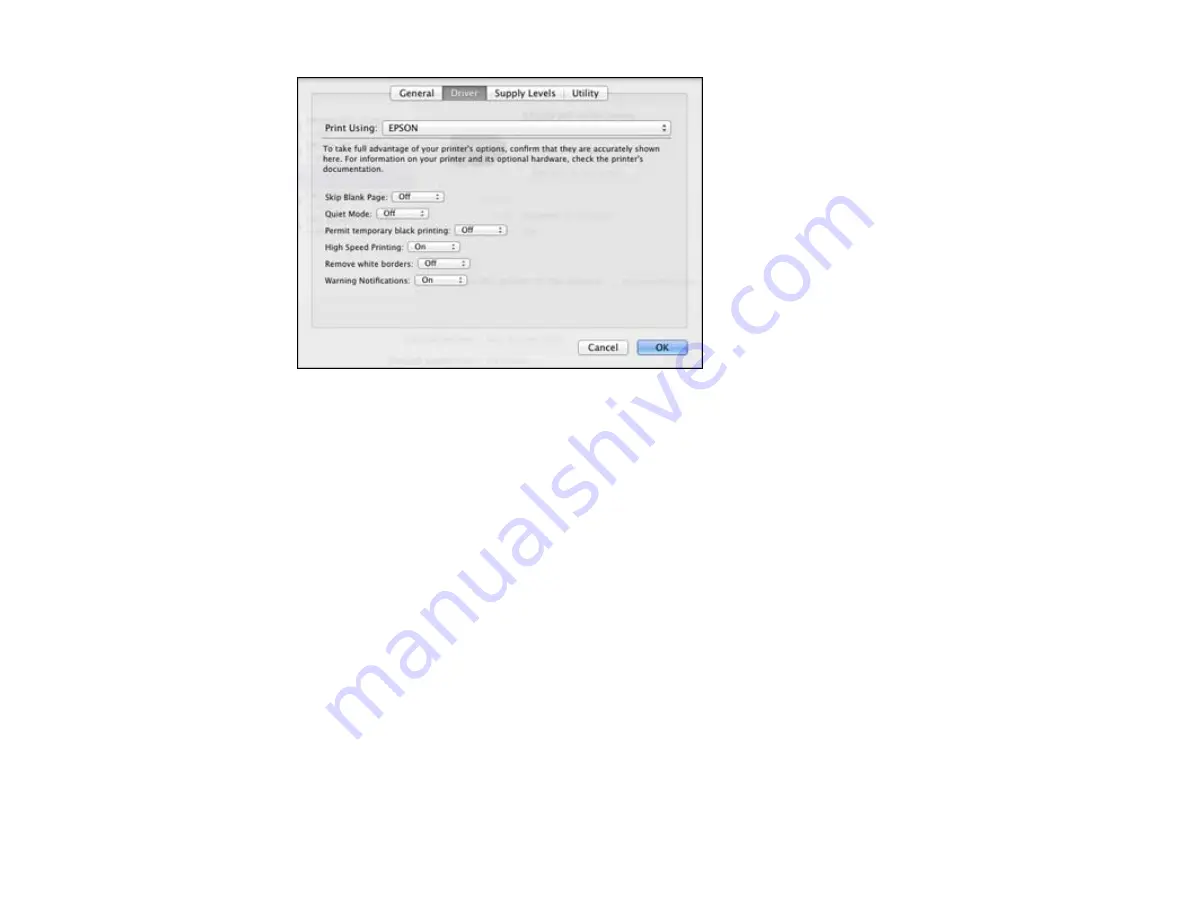
6.
Select
On
as the
Permit temporary black printing
setting.
7.
Click
OK
.
8.
Close the utility window.
9.
Load plain paper or an envelope in your product.
10. Access the print settings in your print application.
11. Select
Print Settings
from the pop-up menu.
12. Select
Plain Paper/Bright White Paper
or
Envelope
as the paper type setting.
13. Select the
Grayscale
option.
14. Click
to print your document.
Parent topic:
Printing With Black Ink and Expended Color Cartridges
Conserving Low Black Ink with Windows
The following window appears when black ink runs low and there is more color ink.
86
Summary of Contents for WF-3012
Page 1: ...WF 3012 User s Guide ...
Page 2: ......
Page 8: ......
Page 9: ...WF 3012 User s Guide Welcome to the WF 3012 User s Guide 9 ...
Page 19: ...4 Slide the edge guide to your paper size 19 ...
Page 23: ...2 Pull out the paper cassette 3 Slide the edge guides outward 23 ...
Page 27: ...1 Close the paper stopper and output tray if necessary 2 Pull out the paper cassette 27 ...
Page 40: ...Parent topic Loading Paper 40 ...
Page 94: ...94 ...
Page 117: ...117 ...
Page 122: ...4 If paper is jammed in the duplexer remove the paper as shown 122 ...
Page 123: ...5 If necessary open the duplexer then carefully remove the jammed paper 123 ...


