


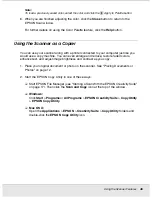


Using the Scanner Features
45
PROJS.FM (A4 size) Rev.C
R4CJ350
User’s Guide
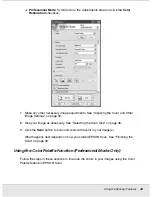
6. When you are finished adjusting the color, click the
Close
button to return to the
EPSON Scan window.
For further details on using the Color Palette feature, click the
Help
button.
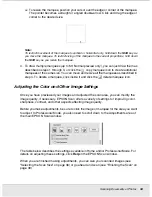
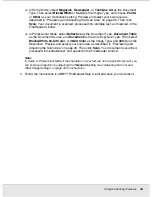
Applying a Color to an Image
1. If necessary, click the
Preview
button to preview your image. Then click the
Color
Palette button.
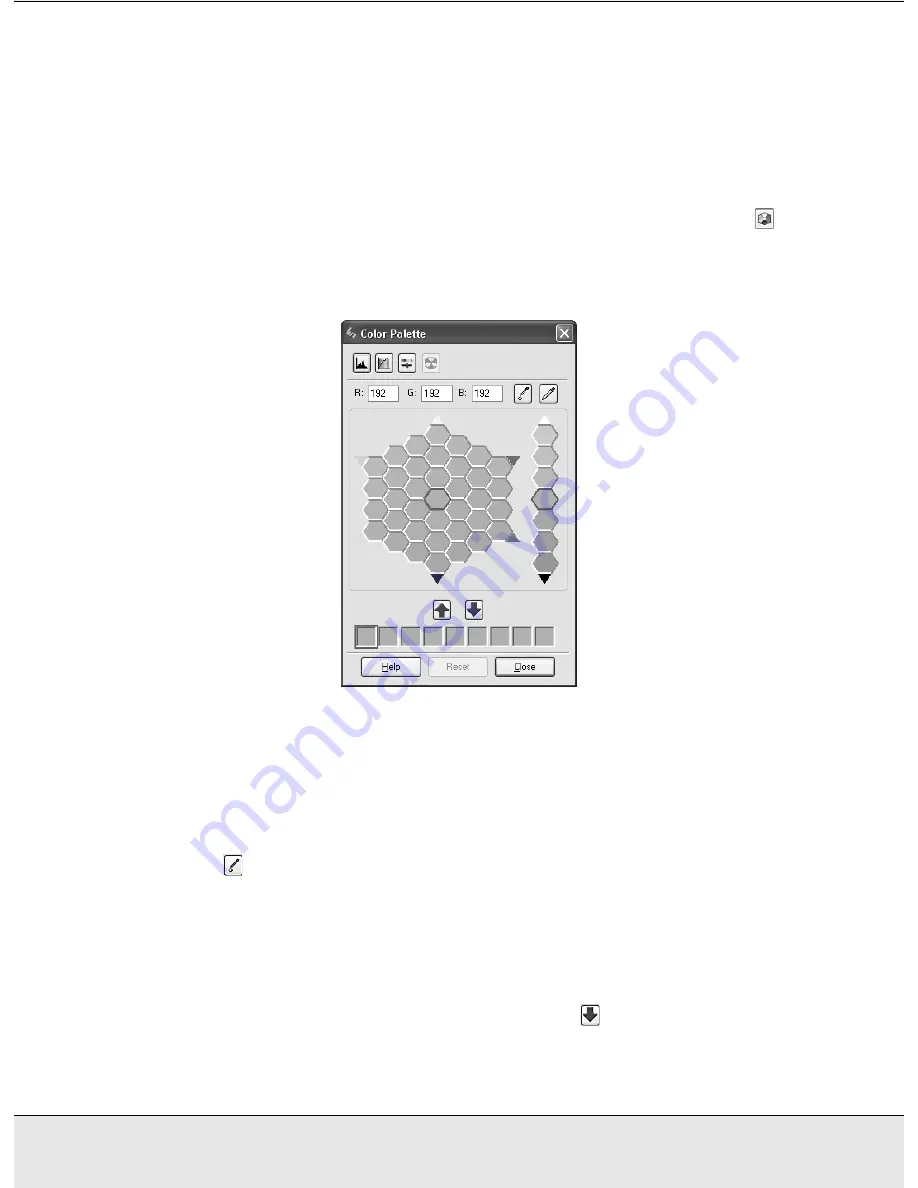
The Color Palette window appears:
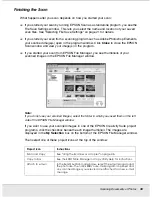
2. Select the cell that contains the hue you would like to use to adjust the color in your
image. This color now becomes the color of the center cell.
Note:
You can also use the cells to the right of the adjustment area to change the brightness, if
necessary.
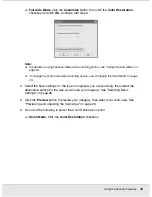
3. Click the
Color Applicator button. Your cursor changes to a droplet.
4. In the Preview window, click on the color in your image that needs adjustment. The
color change is reflected in your image.
5. If you want to continue adjusting the color, repeat steps 2 through 4.
If you want to save the color for future scans, click the
Save Button. The color
appears in the save area.


