EPSON Stylus Photo R1800/R2400
Revision B
Troubleshooting
Overview
66
The printout is
stained with ink.
Ink smudges appear on the
blank area of the printout.
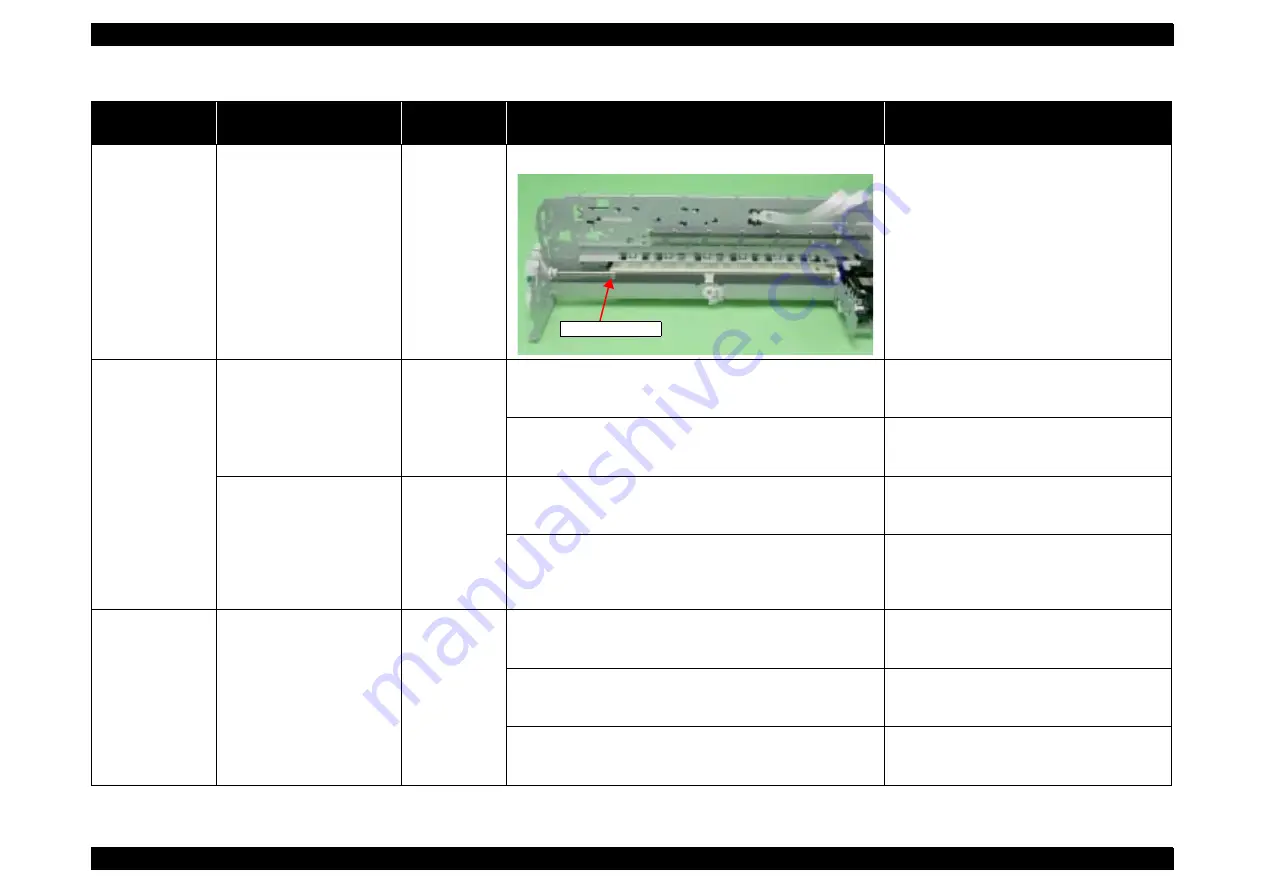
PF Roller Shaft
1. Check the PF Roller Shaft for ink stain.
1. Clean the PF Roller Shaft with a soft cloth.
The printout is
grainy.
Images are printed grainy in
all print modes. Or the image
looks rough.
Adjustment
Main Board
Print Head
1. Check that PG, Bi-D and Head Angular Adjustments have
been made properly.
1. Make the adjustments according to the
specified adjustment priority.
Refer to Chapter 5
2. Print the adjustment check patterns and check if they are
grainy.
2. If the images look still grainy after
adjustment, replace the Main Board with a
new one.
When printed at 5760 dpi, the
printed images are poor or
grainy.
Adjustment
Main Board
Print Head
1. After making sure that PG, Bi-D and Head Angular
Adjustments have been made correctly, check whether
PW Sensor has been adjusted properly.
1. Make the adjustment according to the
specified adjustment priority.
Refer to Chapter 5
2. Print the adjustment check patterns and check if the
printed images are still poor or grainy.
2. If the image quality does not improve after
the adjustment, replace the Print Head and
Main Board in this order, and check the
image graininess.
Regarding hue of
images
The whole image is reddish.
Adjustment
Print Head
1. Check if the PG has been adjusted properly.
1. Make the adjustment according to the
specified adjustment priority.
Refer to Chapter 5
2. Check that Bi-D and Head Angular Adjustments have been
made properly.
2. Make the adjustments according to the
specified adjustment priority.
Refer to Chapter 5
3. Print the adjustment check patterns and check the image
color.
3. If the image color does not change after
adjustment, replace the Print Head with a
new one.
Table 3-13. Print Quality Troubles
Observed Faults
Details of the Fault
Faulty Part/
Part Name
Check Point
Remedy
PF Roller Shaft
Summary of Contents for R1800 - Stylus Photo Color Inkjet Printer
Page 8: ...C H A P T E R 1 PRODUCTDESCRIPTION ...
Page 15: ...C H A P T E R 2 OPERATINGPRINCIPLES ...
Page 35: ...C H A P T E R 3 TROUBLESHOOTING ...
Page 68: ...C H A P T E R 4 DISASSEMBLYANDASSEMBLY ...
Page 128: ...C H A P T E R 5 ADJUSTMENT ...
Page 172: ...C H A P T E R 6 MAINTENANCE ...
Page 181: ...C H A P T E R 7 APPENDIX ...
Page 196: ...EPSON Stylus Photo R1800 R2400 Revision B Appendix Circuit Diagram 196 C589 PNL circuit board ...
Page 198: ...C H A P T E R 8 STYLUSPHOTOR2400 ...


