65
4.
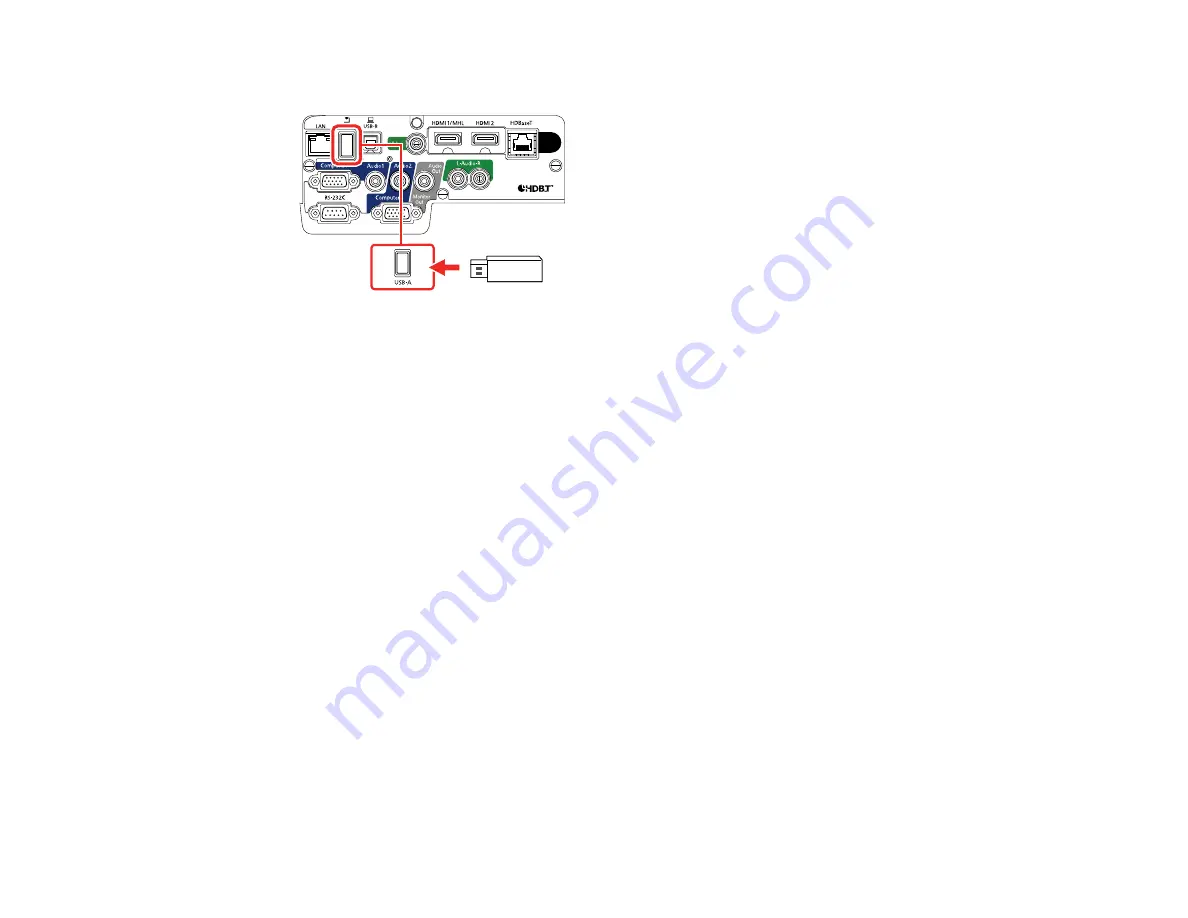
Insert the USB key into the projector's
USB-A
port.
You see a projected message that the network information update is complete.
5.
Remove the USB key.
6.
Reinsert the wireless LAN module into the projector (PowerLite 2040/2140W).
7.
Insert the USB key into a USB port on your computer.
Note:
In Windows Vista, if you see the AutoPlay window, select
Run MPPLaunch.exe
, then select
Allow
on the next screen.
8.
Follow the on-screen instructions to install the EasyMP Multi PC Projection software.
Note:
If you see a Windows Firewall message, click
Yes
to disable the firewall. You need
administrator authority to install the software. If it is not installed automatically, double-click
MPPLaunch.exe
in the USB key.
After a few minutes, your computer image is displayed by the projector. If it does not appear, press
the
LAN
or
Source Search
button on your remote control or restart your computer.
9.
Run your presentation as necessary.
10. When you finish projecting wirelessly, select the
Safely Remove Hardware
option in the Windows
taskbar, then remove the USB key from your computer.
Note:
You can share the USB key with other computers without disconnecting your computer. You
may need to restart your computer to reactivate your wireless LAN connection.
Summary of Contents for PowerLite Home Cinema 2040
Page 1: ...PowerLite 975W 2040 2055 2065 2140W 2155W 2165W 2245U 2250U 2255U 2265U User s Guide ...
Page 2: ......
Page 10: ......
Page 20: ...20 Projector Parts Front Top PowerLite 2040 2140W ...
Page 21: ...21 PowerLite 975W 2055 2065 2155W 2165W ...
Page 27: ...27 Projector Parts Remote Control 1 Power button ...
Page 51: ...51 1 Remove the battery cover 2 Insert the batteries with the and ends facing as shown ...
Page 178: ...178 PowerLite 2040 2140W ...
Page 184: ...184 PowerLite 2040 2140W 9 Replace the lamp cover and tighten the screw to secure it ...


