137
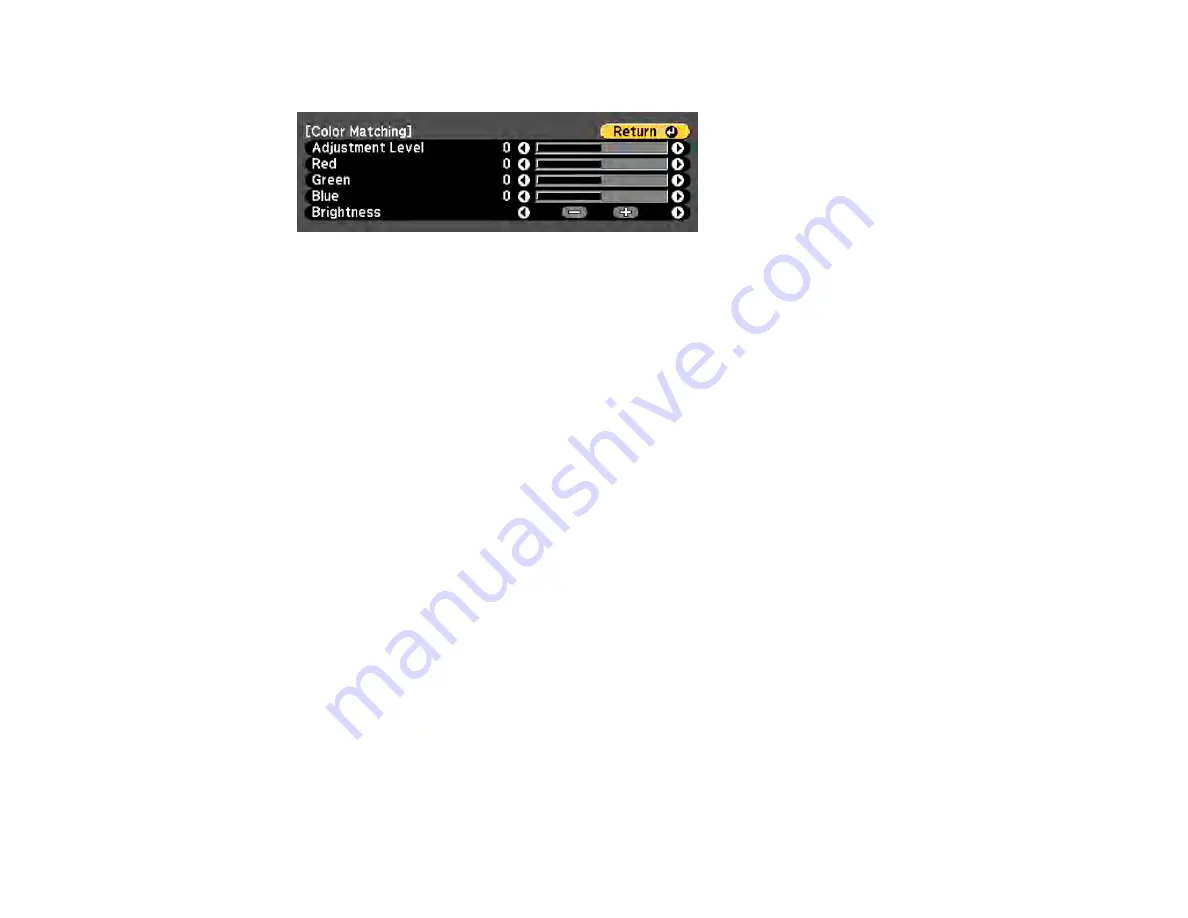
You see this screen:
Note:
Press
Enter
to toggle between the projected image and the adjustment screen.
5.
Set the
Adjustment Level
setting to
1
and press
Enter
.
6.
Set the remote control ID to match the second projector.
7.
Access the Extended menu
Color Matching
setting on the second projector and set the
Adjustment Level
setting to
1
.
8.
Adjust the color tone settings for
Red
,
Green
, and
Blue
on both projectors in the same way.
9.
Adjust the
Brightness
setting on the projector with the darkest display so it matches the lighter
display, and press
Enter
. (You may need to switch the remote control ID back and forth to make
adjustments to each projector in all of these steps.)
10. Change the
Adjustment Level
setting to
5
on each projector, but this time match the lighter display
to the darker one.
11. Adjust the
Brightness
setting on
Adjustment Level 2
,
3
, and
4
in the same way.
12. If you need to match more projectors, repeat these steps matching projector 3 to projector 2, 4 to 3,
and so on.
Parent topic:
Projector Identification System for Multiple Projector Control
Summary of Contents for PowerLite Home Cinema 2040
Page 1: ...PowerLite 975W 2040 2055 2065 2140W 2155W 2165W 2245U 2250U 2255U 2265U User s Guide ...
Page 2: ......
Page 10: ......
Page 20: ...20 Projector Parts Front Top PowerLite 2040 2140W ...
Page 21: ...21 PowerLite 975W 2055 2065 2155W 2165W ...
Page 27: ...27 Projector Parts Remote Control 1 Power button ...
Page 51: ...51 1 Remove the battery cover 2 Insert the batteries with the and ends facing as shown ...
Page 178: ...178 PowerLite 2040 2140W ...
Page 184: ...184 PowerLite 2040 2140W 9 Replace the lamp cover and tighten the screw to secure it ...


