


35
You can also press
Menu
to adjust settings if necessary. See Doing More With
Your Photos for details.
2. Press
to print your pre-selected photos.
Note:
If your camera supports PictBridge or USB DIRECT-PRINT printing, you can
connect it to PictureMate Pal and use the camera to control printing. See Printing
From a Digital Camera for more information.
Doing More With Your Photos
By pressing the
Menu
or
Layout
button, you can select print options as follows:
Printing Photos in Black and White or Sepia
Including the Date on Your Print
Note:
These features do not change your original digital photo file; they affect
only your prints.
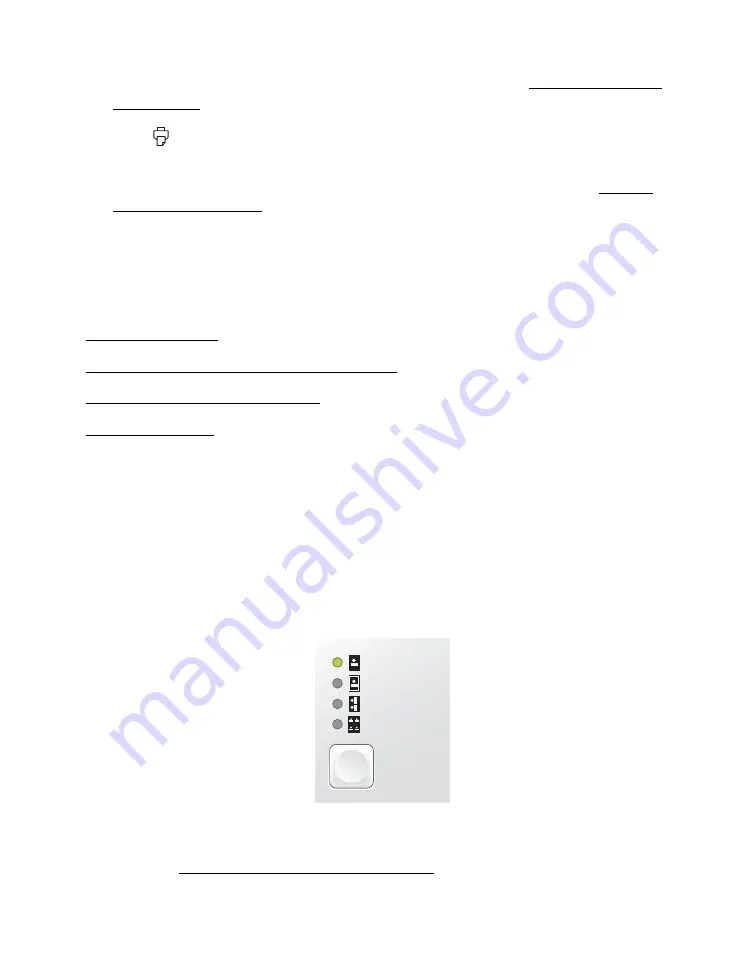
Choosing a Layout
Press the
Layout
button to print your photos at the full 4 × 6-inch
(101.6 × 152.4-mm) size—with or without borders—or print 2 wallet or 4
mini-wallet size photos per sheet.
Note:
If you selected
Español 1
,
Español 2
, or
Español 3
as the Language
setting, the layout and size of photos using the
Wallet
and
Mini-wallet
settings
vary. See Selecting a Language and Print Layout for details.
Borderless
Border
Wallet
Mini-wallet
Layout
Summary of Contents for PictureMate Pal
Page 6: ...6 ...
Page 8: ...8 2 Open the paper support 3 Firmly press the Open button to open the output tray ...
Page 26: ...26 ...
Page 46: ...46 ...
Page 98: ...98 2006 Epson America Inc 7 06 ...
Page 99: ...1 ...


