


37
The color effect you select will be applied to all photos until you go back to the
Color Effect menu and select a different setting.
5. Press
OK
. You see your photo with the color effect you selected.
6. Press
Layout
to select the layout of your photos on the paper.
7. Press
.
8. Press or to review your selected photos on the Print Preview screen.
9. Press
to start printing.
Including the Date on Your Print
You can include the date your photo was originally taken on the corner of your print.
Note:
The date comes from your camera, not from the printer. If the date is
incorrect, adjust the date setting on your camera. The date does not appear on
photos printed using the Mini-wallet layout setting.
1. Select the photos and number of copies you want to print.
2. Press
Menu
.
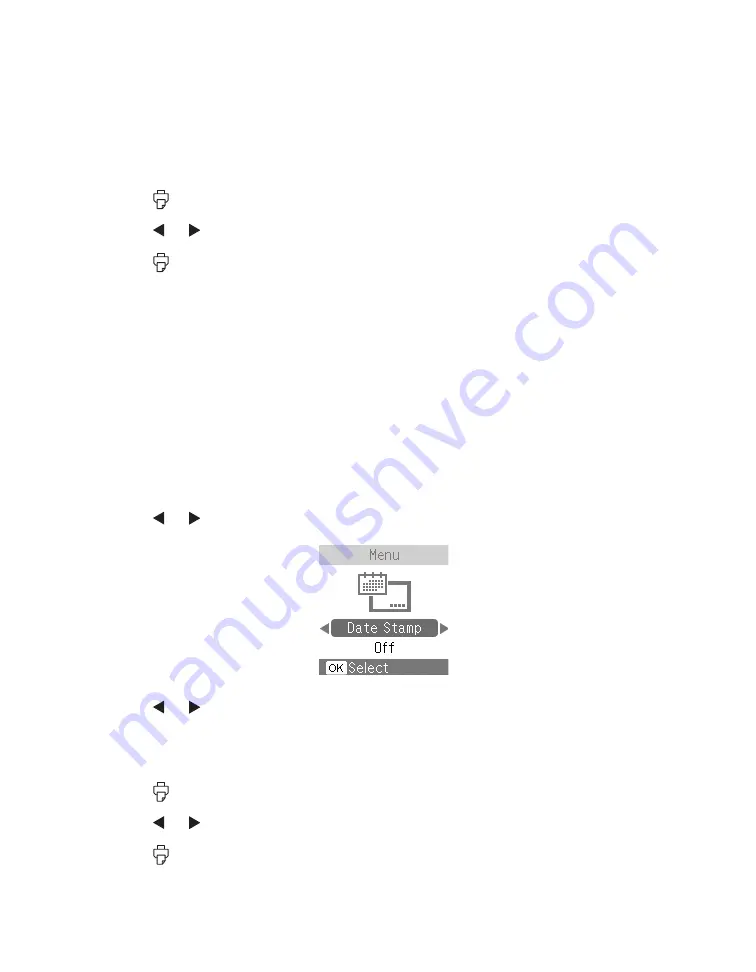
3. Press or to highlight
Date Stamp
and press
OK
.
4. Press or to select
On
and press
OK
. You see your photo and number of
copies.
5. Press
Layout
to select the layout of your photos on the paper.
6. Press
.
7. Press or to review your selected photos on the Print Preview screen.
8. Press
to start printing.
Summary of Contents for PictureMate Pal
Page 6: ...6 ...
Page 8: ...8 2 Open the paper support 3 Firmly press the Open button to open the output tray ...
Page 26: ...26 ...
Page 46: ...46 ...
Page 98: ...98 2006 Epson America Inc 7 06 ...
Page 99: ...1 ...