


Creating DPOF Files for Processing
15-7
A
B
15
3
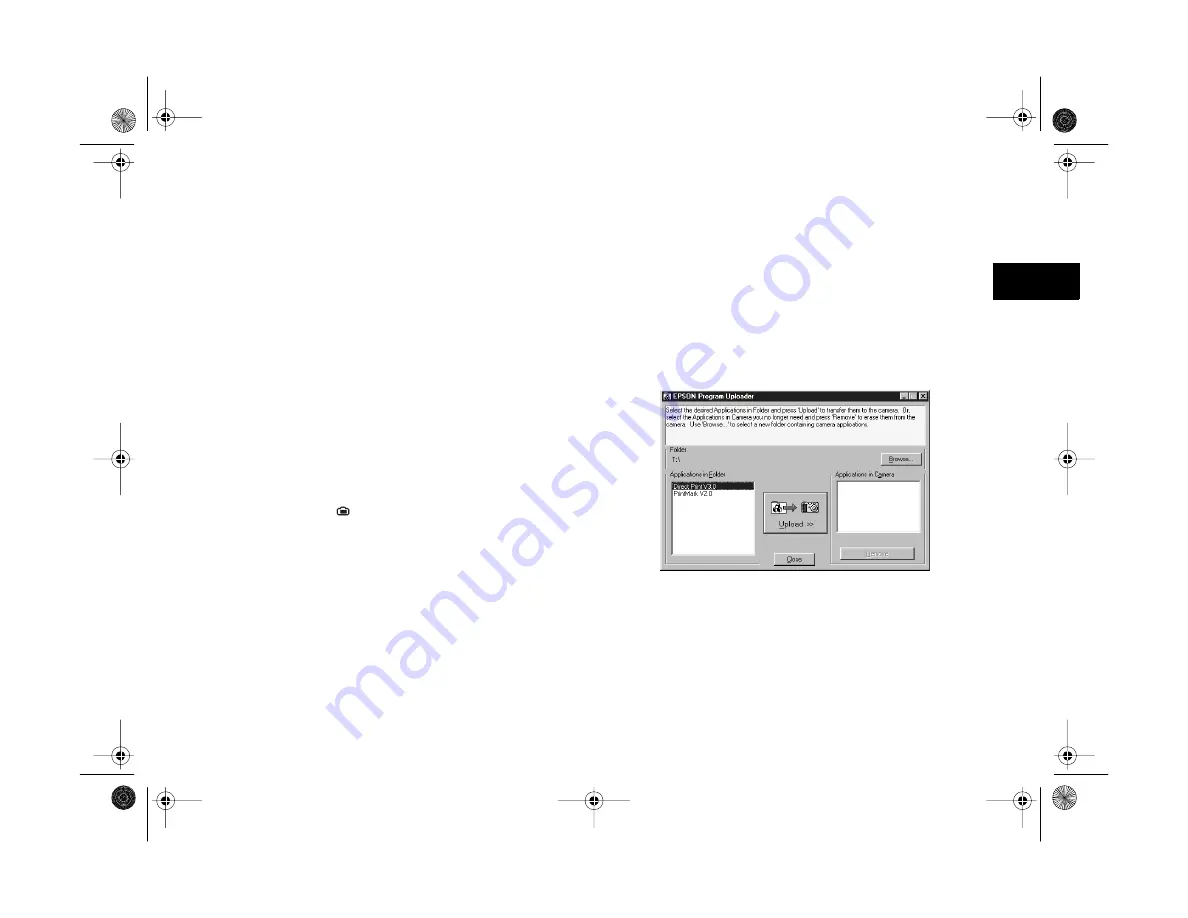
Select
PrintMark V2.0
in the
Applications in
Camera
listbox.
4
Click
Remove
. You see a confirmation message asking
if you’re sure you want to remove it.
5
Click
Yes
to remove the program, or
No
to cancel.
Then click
Close
to exit Program Uploader.
Reinstalling the Print Mark Program
Follow these steps to reinstall the Print Mark program to
your camera:
1
Connect the camera to your computer and turn the
camera’s dial to .
2
Insert your PhotoPC 850Z CD-ROM in your drive. If
the install program starts automatically, exit the
program.
3
Start EPSON Program Uploader:
◗
Under Windows, click
Start
, then point to
Programs
,
EPSON Photo!3
,
EPSON Program
Uploader
.
◗
On a Macintosh, double-click the
EPSON
Program Uploader
icon in the EPSON Photo!3
folder.
You see a screen similar to the following:
4
Click
Browse
to navigate to the root directory of your
CD-ROM drive.
5
Select
PrintMark V2.0
in the
Applications in Folder
listbox.
Vega.book Page 7 Monday, September 13, 1999 11:36 AM
Summary of Contents for PhotoPC 850Z
Page 1: ......
Page 2: ...A B User s Guide Vega book Page i Monday September 13 1999 11 36 AM ...
Page 31: ...1 18 Setting Up Your Camera and Software Vega book Page 18 Monday September 13 1999 11 36 AM ...
Page 51: ...2 20 Taking Pictures Vega book Page 20 Monday September 13 1999 11 36 AM ...
Page 59: ...3 8 Setting Up Special Shots Vega book Page 8 Monday September 13 1999 11 36 AM ...
Page 121: ...8 16 Getting Photos Into Your Computer Vega book Page 16 Monday September 13 1999 11 36 AM ...
Page 155: ...11 10 Editing Images Vega book Page 10 Monday September 13 1999 11 36 AM ...
Page 215: ...16 14 Maintenance and Troubleshooting Vega book Page 14 Monday September 13 1999 11 36 AM ...
Page 231: ...B 8 Specifications Vega book Page 8 Monday September 13 1999 11 36 AM ...


