


Connecting the Scanner Using the SCSI Interface (for Windows Only)
90
GT-20000
User’s Guide
Note:
The combination of connectors on the SCSI interface cable you need varies depending on the
maker of your SCSI device and SCSI interface board.
1. Make sure the scanner, computer, and all other SCSI devices are turned off as damage
may occur.
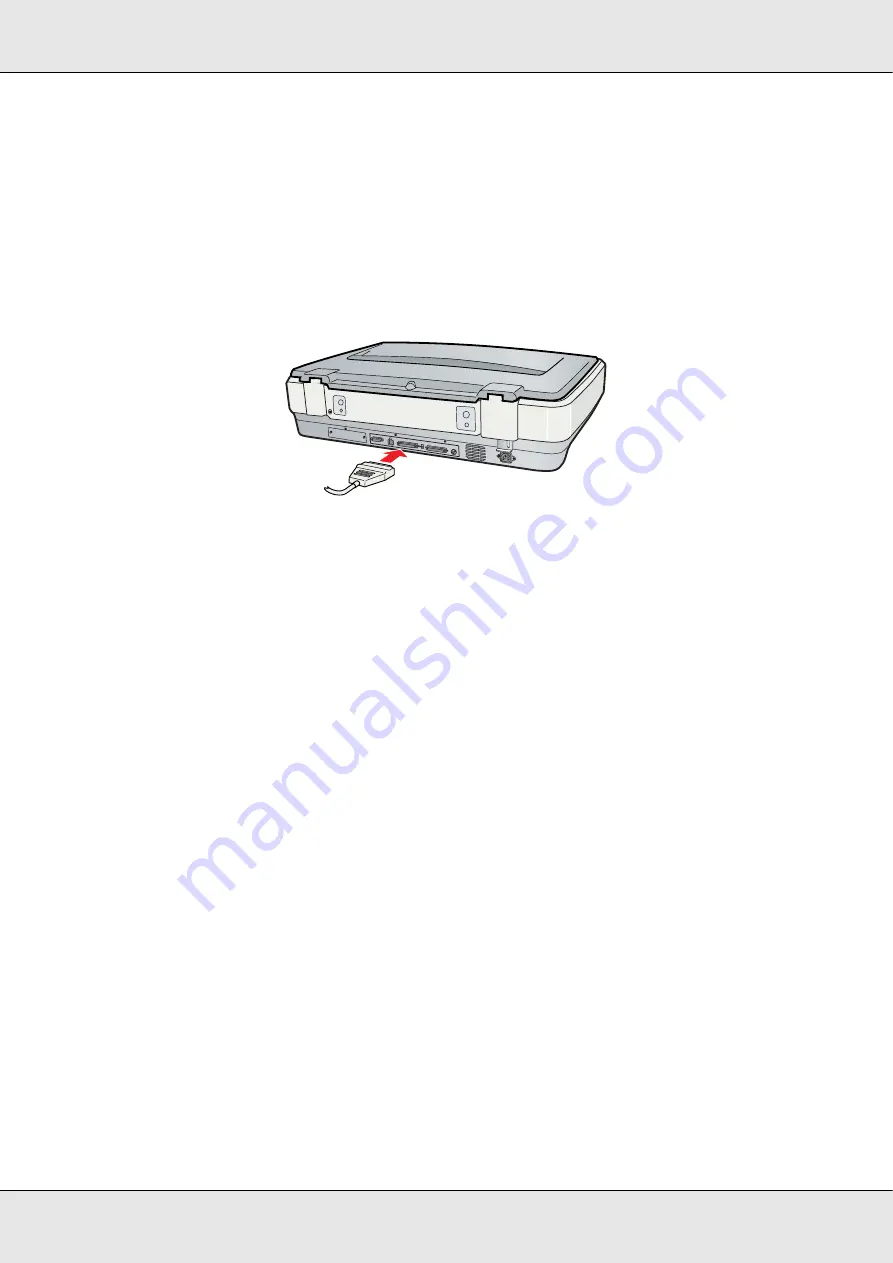
2. Connect one end of the interface cable to one of the scanner SCSI connectors until the
locks on both sides snap in.
3. Connect the other end of the cable to the SCSI port of your computer or another SCSI
device.
4. Plug in the power cords of your computer, scanner and other external SCSI devices.
Before turning on your system, be sure to read “Power-on sequence” on page 90.
Power-on sequence
Keep the following in mind every time you turn on your computer and SCSI devices,
including the scanner. Be sure to turn on the SCSI device which is connected at the
farthest end of the daisy chain first, then the second farthest and so on, until finally your
computer. If you attempt to use a SCSI device which has been turned on after the
computer, it may not work properly, or the computer may not work properly.
Power-off sequence
Keep the following in mind every time you turn off your computer and SCSI devices,
including the scanner.
❏
When you are finished using your system, turn off your computer first, then the scanner
and other SCSI devices.
❏
While using your computer, do not turn off any SCSI device which has a terminator that
is active (
On
).
❏
Do not turn the scanner off and back on while using your computer, otherwise the
scanner may not work properly.


