169
• Press the
OK
button to enlarge a thumbnail image. To select an image for print, press the
+
or
–
button. Press the left or right arrow button to scroll through and select additional photos.
• To select all photos or a group of photos, select the
menu icon. Use the menu options to
browse, select, and change the display order of the photos.
10. Select
Preview and Print
.
11. Press the right or left arrow button to scroll through the photos you selected, if necessary.
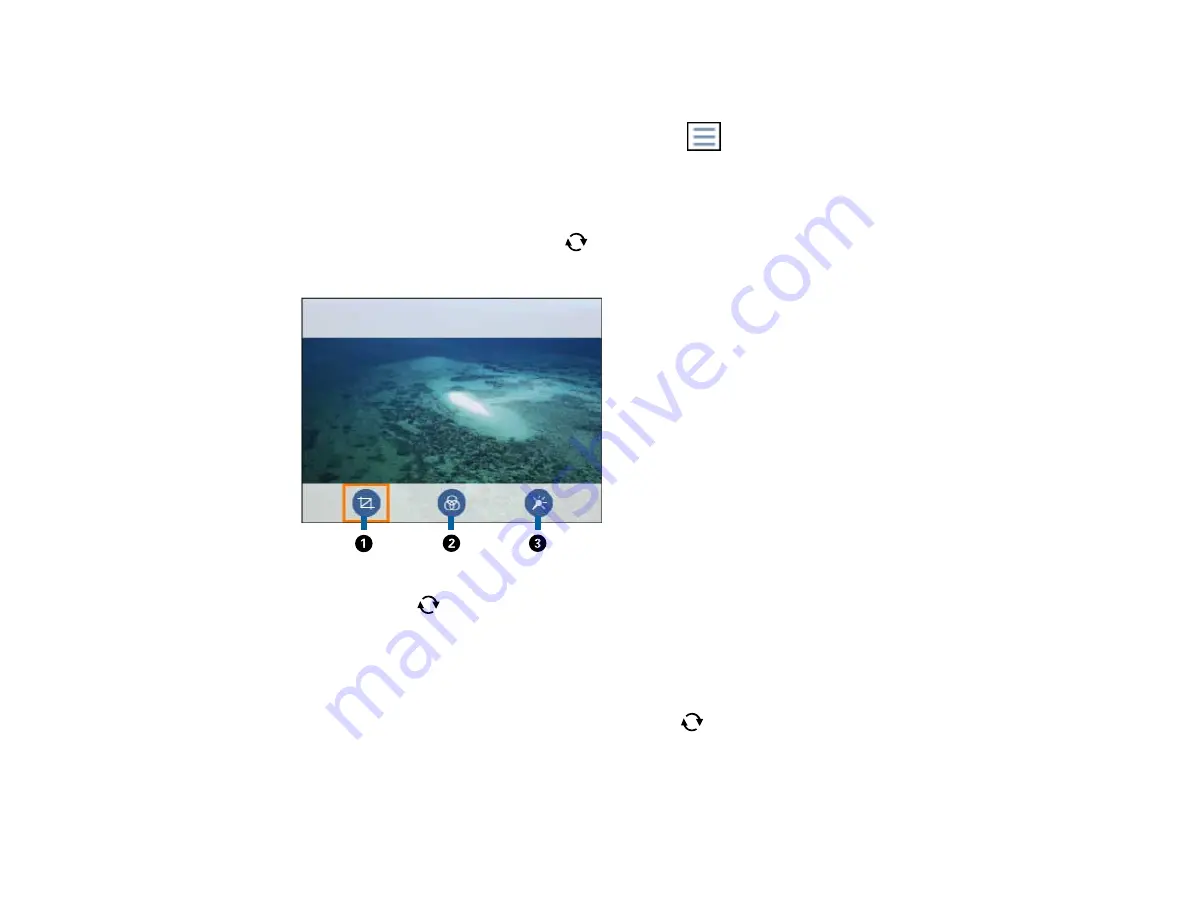
12. If you need to edit a photo, press the
reset button.
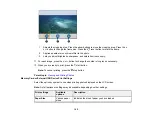
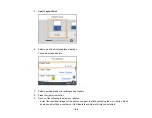
You see an image like this:
Note:
Press the
reset button again to switch between the
Correction Off
and
Correction On
settings. With
Correction On
selected, any corrections you make to a photo are displayed on the
screen. With
Correction Off
selected, any corrections you make will only be applied to your
printouts.
1
Adjusts the cropping area. Press the arrow buttons to move the cropping area. Press the
+
or
–
button to change the frame size. Press the
reset button to rotate the frame.
2
Applies a sepia or monochrome filter to the photo.
3
Lets you adjust brightness, sharpness, and saturation if necessary.
Summary of Contents for Expression Premium XP-6005
Page 1: ...XP 6000 User s Guide ...
Page 2: ......
Page 24: ...24 Product Parts Inside 1 Document cover 2 Scanner glass 3 Memory card slot ...
Page 57: ...57 1 Slide in the output tray 2 Open the front cover until it clicks ...
Page 131: ...131 You see an Epson Scan 2 window like this ...
Page 133: ...133 You see an Epson Scan 2 window like this ...
Page 135: ...135 You see this window ...
Page 183: ...183 1 Open the front cover 2 Raise the control panel ...


