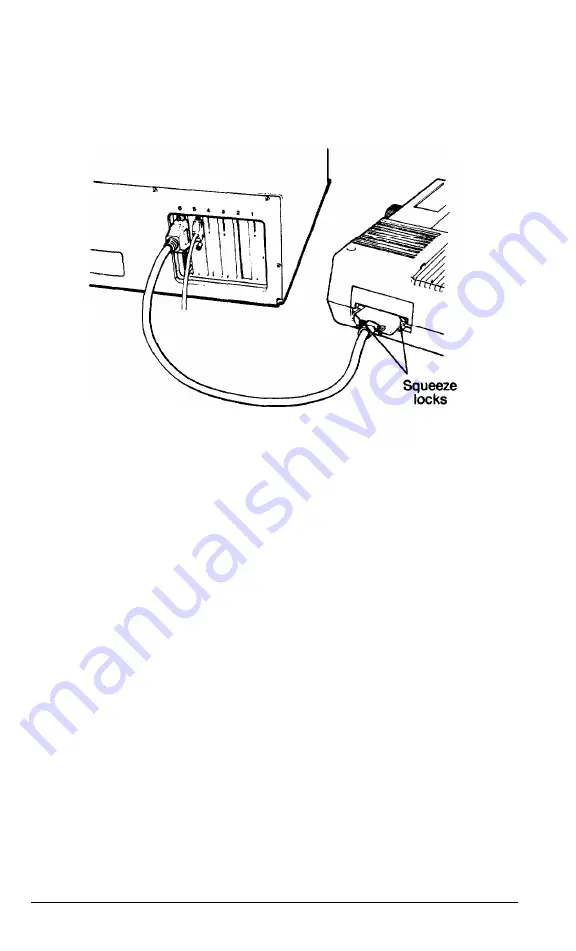
.4. Connect the other end of the cable to the printer as shown in Figure 1-9.
To secure the cable, tighten the squeeze locks at each side of the printer
port and push them into the connectors on each side of the cable.
Figure 1-9.
Connecting the
printer
5. Plug the printer’s power cable into an electrical outlet.
Serial interface
If you have a printer (or another peripheral such as a modem) with a
serial interface, connect it to the serial (RS-232C) port at the back of the
main unit. The Equity II-+ uses a DB-9P connector, so be sure you have an
AT-compatible cable (or an adapting cable that converts the 9-pin output to
the standard 25-pin output). To connect a serial device, follow the same steps
above for connecting a parallel device.
You need to ensure the serial port is set up so it functions properly. If you
are using the port for a serial printer, you must also redirect printer output to
the serial instead of the parallel port. Use the MS-DOS SETMODE program
(or the MODE command) to make these changes. See your MS-DOS man-
ual for instructions,
1-12
User’s Guide
Summary of Contents for EQUITY II+
Page 1: ...E Q U I T Y I I User s Guide EPSON ...
Page 2: ...EPSON Equity II User s Guide Y 1 6 2 9 9 1 1 0 3 0 0 ...
Page 5: ...iv User s Guide ...
Page 28: ...1 16 User s Guide ...
Page 34: ...User s Guide ...
Page 74: ...C 8 User s Guide ...
Page 81: ...Diagnostics ...
Page 85: ...Diagnostics ...
Page 135: ...Diagnostics ...
Page 137: ...Diagnostics ...
Page 141: ...B 2 Diagnostics ...
Page 150: ...E Q U I T Y l I EPSON ...
Page 151: ......


