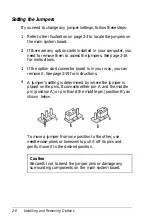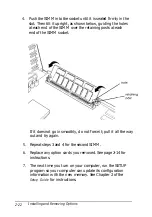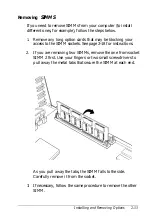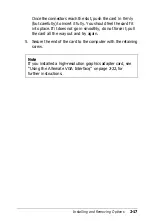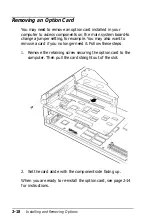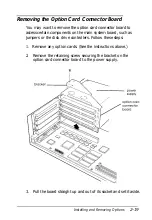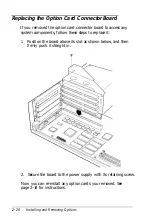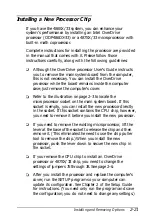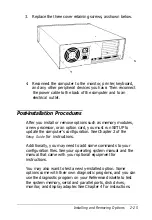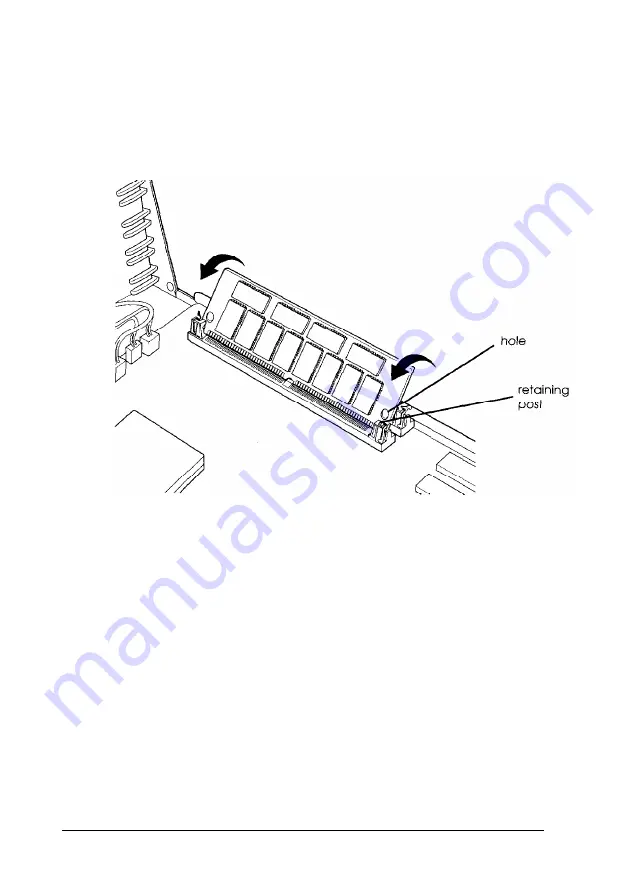
4. Push the SIMM into the socket until it is seated firmly in the
slot. Then tilt it upright, as shown below, guiding the holes
at each end of the SIMM over the retaining posts at each
end of the SIMM socket.
If it does not go in smoothly, do not force it; pull it all the way
out and try again.
5. Repeat steps 3 and 4 for the second SIMM.
6. Replace any option cards you removed. See page 2-14 for
instructions.
7. The next time you turn on your computer, run the SETUP
program so your computer can update its configuration
information with the new memory. See Chapter 2 of the
Setup Guide
for instructions.
2-22
Installing and Removing Options
Summary of Contents for Endeavor WG
Page 1: ......
Page 3: ...EPSON User s Guide This manual is printed on recycled paper and is 100 recyclable ...
Page 13: ...Glossary Index xi ...
Page 201: ...400195900 ...


