


Adjusting the Image Quality
53
You can fine-tune various aspects of the quality of your projected images.
g
g
Related Links
• "Adjusting Image Quality in Detail"
• "Adjusting the Image Resolution"
• "Setting Frame Interpolation"
Adjusting Image Quality in Detail
You can fine-tune various aspects of how quality and colors are displayed in
your projected images.
a
To optimize the color tone according to the scene, and to obtain a
more vivid image, correct the image by adjusting the Scene Adaptive
Gamma setting.
a
Turn on the projector and display an image.
b
Press the
button on the remote control.
a
This button is not available when the input source is set to
HDMI3 (Game). Press the
button on the remote control to
return to the Android TV home screen, and then perform the
procedure.
c
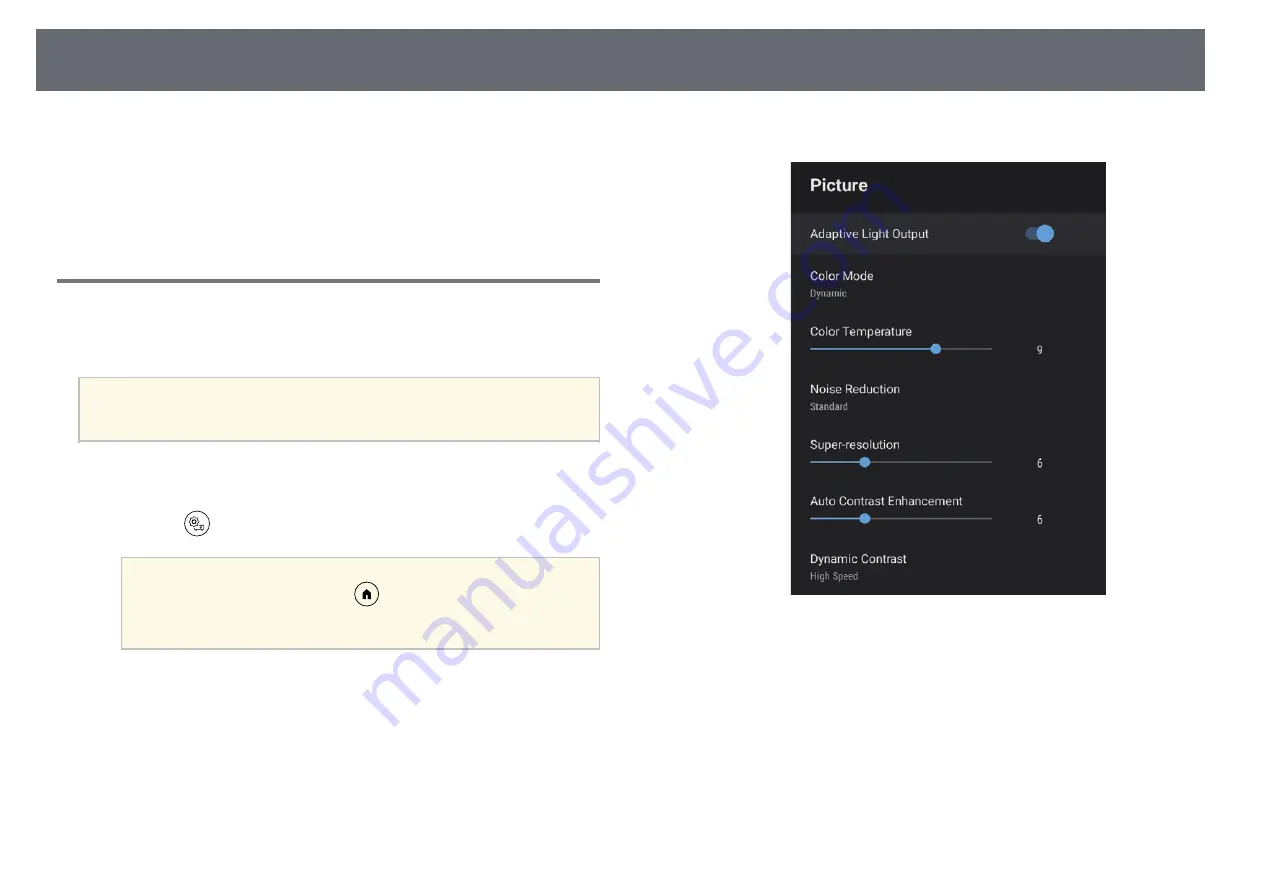
Select the Picture menu and press the [Enter] button.
d
Select Custom Settings and press [Enter].
e
Select one of the following options:
• To adjust the overall color brightness of the color, adjust the
Brightness setting.
• To adjust the difference between light and dark areas of the image,
adjust the Contrast setting.
• To adjust the overall vividness of the color, adjust the Saturation
setting.


