


Multi-Projection Features
128
e
Select the
Tiling
setting to adjust the arrangement of the images to
create one large image.
• If you have installed the optional external camera, select
Auto
on the
master projector.
• If you have not installed the optional external camera or tiling the
images automatically was unsuccessful, select
Manual
.
• When selecting
Manual
, select
Layout
, and then select the number
of rows and columns you are setting up as the
Row
and
Column
settings.
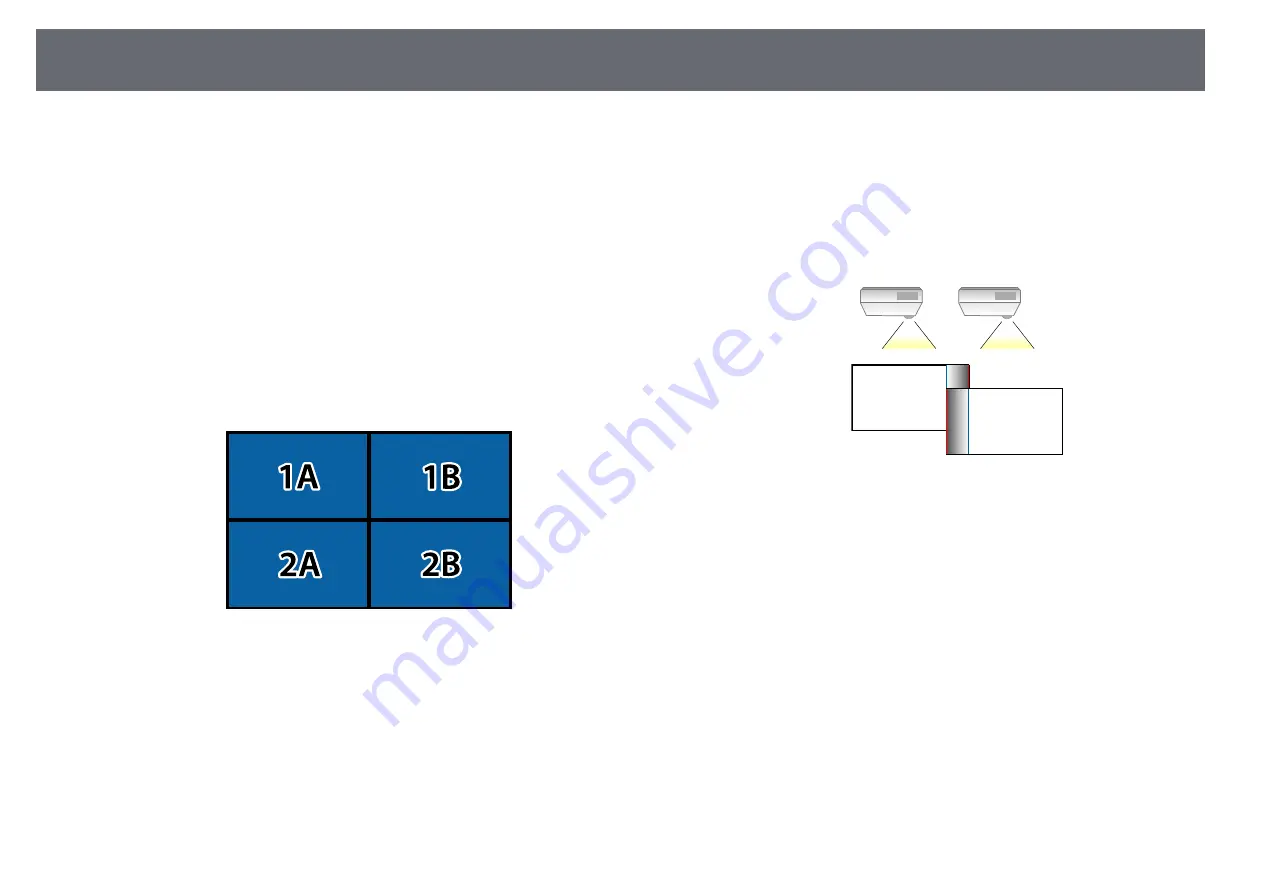
• After making the
Layout
settings, select
Location Setup
. Select the
position of each projected image as follows:
Row Order
to layout the
screens from top to bottom in sequential order starting with
1
at the
top,
Column Order
to layout the screens from left to right starting
with
A
on the left.
• Select the
Layout
and
Location Setup
settings on each projector you
are setting up.
f
Select the input signal to display an image.
g
Select
Edge Blending
to adjust the edges of the images.
• Set the
Edge Blending
setting to
Blending/Black Level
or
Black
Level
, and turn on the
Line Guide
and
Pattern Guide
settings first.
When you adjust the blending area using another device such as a
media server, select
Black Level
.
• Select the edge you want to blend on each projector, and set the
Blending
setting to
On
.
• Select the
Blend Start Position
setting and adjust the blending start
position.
• Select the
Blend Range
setting and use the arrow buttons to select
the width of the blended area so that the displayed guides are at the
edges of the overlapping area between the two images.
• Select the
Blend Curve
setting and select a gradient for the shaded
area on the projectors.
When the edges are blended, turn off the
Line Guide
and
Pattern
Guide
settings on each projector to check the final settings.
h
Select the
Black Level
settings to make the difference less noticeable for
the overlapping areas.
• Select
Color Adjustment
first.
The adjustment areas are displayed based on the
Edge Blending
setting.
• Use the arrow buttons to select the area you want to adjust and press
[Enter].


