171
• A5 (5.8 × 8.2 inches [148 × 210 mm])
• B5 (7.2 × 10.1 inches [182 × 257 mm])
• A6 (4.1 × 5.8 inches [105 × 148 mm])
• B6 (5 × 7.2 inches [128 × 182 mm])
• Executive (7.25 × 10.5 inches [184 × 267 mm])
• Legal (8.5 × 14 inches [216 × 356 mm])
• A3 (11.7 × 16.5 inches [297 × 420 mm])
• 13 × 19 inches (330 × 483 mm)
• 11 × 17 inches (279 × 432 mm)
• B4 (13.9 × 9.84 inches [353 × 250 mm])
1.
Open a photo or document for printing.
2.
Select the print command in your application.
Note:
You may need to select a print icon on your screen, the
option in the
File
menu, or
another command. See your application's help utility for details.
3.
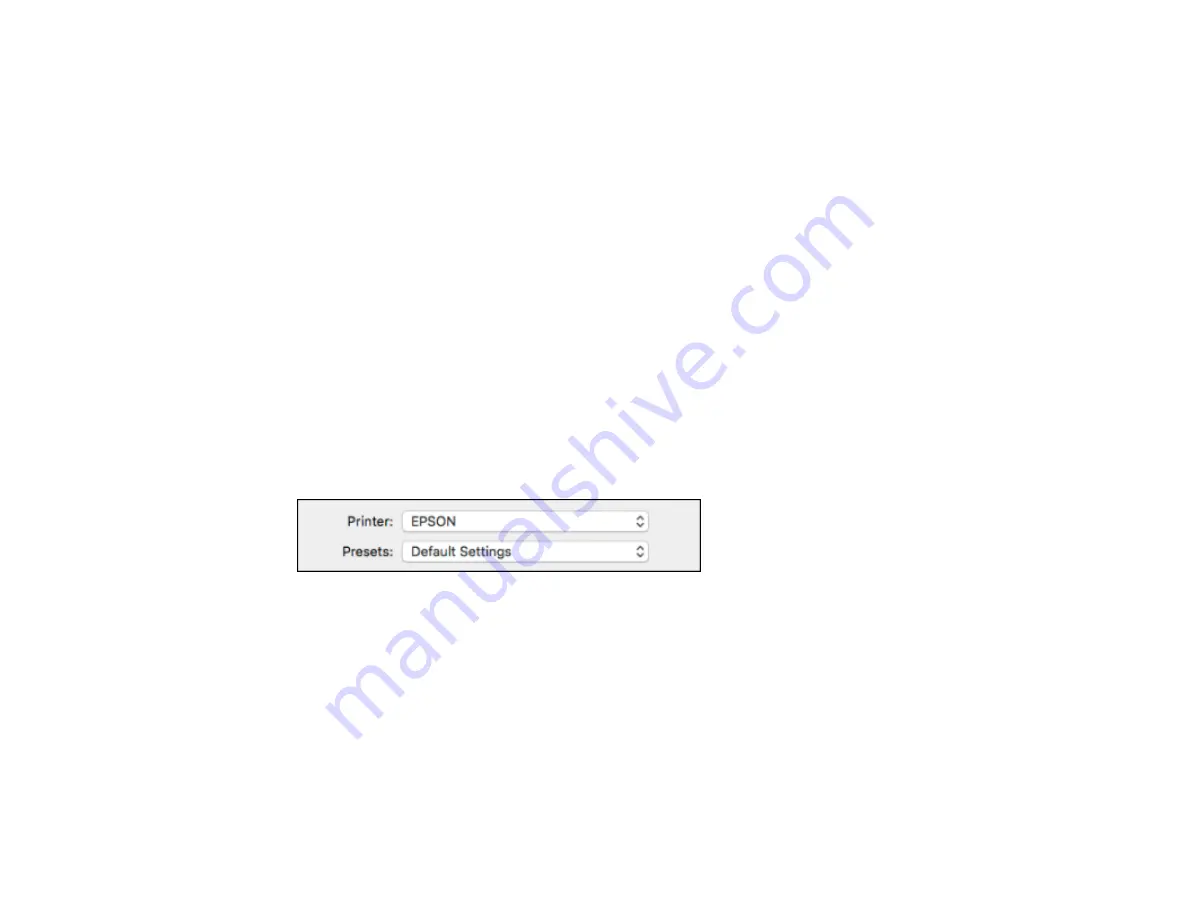
Select your product as the
Printer
setting.
4.
If necessary, click the arrow next to the Printer setting or the
Show Details
button to expand the
print window.
Summary of Contents for C11CG70201
Page 1: ...WF C8190 User s Guide ...
Page 2: ......
Page 16: ...16 8 Attach the front cover to the stands 9 Remove the output tray from the product ...
Page 21: ...21 5 Remove the output tray 6 Remove the paper cassette from the product ...
Page 39: ...39 3 Optional cabinet 1 Rear paper feed edge guides 2 Paper support and extension ...
Page 116: ...116 You see the maintenance options 4 Click the Extended Settings button ...
Page 194: ...194 4 Pull out paper cassette 1 5 Open rear cover 1 D1 ...
Page 195: ...195 6 Pull out rear cover 2 D2 7 Remove the roller cover inside the product ...
Page 200: ...200 4 Pull out the paper cassette ...
Page 201: ...201 5 Open the rear cover E that matches with the paper cassette you removed ...


