176
1.
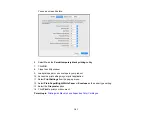
Select the size of the paper you loaded as the
Paper Size
setting. You can also select a custom
setting to create a custom paper size.
2.
Select the orientation of your document or photo as shown in the print window.
Note:
You can reduce or enlarge the size of the printed image by selecting
Paper Handling
from the
pop-up menu and selecting a scaling option.
Parent topic:
Printing with the PostScript (PS3) Printer Software - Mac
Related tasks
Selecting Basic Print Settings - PostScript Printer Software - Mac
Selecting Print Layout Options - PostScript Printer Software - Mac
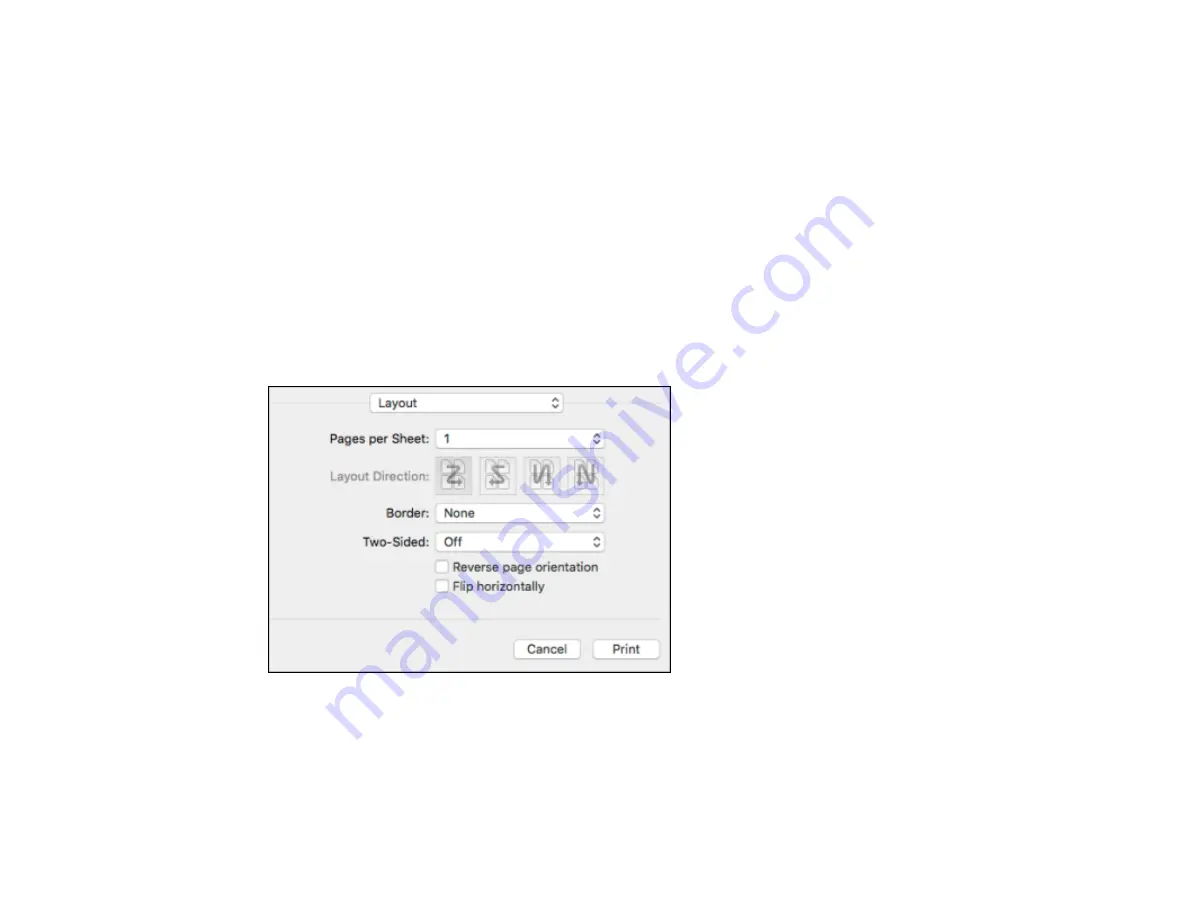
You can select a variety of layout options for your document or photo by selecting
Layout
from the pop-
up menu on the print window.
• To print multiple pages on one sheet of paper, select the number of pages in the
Pages per Sheet
pop-up menu. To arrange the print order of the pages, select a
Layout Direction
setting.
• To print borders around each page on the sheet, select a line setting from the
Border
pop-up menu.
• To print on both sides of the page, select one of the
Two-Sided
settings.
Summary of Contents for C11CG70201
Page 1: ...WF C8190 User s Guide ...
Page 2: ......
Page 16: ...16 8 Attach the front cover to the stands 9 Remove the output tray from the product ...
Page 21: ...21 5 Remove the output tray 6 Remove the paper cassette from the product ...
Page 39: ...39 3 Optional cabinet 1 Rear paper feed edge guides 2 Paper support and extension ...
Page 116: ...116 You see the maintenance options 4 Click the Extended Settings button ...
Page 194: ...194 4 Pull out paper cassette 1 5 Open rear cover 1 D1 ...
Page 195: ...195 6 Pull out rear cover 2 D2 7 Remove the roller cover inside the product ...
Page 200: ...200 4 Pull out the paper cassette ...
Page 201: ...201 5 Open the rear cover E that matches with the paper cassette you removed ...


