121
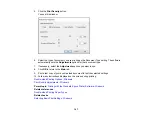
5.
Under
Advanced Settings
, select the setting option you want to use for each locked setting.
6.
Click
OK
.
Parent topic:
Printing with the Standard Epson Printer Software - Windows
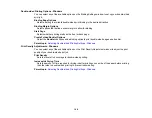
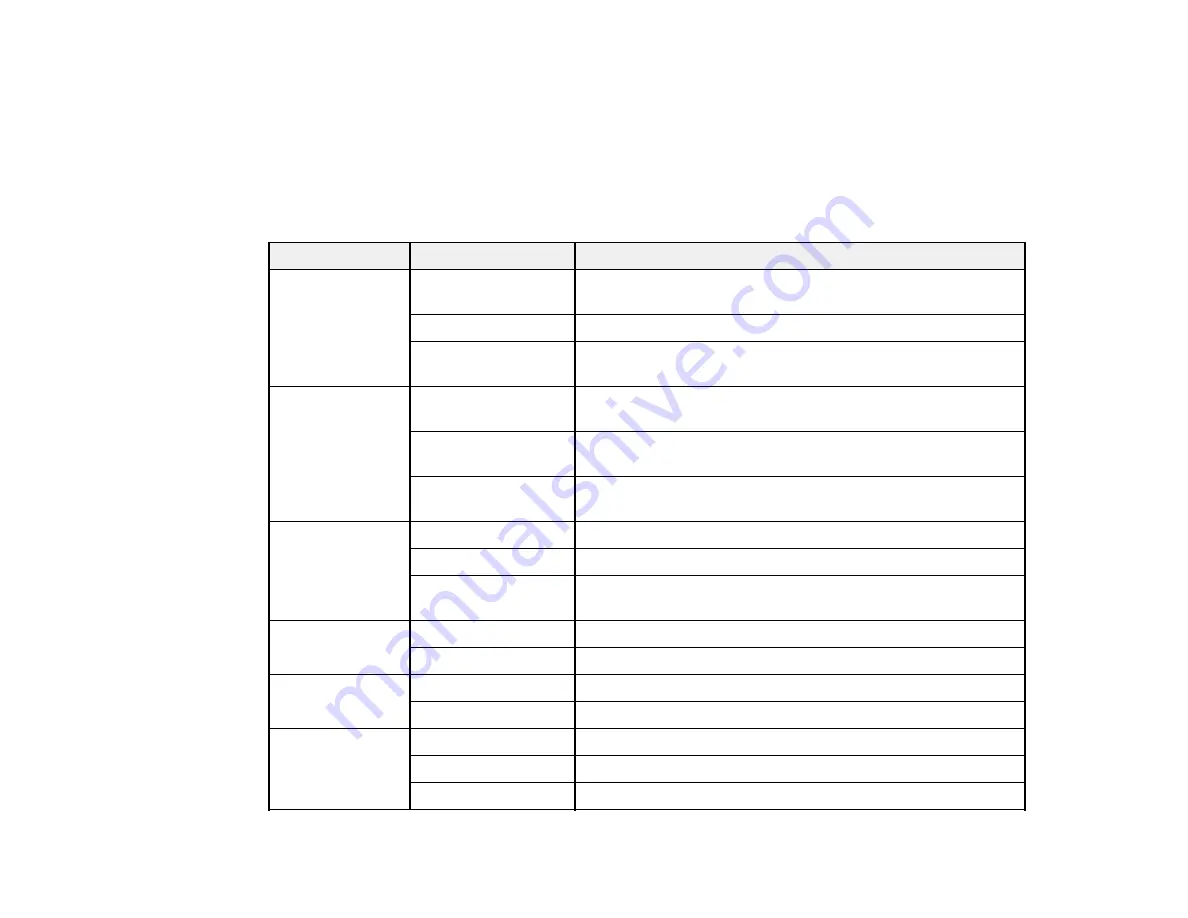
Locked Setting Options
Select the options you want to use for any locked print settings.
Setting
Options
Description
Anti-Copy
Pattern
Various data items
Lets you select the data to use for the pattern or prohibit anti-
copy patterns
Add/Delete
Lets you add or delete a customized anti-copy pattern
Settings
Lets you select the arrangement, size, and other settings for
the custom anti-copy pattern
Watermark
Various text
watermarks
Lets you select the text for the watermark or prohibit
watermarks
Add/Delete
Lets you add or delete a customized text or image-based
watermark
Settings
Lets you select the size, position, and other watermark
settings
Header/Footer
Off
Prohibits headers or footers
On
Allows headers and footers
Settings
Lets you select the text and position for printing headers and
footers
Color
Color
Allows color printing
Grayscale
Allows printing in black or shades of gray only
2-sided printing
Off
Allows printing on one side of the paper only
On
Allows printing on both sides of the paper
Multi-Page
Off
Prohibits multi-page settings
2-Up
Allows printing of 2 pages on one sheet of paper
4-Up
Allows printing of 4 pages on one sheet of paper
Summary of Contents for C11CG70201
Page 1: ...WF C8190 User s Guide ...
Page 2: ......
Page 16: ...16 8 Attach the front cover to the stands 9 Remove the output tray from the product ...
Page 21: ...21 5 Remove the output tray 6 Remove the paper cassette from the product ...
Page 39: ...39 3 Optional cabinet 1 Rear paper feed edge guides 2 Paper support and extension ...
Page 116: ...116 You see the maintenance options 4 Click the Extended Settings button ...
Page 194: ...194 4 Pull out paper cassette 1 5 Open rear cover 1 D1 ...
Page 195: ...195 6 Pull out rear cover 2 D2 7 Remove the roller cover inside the product ...
Page 200: ...200 4 Pull out the paper cassette ...
Page 201: ...201 5 Open the rear cover E that matches with the paper cassette you removed ...

