9. Select the appropriate document type as the Select Document Type setting.
10. Specify the Print Density and Increased Ink Drying Time as the Adjustments setting.
Note:
When you print data with dense photo on both sides of paper, reduce the print density and increase
the drying time to print finely.
11. Click
OK
to return to the Page Layout window.
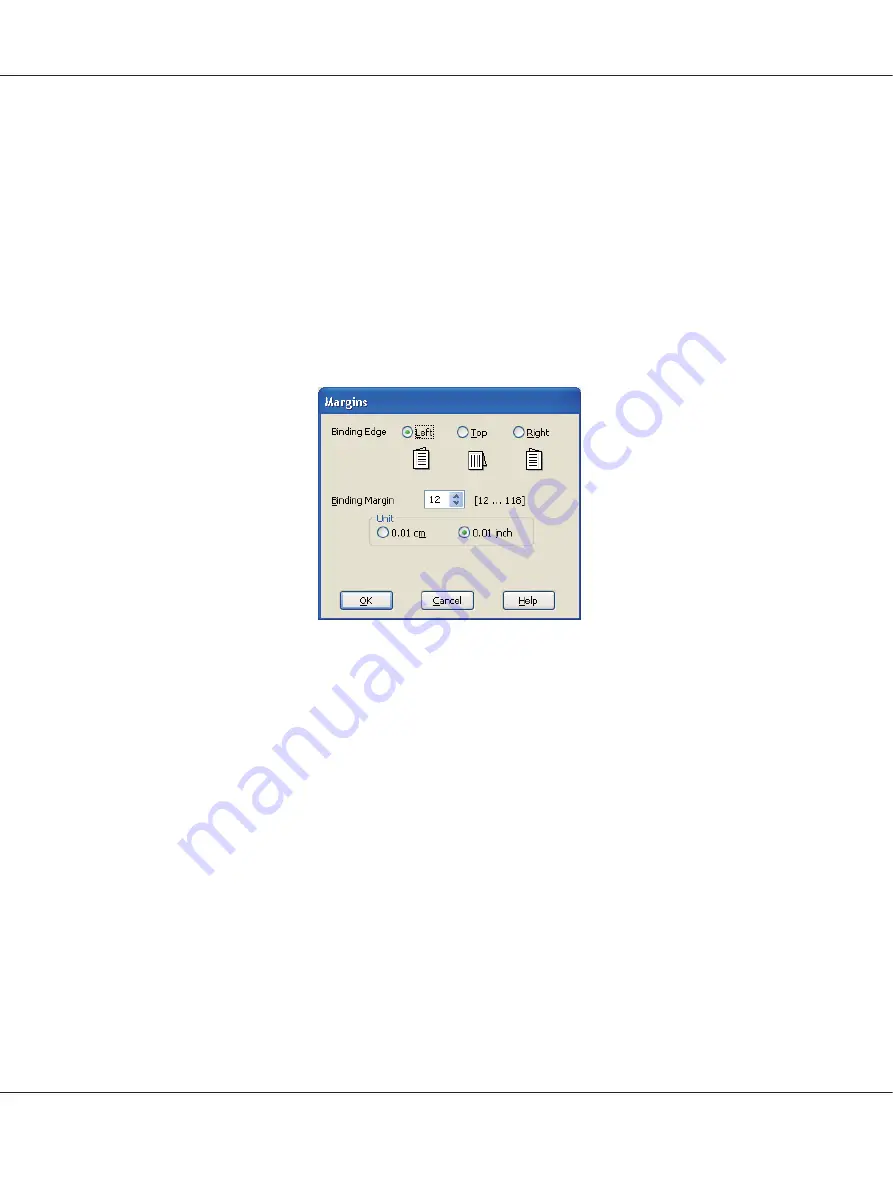
12. Click
Margins
to open the Margins window.
13. Specify the edge of the paper where the binding will be placed. You can choose
Left
,
Top
, or
Right
.
Note:
When you select
Portrait
as the Orientation setting, the
Left
or
Right
binding positions are
available. The
Top
binding position is available when you select
Landscape
as the Orientation
setting.
14. Choose
cm
or
inch
as the Unit setting. Specify the width of the binding margin.
B-310N/B-510DN User’s Guide
Printing with Special Layout Options
85


