Options
5-21
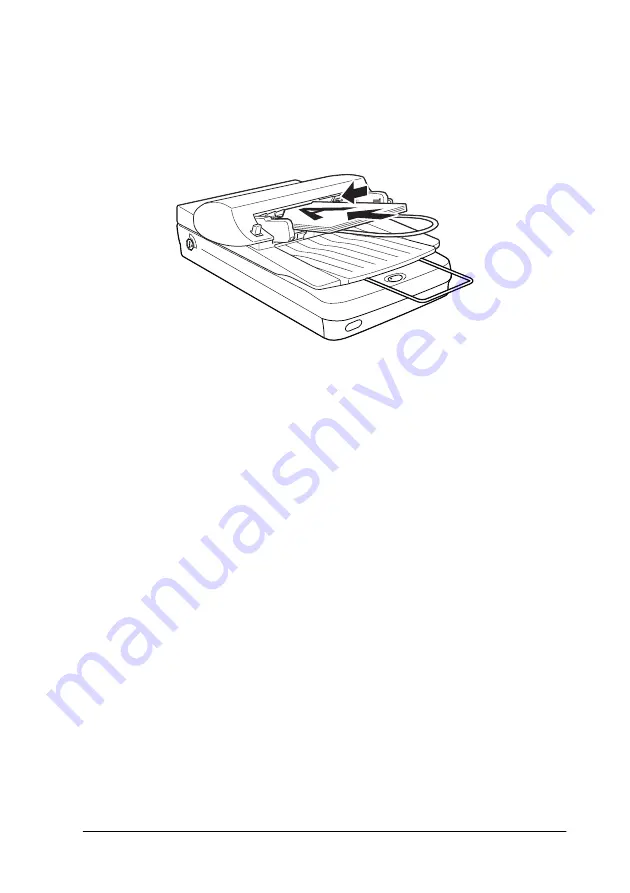
3. Insert the paper stack into the Automatic Document Feeder
until it meets resistance. Make sure that the side you want to
scan is facing up. Then move the right edge guide so it is flush
with the right edge of your paper.
Documents are output into the lower tray after scanning is
finished.
Note:
In the following situations, see the respective sections for problem-
solving information:
❏
When paper is jammed, see “Fixing Paper Jams in the Automatic
Document Feeder” on page 5-28.
❏
When a scanned image has unwanted lines, see “A line of dots
always appears in the scanned image.” on page 6-19.
Loading documents manually
Follow the steps below to load documents manually when the
Automatic Document Feeder is installed.
1. Lift the Automatic Document Feeder.
2. Place the document on the document table and then place the
ADF Document Mat on the top.
Summary of Contents for 1640SU - Perfection Photo Scanner
Page 2: ... 2 ...
Page 44: ...2 20 Scanning Basics High Contrast Increases the contrast of dull images Open Shadow ...
Page 54: ...2 30 Scanning Basics ...
Page 98: ...4 10 Calibrating Your System ...
Page 114: ...5 16 Options Paper support Spare paper path guide ADF Document Mat ...
Page 130: ...5 32 Options ...
Page 172: ...6 42 Maintenance and Troubleshooting ...
Page 185: ...Contacting Customer Support B 1 Appendix B Contacting Customer Support Overview B 2 ...
Page 192: ... 6 Glossary ...


