Fastlane
®
Pro Swim Unit Installation
Fastlane
®
Pro Swim Unit Installation
Section 6
ASSEMBLY OF THE FASTLANE PRO SWIM UNIT
6.1 Carefully unpack the swim unit from its boxes. Make sure to remove any hardware packs from the box-
es as well. The packaging can be collapsed and used as a protective surface upon which to assemble the
Fastlane Pro. The foam packing material can be used to wedge under the base to prevent it from tipping
over. When assembling the Fastlane Pro, a low torque setting should be used on the drill to prevent the
holes in the acrylic from stripping.
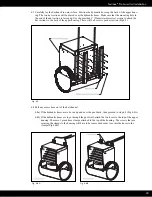
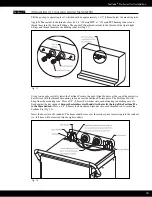
6.2 Take care when handling or working with any of the stainless steel components of the swim unit. The
ends can be sharp. The first step is to remove the two circular end caps from each side of the cylindrical
base. There are 3 arced cover strips around the perimeter of the end cap. Unthread the nine screws that
secure the cover strips (3 screws per cover strip). There will be a stainless steel wire connecting the end
cap to the base. The wire can be disconnected to make assembly of the unit easier. If disconnected, the
wire must be re-attached when assembled. Repeat this step for the other side of the stainless steel base.
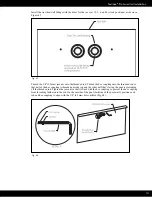
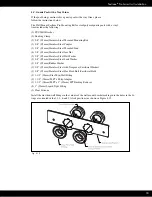
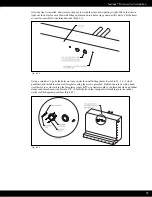
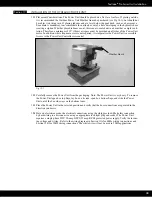
Carefully set each end cap aside (Fig 6.1).
Fig. 6.1
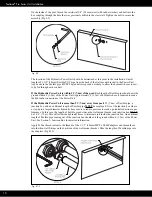
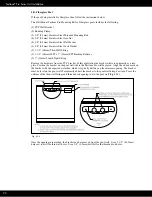
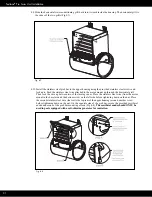
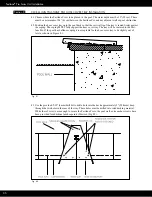
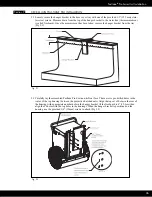
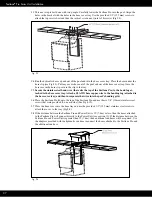
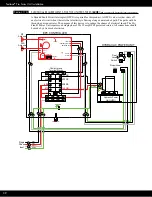
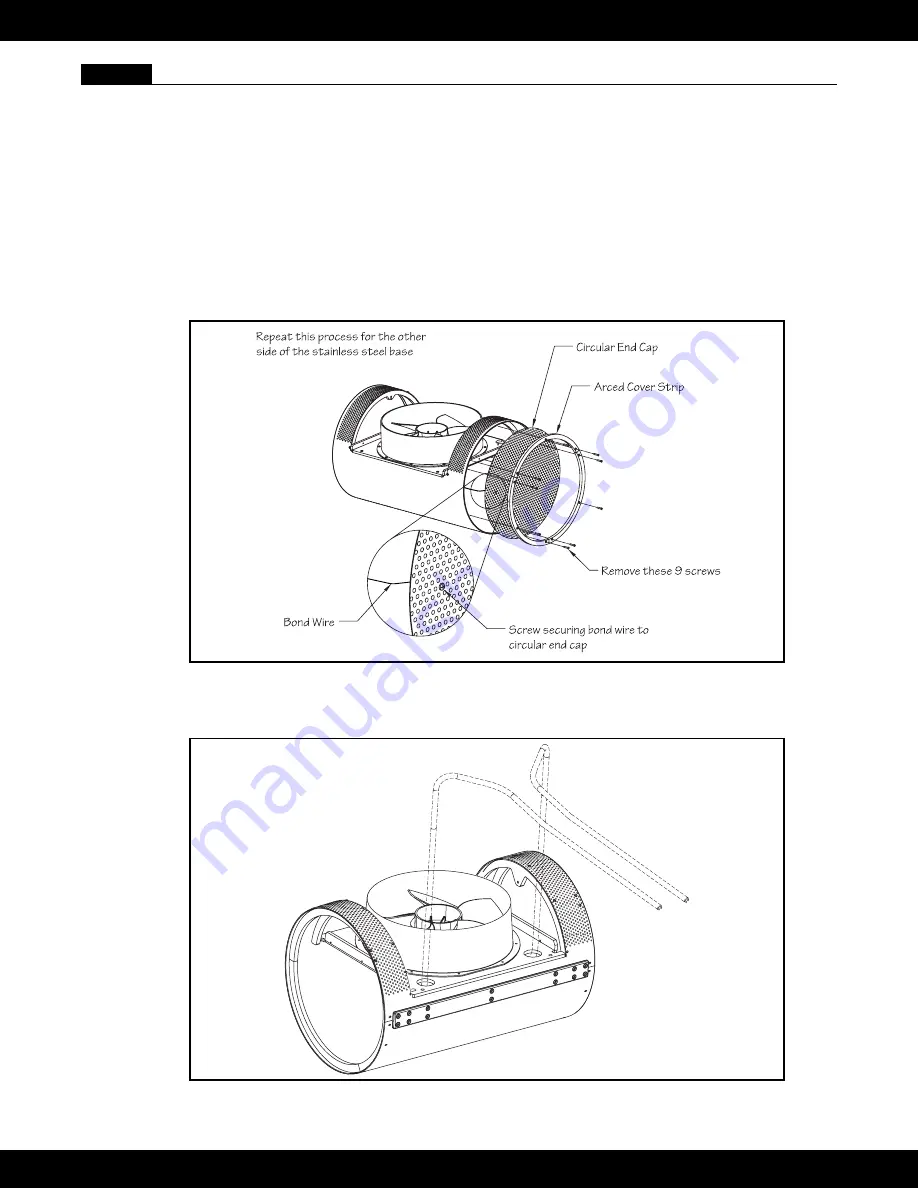
6.3 Uncoil the two lengths of hydraulic hose that are attached to the cylindrical base (Fig 6.2).
Fig. 6.2
28

