


-30-
SYSTEM SETUP
6)DIGITAL SETUP
DIGITAL SETUP
DIGITAL SETUP
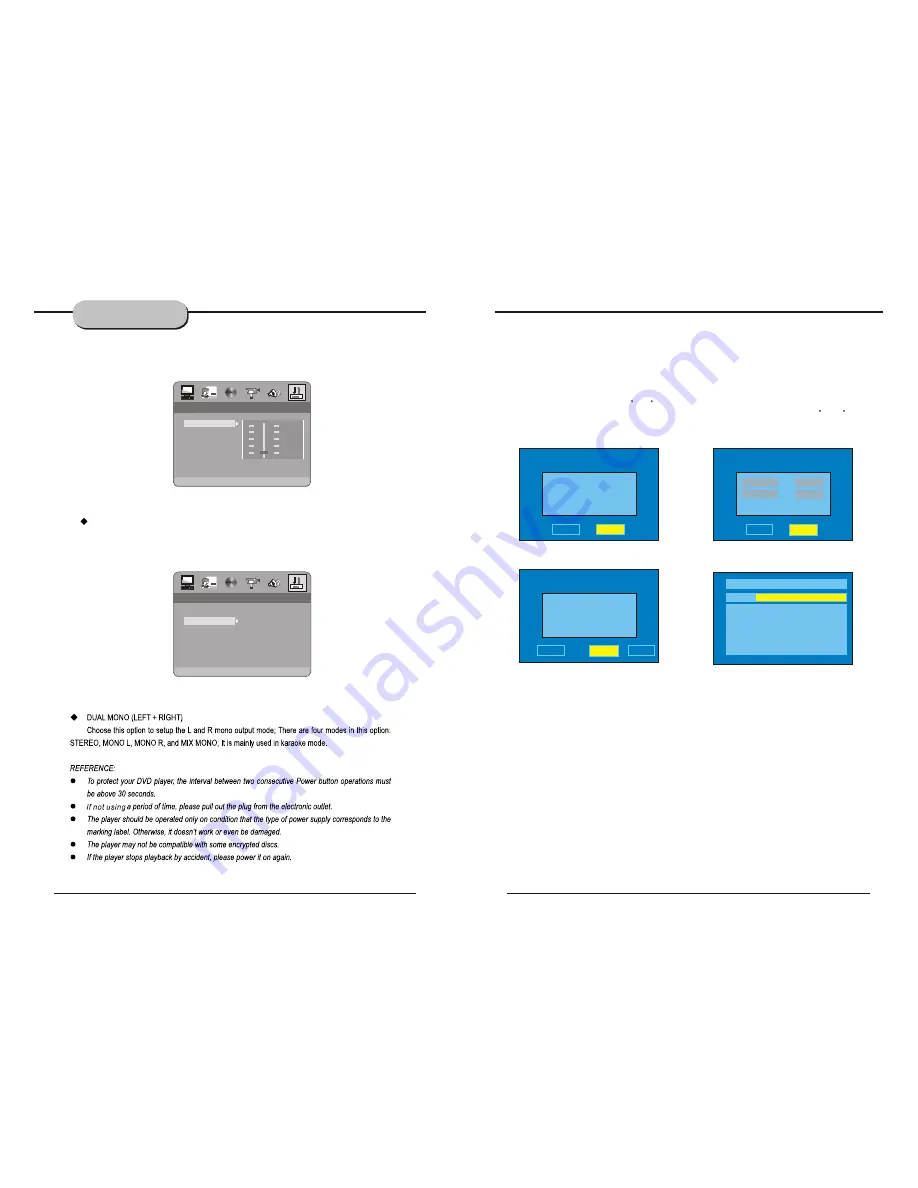
DUAL MONO
EXIT SETUP
6/8
6/8
4/8
4/8
2/8
2/8
OFF
OFF
FULL
FULL
DYNAMIC RANGE
D YNAMIC R ANGE:
When LINE OUT is selected,choose this setting to adjust the line out ratio for
different e ffects.
DIGITAL SETUP
DIGITAL SETUP
DUAL MONO
EXIT SETUP
STEREO
MONO L
MONO R
MIX MONO
DYNAMIC RANGE
1. FIRST installation after power on
First Time Setup In Figure (1), a message appears, asking the user if he/she wants to run the First Time
Installation Wizard. Upon selecting
Yes
, a new box appears, shown in Figure (2), asking for country,
OSD language, and time zone. Use the arrow keys to make the correct selections. Select
Next
and press
<ENTER> to proceed to the next screen, which is shown in Figure (3).
The setup menu system---DVB PART
Figure (1)
Figure (2)
First time installation
First time installation
Do you want to start first
time installation wizard?
YES
NO
First
time
installation (1)
First
time
installation (1)
NEXT
BACK
Selecl country
Selecl country
English
English
OSD Language
OSD Language
English
English
Figure(3)
Figure (4)
First time installation (2)
First time installation (2)
Do you want to start Auto
Scan?
YES
NO
BACK
Channel: 21
Frequency: 474000kHz
Progress
1/1
1/1
TV: 0004
Radio: 0009
0001. Xxxxx
0002. Xxxx
0003. Xxxx
0004. Xxxxxx
0006. Xxxxx
0007. Xxxx
0008. Xxxx
0009. Xxxxxx
Advanced Features
How to switch to DVB-T work mode?
Press the SOURCE key on the remote control until you switched into DVB-T work mode.
-31
www.elonex.com
www.elonex.com
Summary of Contents for LNX Cube3
Page 1: ......


