\\Elmacron-server\Gemensam\Instruktioner\Instruktioner i W ord\1005RE\Engelska\1005RE-ORP%E.doc
- 16 -
-
Senast utskrivet 2007-10-11
11:16
6. MAINTENANCE
6.1 HARDWARE CHECK
A check of the hardware is necessary only if you suspect that there is something wrong with your
controller.
1. Disconnect the power supply.
2. Short-circuit the electrode input.
3. Connect a mA-meter to the REC-output.
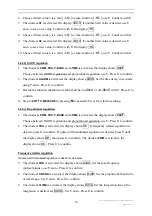
4. Press
M
and connect the power supply, keep
M
pressed during 5 seconds. The four upper
diodes are activated.
5. The controller performs a self-test according to table 6.1.1
6.1.1 Hardware check
CH01
Test of LED on display
All 4 LED-segments are activated
CH02
Test of the function keys
Press the keys one by one and the corresponding
sign is shown on the display
CH03
Test of the output signal
Press
=.
20.00
is shown on display at the same
time as corresponding signal is sent to the output.
Press
=
.
04.00
is shown on display at the same
time as the corresponding signal is sent to the
output. Press
=
CH04
Test of the diodes
All the menu diodes are activated
CH05
Test of the relays
Relay 1, 2, 3, 4 and 5 are activated and deactivated
in numeric order.
The version number is shown, then the instrument starts in measuring mode
6.2 PRE-CALIBRATION
The controller is always pre-calibrated when delivered.
Pre-calibration is only necessary when the
instrument has been shut of for a longer period.
For safe and accurate pre-calibration it is recommended that the calibration is carried out by means of
the calibrator 1000CAL.
Connect the calibrator to the electrode input.
1. Turn the power off.
2. Connect the reference instrument to the electrode input.
3. Connect a mA-instrument to the mA output.
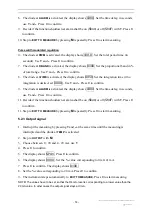
3. Press
–
and turn on the power supply. Keep the key pressed until the display shows
CAL1.
CAL1.
CAL1.
CAL1.
(10 seconds). Every second diode is activated
.
Set the reference instrument at
5%.
4. Press
=
to continue.


