36
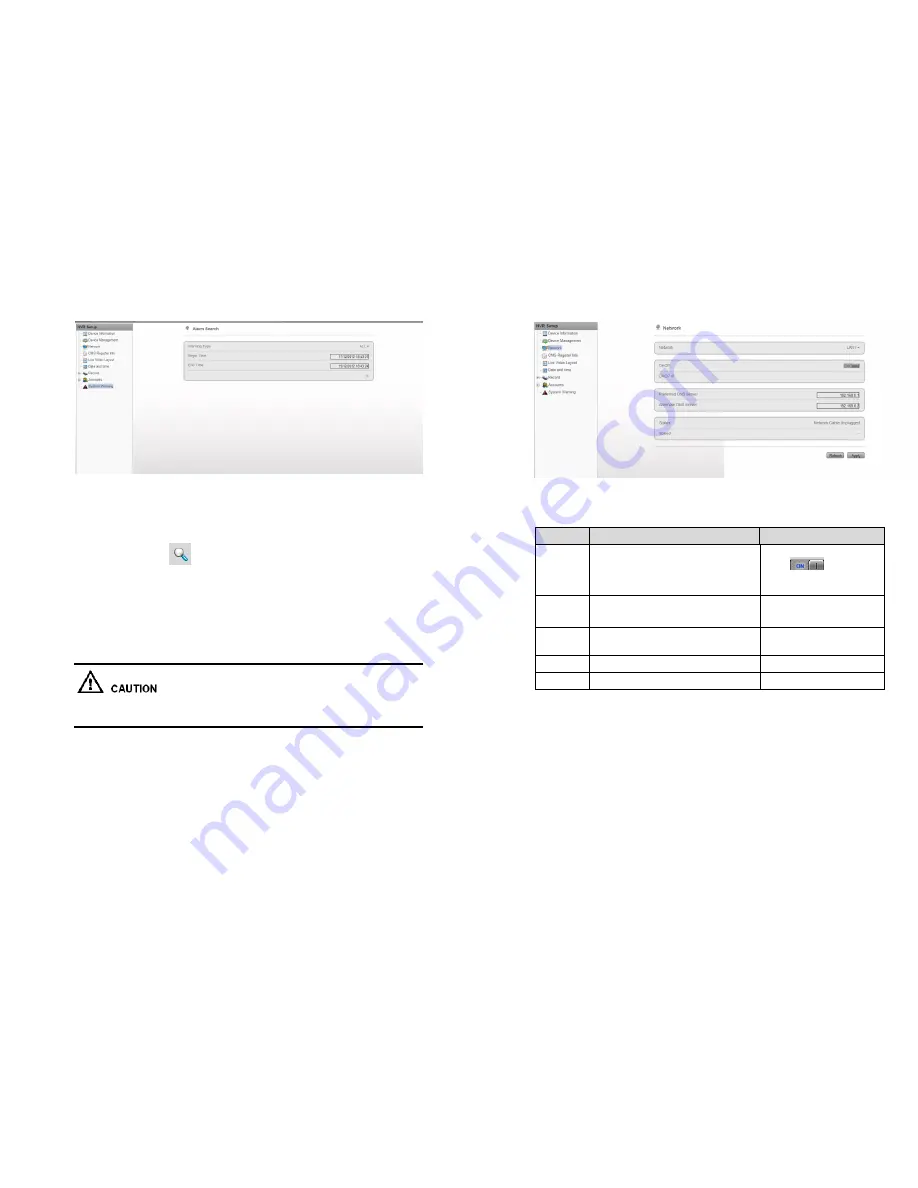
Figure 4-30
System warning information.
Warning information searching steps.
Step 23
Select the warning type (Disk Alarm, Record Alarm, All).
Step 24
Input searching Begin Time and End Time.
Step 25
Click searching button
, then the searching result will be displayed below.
-
9.1.4
Network
You can check the Camera DHCP IP address, configure IP address, subnet mask,
gateway address, First NDS, backup NDS.
If set the camera in LAN network, please don’t let any cameras’ IP address conflict
with other computers.
Operates steps
Step 26
choose configure > system configure > network
Enter the network configuration interface like Figure 4-31 showing.
37
Figure 4-31
Network interface
Step 27
Configure the network parameters, reference the Table 4-4.
Table 4-4
Network parameters
Items
Introduction
How to configure
Get IP
address
automatic
ally
It will get the IP address from DHCP
server automatically.
Switch DHCP to on by this
button
.
IP
Address
Camera IP address, it can configure the
IP address depends on real situation.
Default IP is 192.168.0.121
Subnet
mask
Configure the subnet mask
Default address is
255.255.255.0
Gateway
Input if needed
Default is 192.168.0.1
DNS
Configure the DNS server address
Default is 192.168.0.1
Step 28
Click to application
Call the Apply successfully; click OK to finish the network parameters
configuration.
If pop up other windows, then please confirm the parameters are all correct and
configure again.
9.1.5
Live video layout
You can configure the live video layout in order to call the live video quickly.
Live video layout can do below operations:
Create new layout
View current layout


