26
You can select the date period at the calendar. Click icon
、
to switch month,
click
、
to switch year.
Means selected date. When it is green marked
means this day have recording files, otherwise there is none recording in that day.
Step 5
Recording show.
After selected the device and date, at the bottom area of the live video area it will
display the recording status. The scale on the time axis showing the recording time
period, blue marked means the current playback video time. The playback video will be
displayed above the time axis, blue marked means retain video, red marked means
alarm video, yellow means label video, green means normal video.
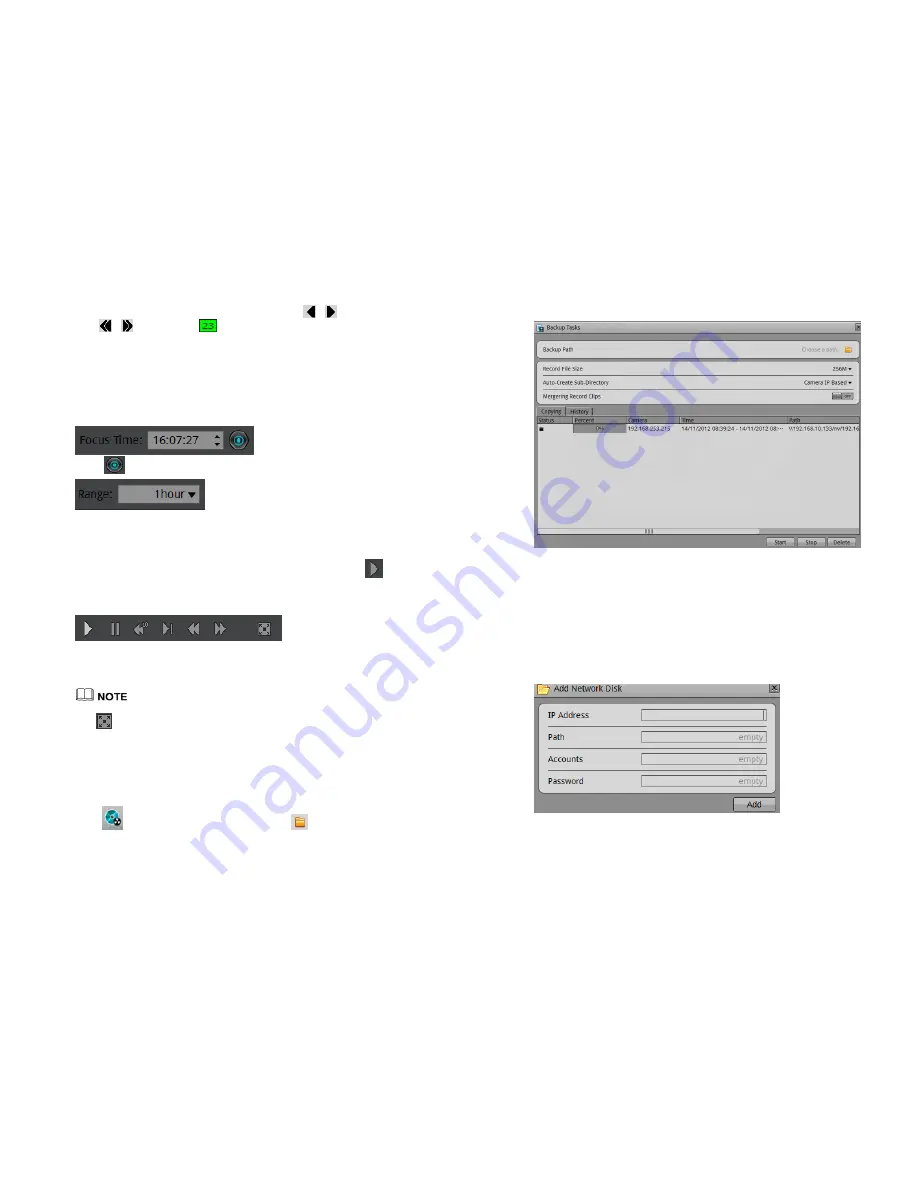
: You can input the time. After
clicked
, the playback video will jump to the pointed time.
: After the time zone, you can select the time interval:
15 minutes, 30 minutes, 1 hour, 4 hours, 8 hours, 12 hours, 1 day.
When 1 hour is selected, then the time period between two blue tagging means 1 hour.
Step 6
Playing Playback
After selected the camera and date, you can start playing playback, click
button
to start play.
Figure 4-19
Control tool bar
From left to right are: Play, Pause, rewind 10 seconds, single frame playing, rewind,
fast forward and full screen button.
During the playback, you can try to move the mice to control the playback processes, click
to switch to the full screen mode.
-
7.2
Recording backup
Step 7
Configure the backup path.
Click
button to call the backup interface, click
button to call the backup
path configuration interface like Figure 4-20.
27
Figure 4-20
Backup path browser
In the backup path, it is displaying the current backup path, if it is none, then you need
to select one, in the below list it is showing all the available storage path. This NVR
support two kinds of the storage method: Network storage device (NAS) and USB
storage device (U disk or Removable HDD).
Network storage device
7.
Double click the Add network disc, or right click the menu to call the Add network
disc interface. Like Figure 4-21.
Figure 4-21
Add network disc
8.
Input the IP address, path, account and password, click Add button.
9.
Check the network disc status. The status list: OK, connect fail, unavailable. Only
when status is OK it means the network disc can be used for backup normally.


