Elgar CW-M Series
3.5 Power In Connections
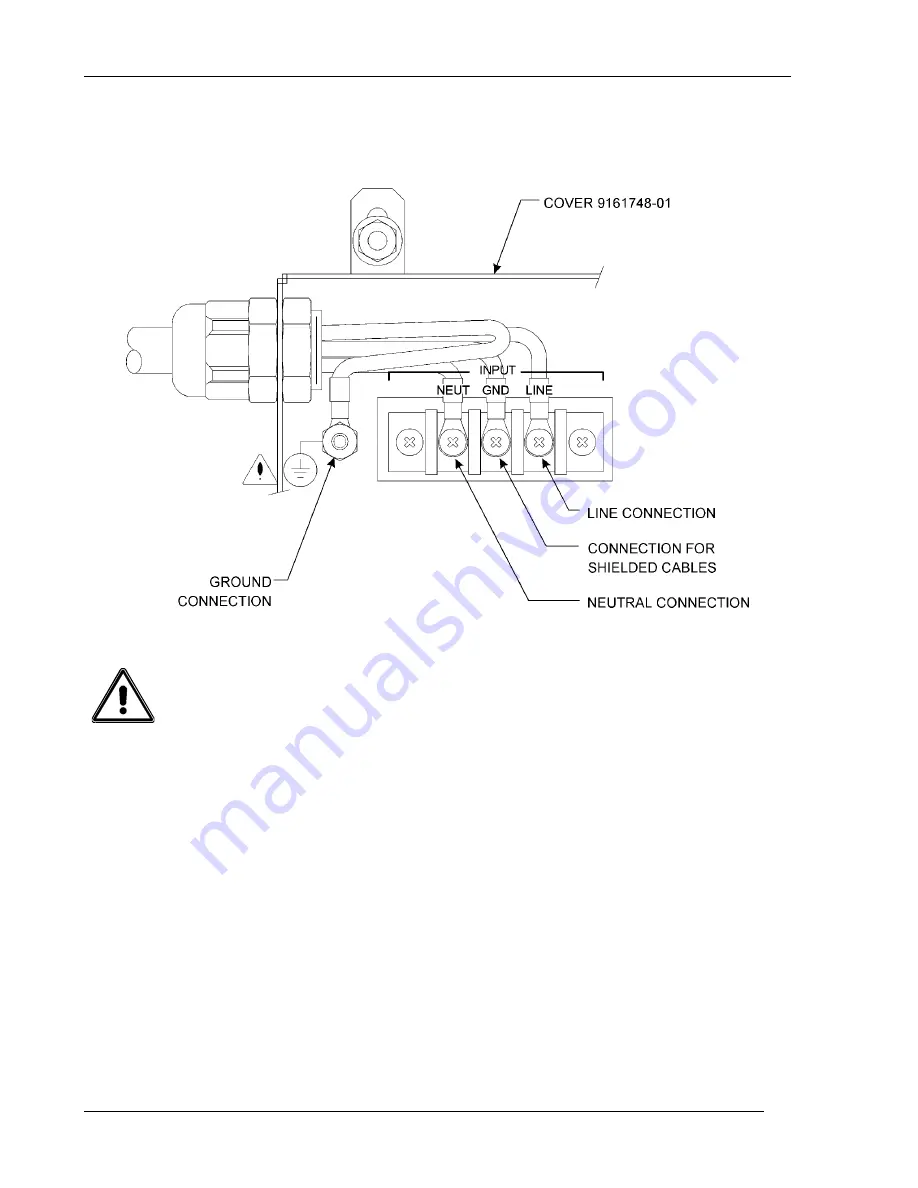
Connect input power to the INPUT terminal block on the rear panel as specified below.
Refer to Figure 3–6.
Figure 3–6 Input Power Connections
WARNING!
For input voltages >120V, do not reverse LINE and NEUT.
Reversed connections will result in pulsing noises from the supply.
3.5.1 Single–Phase Supply Connections
1. Remove the protective cover from the terminal block.
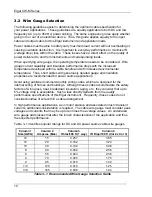
2. Route the cables through the strain relief device. Refer to Table 3–2 for cable
recommendations.
3. Connect SAFETY GROUND to the GROUND stud located next to the INPUT
terminal block. For additional safety, include a loop between the GROUND stud and
the strain relief device, as shown in Figure 3–6.
4. Connect shields, if any, to the GND connector of the INPUT terminal block.
5. Connect NEUTRAL, if available, to the NEUT connector.
6. Connect LINE to the LINE connector.
7. Reinstall the protective cover on the terminal block. Tighten the strain relief device.
18
Summary of Contents for CW 1251M
Page 2: ......
Page 3: ......
Page 4: ......
Page 6: ...ii This page intentionally left blank...
Page 12: ...Elgar CW M Series This page intentionally left blank 2...
Page 24: ...Elgar CW M Series Figure 3 2 Mounting Dimensions Front and Rear Views CW 801M CW 1251M 14...
Page 25: ...Elgar CW M Series Figure 3 3 Mounting Dimensions Front and Rear Views CW 2501M 15...
Page 26: ...Elgar CW M Series Figure 3 4 Mounting Dimensions Top and Side Views CW 801M CW 1251M 16...
Page 27: ...Elgar CW M Series Figure 3 5 Mounting Dimensions Top and Side Views CW 2501M 17...
Page 34: ...Elgar CW M Series This page intentionally left blank 24...
Page 38: ...Elgar CW M Series 4 3 2 Setup for Six in Parallel Configuration 28...
Page 39: ...Elgar CW M Series 4 3 3 Setup for Six Phase Configuration 29...
Page 40: ...Elgar CW M Series 4 3 4 Setup for Two Phase Configuration 30...
Page 42: ...Elgar CW M Series This page intentionally left blank 32...
Page 48: ...Elgar CW M Series This page intentionally left blank 38...


