


CTC-1132 868AM 2007.07.18
20
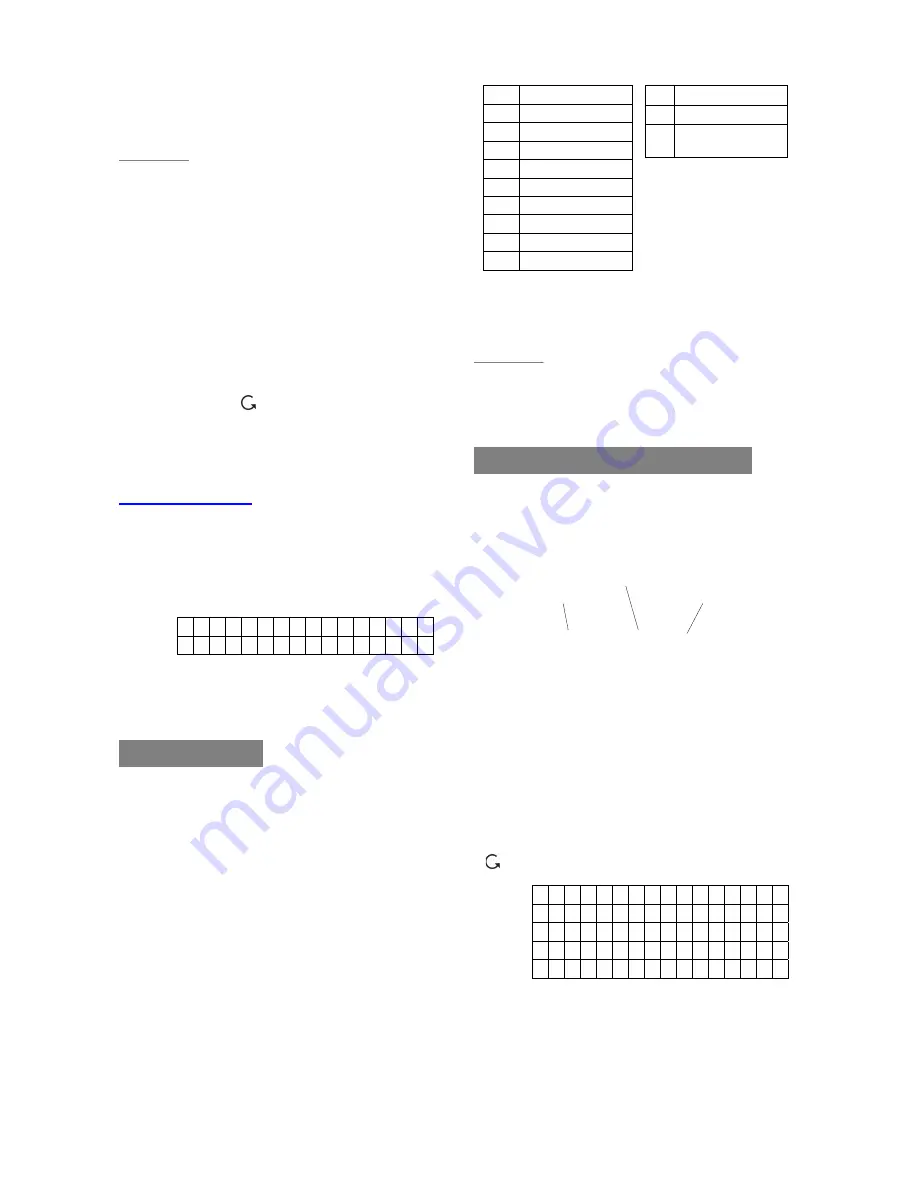
1 1
2 2ABCabc
3 3DEFdef
4 4GHIghi
5 5JKLjkl
6 6MNOmno
7 7PQRSpqrs
8 8TUVtuv
9 9WXYZwxyz
0 0<space>/-&’.”+
¿
¿
# #
4
Delete character
and backspace
StepC11.
Press “
OK
”, adding a RC is now
completed, screen returns to the
“
/-
“ menu.
<
<
N
N
O
O
T
T
E
E
>
>
)
After a Remote Controller is added in,
you can use the Remote Controller to
arm/disarm the system. In addition,
pressing the “
Panic
” button for 3
seconds or twice within 3 seconds, the
Control Panel will generate a Panic
alarm.
)
The “
Panic
“ alarm generated from the
Remote Controller will have to be
silenced at the Control Panel only.
See section
“
Stop the Alarm
”.
)
Press “ “,
all the learning/setting
processes having done will be ignored,
the screen returns to “
/-
“
menu.
Other Devices
For Smoke Detector, Remote Keypad, Water
Sensor and Night Switch, no further option
needs to be specified, hence after it is detected,
a zone is assigned, and the zone name
entered, the following screen is displayed.
I n s t a l l e d : ( O K ? )
S D L i v i n g r o o m
Press “
OK
” to confirm, adding a smoke
detector, or a Remote Keypad or a Water
Sensor or a Night Switch is now completed.
Device Naming
Detectors can be given names and location
descriptions to help understand system events.
The devices can be named when first installing
them or by editing them afterwards, the
procedure is similar for both situations.
z
When the “
Enter zone Name”
screen is
displayed, the keypad can be used to
enter text. Simply locate the
corresponding numeric keys to the desired
alphabets/symbols and press repeatedly
until the wanted alphabets/symbols appear.
Release the key and the flashing cursor
automatically jumps to the next position for
you to continue with the next letter by the
same method.
z
The keys have the following functions:
z
When the name is complete, press
“OK”
to confirm and return to the previous or
main menu.
<
<
N
N
O
O
T
T
E
E
>
>
)
The name can be erased or clearing
the display by entering backward
spaces and pressing
“OK”
.
Device Display Nomenclature
The devices are displayed throughout the
menus and especially where there are zone
lists. The meanings of the display components
are shown in an example below:
The PIR detector is in zone 03, programmed
for burglar mode.
2. Edit Devices
To edit all the devices that have already been
installed, choose “
Edit Devices
” in the “
Device
+/-
“ menu, all the devices being included in the
system will be displayed. You may Press
“ “ to exit.
D C B a c k d o o r
I R H a l l w a y
R C M R . S M I T H
S D K i t c h
e n
S t o p
Step1A.
Use “
S
”,“
T
” keys to scroll the display
and choose the desired device for
editing. For DC, IR and RC, when
selected by pressing “
OK
”, the first
screen will ask if you want to change
the device attribute:
PIR Zone 03 B
Zone attribute
Zone number
Device type


