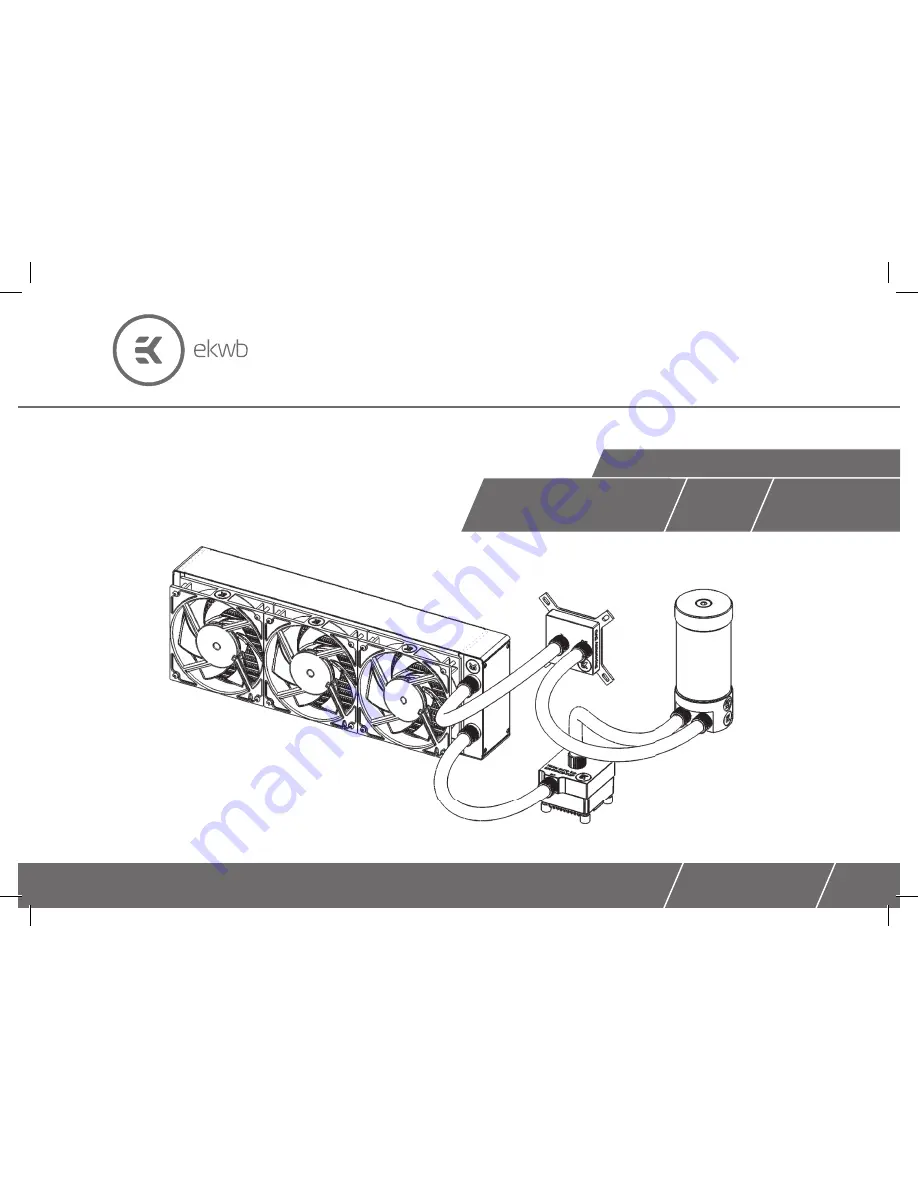
EXTREME 240 360
Starter Liquid Cooling Kit
USER GUIDE
For EK-KIT X (R2.0) series units | 1st Revision, Nov 27th 2015
Page 1: ...EXTREME 240 360 Starter Liquid Cooling Kit USER GUIDE For EK KIT X R2 0 series units 1st Revision Nov 27th 2015...
Page 2: ......
Page 3: ...ormance in the hands of dedicated gamers and PC enthusiasts around the world Welcome to EK World Safety precautions 1 Keep and store the product away from the reach of children 2 Check the component l...
Page 4: ...E RADIATOR AND FANS IN ONE GO 18 INSTALLING THE PUMP UNIT 19 INSTALLING THE PUMP ON THE CHASSIS BOTTOM 19 Installing the pump on the chassis wall 20 INSTALLING THE RESERVOIR 22 CONNECTING THE TUBING 2...
Page 5: ...water Block with AMD mounting plate CPU Backplate mechanism Thermal grease CPU Mounting mechanism SCOPE OF DELIVERY Fans Pump UNI Pump Bracket 120mm Fan Reservoir Radiator Coolant Tube Compression fi...
Page 6: ...4 REQUIRED TOOLS ATX Bridging plug Fan cable Y splitter Installation manual Pair of scissors 1L Bottle of distilled water H20 LED light Phillips head screwdriver Mixing bottle...
Page 7: ...5 RADIATOR SPACE CONSTRAINT REQUIREMENTS 400 mm 15 75 in 280 mm 11 02 in 130 mm 5 12 in 130 mm 5 12 in 60 mm 2 36 in 360 240...
Page 8: ...ervoir must be positioned be fore the pump in the water loop 6 Generally for optimal performance the CPU water block should be right after the Radiator in the water loop 7 Generally for optimal perfor...
Page 9: ...assembled for use with modern Intel desktop socket type motherboards By default out of the box this water block supports the following CPU sockets Intel Socket LGA 775 Intel Socket LGA 115x Intel Soc...
Page 10: ...ther you will feel the jet plate lock into position on the insert when it is placed correctly You mustn t forget to install the insert pin Ignoring this warning may result in poor thermal performance...
Page 11: ...ace constraint limitations of various computer cases STEP 2 Cleaning the CPU Wipe the CPU s contact surface by using non abrasive cloth or Q tip as shown on sample photo Applying thermal compound EK r...
Page 12: ...ly until all of them are partially screwed in Then using your fingers only screw in all four thumb nuts until you reach the end of the thread STEP 3 Thumb nut Coiled spring STEP 4 Fitting Barb Fitting...
Page 13: ...r Intel LGA 115x socket to the back of your motherboard RIBBED SIDE UP facing away from the motherboard Align the holes on the motherboard with holes on rubber gasket and backplate Make sure to orient...
Page 14: ...in poor thermal performance of the water block Tighten the fitting barbs in clockwise direction until the gasket underneath is com pressed STEP 8 Install the CPU water block along with the motherboar...
Page 15: ...ion when placed correctly on to the top Reseat the O ring gasket 57x2 mm into the gap between the mounting plate and water block top Be careful that the orientation of the copper base is as shown on t...
Page 16: ...ust be used every time you install this water block on your moth erboard With AMD Sockets you should use whole rubber backplate including the inner core STEP 6 Install backplate rubber gasket and plac...
Page 17: ...hoto on right The quantity of about two rice grains is just about right There is no need to cover the whole IHS Applying too much thermal grease will have negative impact on the cooling performance ST...
Page 18: ...s may result in poor thermal performance of the water block Tighten the fitting barbs in clockwise direction until the gasket underneath is compressed STEP 10 Install the CPU water block along with th...
Page 19: ...n Use enclosed Allen key to tighten the screws in clockwise direction STEP 2 Prepare your suitably sized PC chassis for installation of radiator unit The position of the unit in the chassis depends on...
Page 20: ...d either A receive the coldest air possible by placing the radiator on the air inlet or B serve as an overall hot air exhaust by placing the radiator on the exhaust The latter results in overal decrea...
Page 21: ...m square mounting hole pattern on the chassis without using any pump bracket STEP 2 The position of the unit in the chassis depends on the fan mounting holes and the hardware you have installed Usuall...
Page 22: ...unit is now complete OPTION 2 INSTALLING THE PUMP ON THE CHAS SIS WALL STEP 1 The KIT comes with pump unit with pre installed anti vibration decouplers Take the unit and place it on the EK UNI Pump B...
Page 23: ...n the UNI pump bracket from the front side STEP 3 Secure the M4x6 screws from the previous step with four M4 nuts and PVC washers Tighten them using 2 5mm Allen key with the screws Make sure that the...
Page 24: ...to 60mm apart as shown on the picture on the right Alternatively you can drill two 4 5mm holes using electric power drill to the most suitable place on the wall of your computer chassis Take the two...
Page 25: ...each clamp Use enclosed 2 5mm Allen key STEP 6 The reservoir has multiple G1 4 ports which can be used as inlet or outlet port Please choose the inlet or outlet port de pending on your loop configurat...
Page 26: ...ect the radiator s outlet port with the water block s inlet port This is best practice but it is not mandatory CPU Waterblock Pump Radiator with Fans COLD AIR HOT AIR STEP 1 STEP 2 Visualize the tube...
Page 27: ...g by screwing it in counter clockwise direction STEP 4 Slide the fitting ring along the tube with the threaded side fac ing the fitting barb Install the tube on fitting barb If needed heat the tube in...
Page 28: ...ated fan headers if possible Always use CPU fan header On majority of motherboards these head ers usually offer best PWM regulation Connecting the FANS STEP 1 To connect the fans you might need EK Cab...
Page 29: ...ower supply PSU Everything else needs to be disconnected This steps must be done to prepare the power supply for the pump in order to fill the water cooling loop with coolant and run a leak test Your...
Page 30: ...P 2 Remove the top cover of your reservoir by unscrewing it in counter clock wise direction It is recommended to protect the exposed hardware with a few paper towels in order you have a leak or mistak...
Page 31: ...2 centimeters below the edge Screw the reservoir top back in clockwise direction STEP 5 Shake and tilt the PC chassis to remove any air possibly trapped in the radia tor You may need to add more cool...
Page 32: ...in counter clockwise direction Gently pull the tube off the fitting and direct it into the container Let the coolant flow into the container STEP 3 Disconnect the other tube connected to the reservoi...
Page 33: ...ally have lower power output therefore they are not included in this equation In this manual we will expand the loop with an additional GPU full cover water block You can also expand the loop with an...
Page 34: ...be thoroughly cleaned You must let all the cool ant out Page 30 The radiator must be flushed and the pump checked and cleaned It is recommended to change the tubing TIP 4 USE EK DESIGNED AND MANUFACTU...
Page 35: ...th an additional radiator units Q What flow rates are to be expected with EK KIT EXTREME A This kit typically operates at about 400L h Installing a typical GPU water block typically drop flow rates fr...
Page 36: ...ch has leached from the tubing When using unsafe liquid cooling tubing The symptoms usually include rapid spike in temperature when stressing your CPU to the maximum flow rates are very low Visually i...
Page 37: ...PU Fan Speed Control optionbox and select Auto Normal or Manual General MSI Z170 X99 motherboard guide 1 Enter UEFI and go to Hardware Monitor 2 Select the FAN header you wish to edit the one that you...
Page 38: ...nickel Wipe the entire surface of the nickel with the polish using small circular motions until it looks shiny and clean Use another clean cloth to remove the remains of the polish ing paste from the...
Page 39: ......
Page 40: ...PPORT AND SERVICE For assistance please contact http support ekwb com EKWB d o o Pod lipami 18 1218 Komenda Slovenia EU SOCIAL MEDIA EKWaterBlocks EKWaterBlocks ekwaterblocks ekwaterblocks EKWBofficia...