16
9.
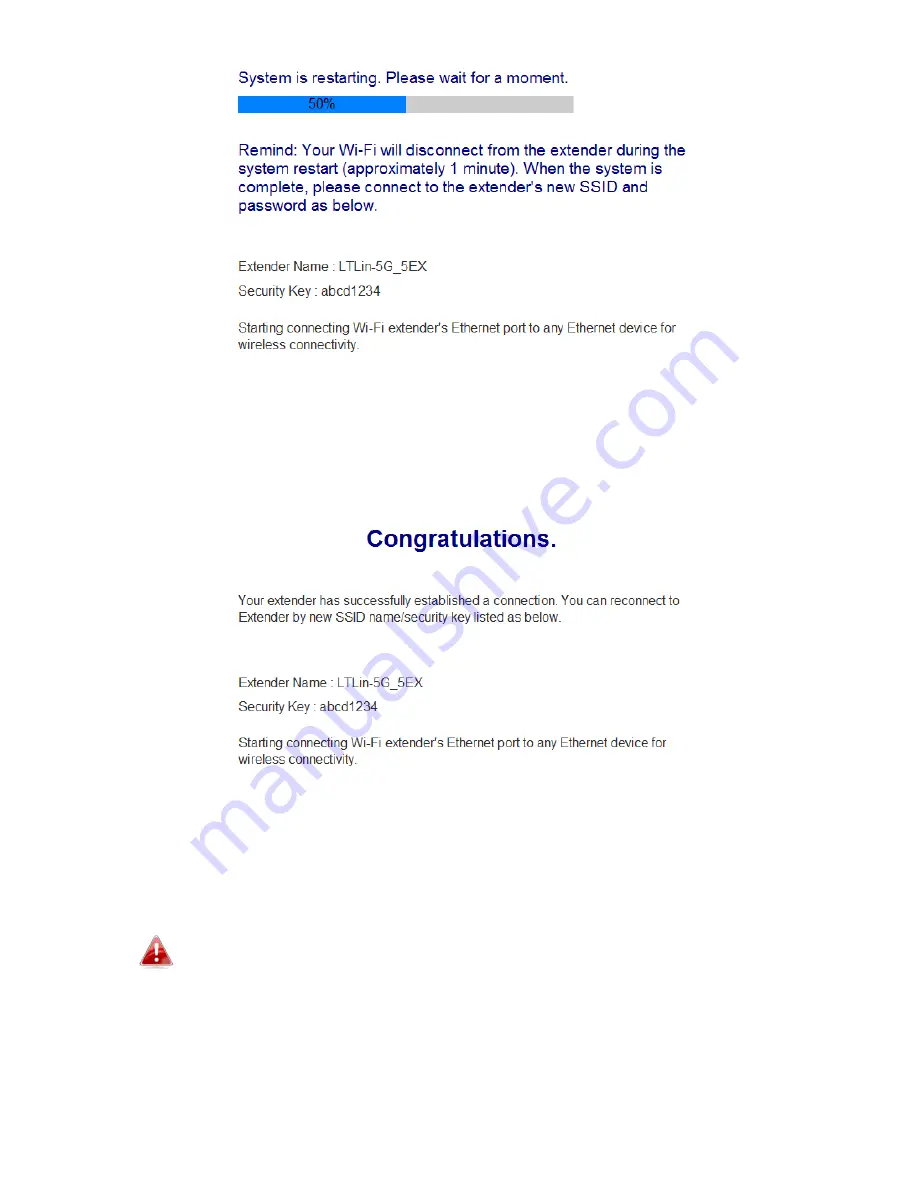
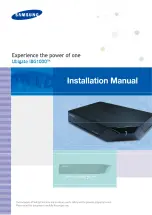
A final congratulations screen will indicate that setup is complete. The
EW-7288APC is working and ready for use - the LED should display
on
and
green
.
10.
Please close the browser window. You can now connect to the
EW-7288APC’s
new SSID
on a wireless device within range such as a
computer, smartphone or tablet.
The password for your EW-7288APC’s SSID is the same as for your
router’s SSID.
11.
To use the EW-7288APC as a wireless bridge for a wired network
device, simply connect the EW-7288APC to your network device’s Ethernet
port.
Summary of Contents for EW-7288APC
Page 1: ...1 EW 7288APC User Manual 04 2014 v1 0...
Page 6: ...6 I 3 Back Panel LAN Port Mode Switch WPS Reset Button Power Port...
Page 14: ...14 6 Please wait while the EW 7288APC tests the connection...
Page 44: ...44...
Page 46: ...46...
Page 48: ...48 4 Click Properties 5 Select Internet Protocol Version 4 TCP IPv4 and then click Properties...
Page 53: ...53...
Page 55: ...55...
Page 61: ...61 4 Click Properties 5 Select Internet Protocol Version 4 TCP IPv4 and then click Properties...
Page 63: ...63...
Page 70: ...70 6 Click Apply to save the changes...
Page 77: ...77 3 Your router s IP address will be displayed next to Default Gateway...
Page 79: ...79 3 A new window will open type ipconfig and press Enter...
Page 80: ...80 4 Your router s IP address will be displayed next to Default Gateway...
Page 82: ...82 4 Click the TCP IP tab and your router s IP address will be displayed next to Router...
Page 95: ...95...


