15
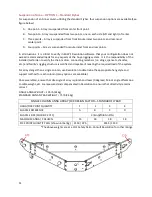
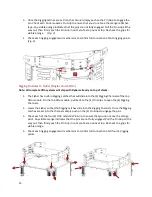
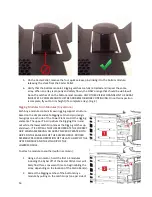
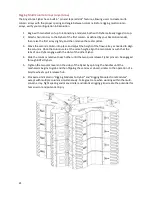
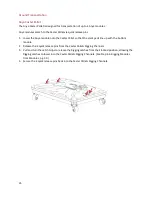
3. Once the Rigging Latches are set into the channel simply push on the Pin Grip to engage the
pin. Check each Anna module’s Pin Grip to ensure that you do not see the orange reflective
tape. Any visible orange indicates that the pins are not fully engaged. Pull the Pin Grip all the
way out, then firmly push the Pin Grip in until you feel a positive stop. Re-check the grips for
visible orange.
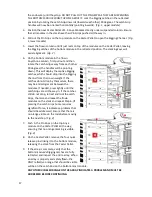
(Fig. 2)
4.
Check each rigging engagement mechanism to confirm full connection of both rigging points.
(Fig. 2)
Rigging Modules to Flybar (Single column Otto)
Note: All complete Otto systems will ship with Flybars already on top of stacks.
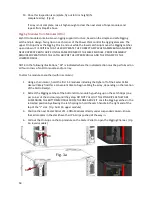
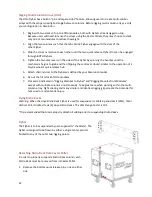
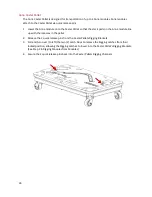
1. The Flybar has built-in Rigging Latches that will slide into the (4) Rigging Channels of the top
Otto module. On the top Otto module, pull back on the (4) Pin Grips to open the (4) Rigging
Channels.
2. Lower the Flybar so that the Rigging Latches slide into the Rigging Channels. Once the Rigging
Latches are set into the channels simply push on the (4) Pin Grips to engage the pins.
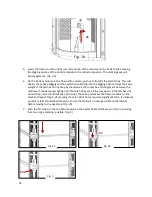
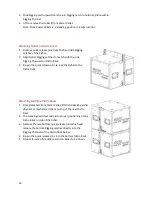
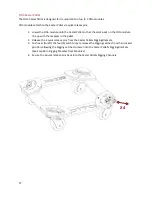
3. Check each of the four (4) Otto module’s Pin Grip to ensure that you do not see the orange
paint. Any visible orange indicates that the pins are not fully engaged. Pull the Pin Grip all the
way out, then firmly push the Pin Grip in until you feel a positive stop. Re-check the grips for
visible orange.
4. Check each rigging engagement mechanism to confirm full connection of all four (4) rigging
points.
Summary of Contents for ADAPTive systems
Page 1: ...Accessory Rigging Guide...

