


8
Technical Data
PR211-183-505-01
VoCALL CFVCCM9 compact master
EATON
www.eaton.com
Set time+date
Scroll through the root menu using the navigation keys until
Set time+date is selected. Press TICK to show the Set
time+date menu.
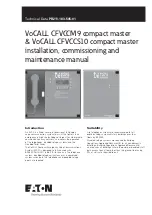
Set time + date
Date > 01|01|11
Time 14:15:06
:Next
This menu shows the current date and time in the
following format:
Day | Month | Year
Hour:Minute:Second
The cursor will be on the first option: Day. Use the navigation keys
to select the correct day then press TICK to move to the Month
option. Repeat until the current date and time are set and the next
option is selected.
Most configuration menus will have the same options located
in the bottom right of the LCD screen: Next, Save, and Quit.
Pressing the TICK button selects the option chosen:
Next:
Moves cursor back to first option on screen.
Save:
Stores information and moves back to the previous
menu screen.
Quit:
Discards all information on screen, and moves back
to the previous menu screen.
Use the navigation keys to select Next, Save, or
Quit as desired, then press TICK. Both Save and
Quit will go back to the root menu.
Change manager PIN
The default PIN to access the configuration menus is 3333, but
this can be changed.
Scroll through the root menu using the navigation keys until
Change manager Pin is selected. Press TICK to show the Change
manager PIN menu.
There are 2 lines: New PIN and Repeat PIN. The cursor will be on
the first digit of the New PIN. Use the navigation keys to change
the digit, and press TICK to move to the next digit. Repeat until
all digits have been entered for both the New PIN and the Repeat
PIN, and the Next option is selected.
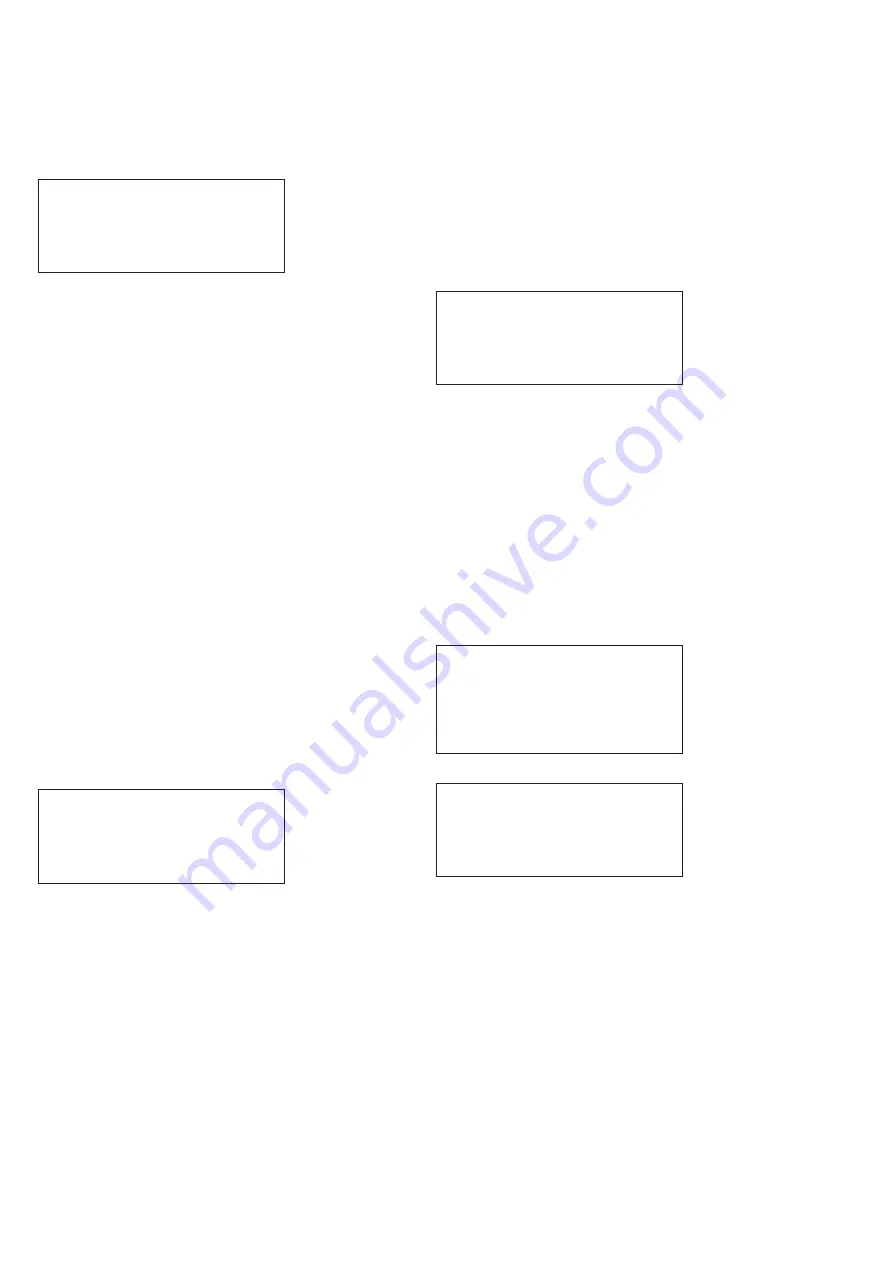
Change PIN
New PIN 0***
Repeat PIN ****
:Next
New PIN:
PIN number that will be used to access the
configuration menus.
Repeat PIN:
New PIN repeated. If this differs from the new PIN,
then the new PIN number will not be ticked, and a
warning message will be displayed on screen.
Use the navigation keys to select Next, Save, or Quit as
desired, then press TICK. Both Save and Quit will go back to
the root menu.
Change engineer PIN
The default Engineer PIN to access the configuration menus is
0000, but this can be changed.
Scroll through the root menu using the navigation keys until
Change engineer PIN is selected. Press TICK to show the Change
engineer PIN menu.
There are 2 lines: New PIN and Repeat PIN. The cursor will be on
the first digit of the New PIN. Use the navigation keys to change
the digit, and press TICK to move to the next digit. Repeat until
all digits have been entered for both the New PIN and the Repeat
PIN, and the Next option is selected.
Change PIN
New PIN 0***
Repeat PIN ****
:Next
New PIN:
PIN number that will be used to access the configu-
ration menus.
Repeat PIN:
New PIN repeated. If this differs from the new PIN,
then the new PIN number will not be ticked, and a
warning message will be displayed on screen.
Use the navigation keys to select Next, Save, or Quit as
desired, then press TICK. Both Save and Quit will go back to
the root menu.
Log settings
The CFVCCM9 has three independent Logs: Faults, Events
and Calls. For each of these logs there is a menu to allow
you to set the visibility to non-logged in users, or to clear the log
(engineer only).
Scroll through the root menu using the navigation keys until Log
settings is selected. Press TICK to show the Log Settings Menu.
Log settings
Back
>Fault log settings
Event log settings
Call log settings
For each log, the following options are available.
Fault Log settings
Show Log >No
Clear log: No
:Next
The cursor will be on the first option, Show log. Use navigation
keys to select either yes or no then press TICK to move to the
Clear log option. Pressing TICK again moves cursor to Next option.
Unlike other menus, the next option toggles between Next, Exec,
and Quit. Use the navigation keys to select the desired option, and
then press TICK.
Next:
Moves cursor back to show log option.
Exec:
Executes command to clear log if clear log option is
set to yes, and moves back to root menu.
Quit:
Moves back to root menu.