Page 32
TD 17558
Effective 3/98
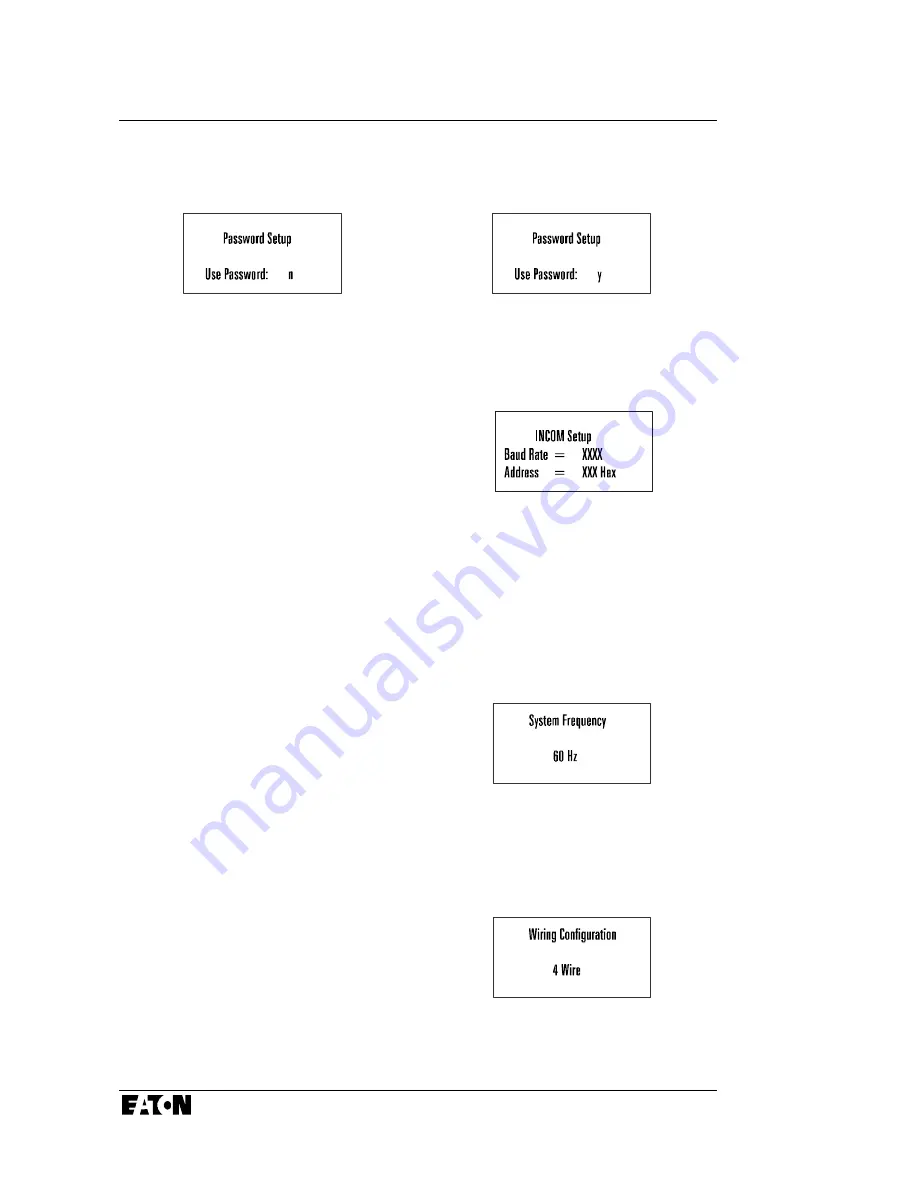
One screen, figure 4.7, indicates that
no password
is necessary to change the
IQ 200 setpoints or system parameters. The other screen, figure 4.8, indicates that
a password is required
to change setpoints or system parameters.
Figure 4.8 No Password Required Figure 4.9 Password Required
4.9.3 INCOM™ Setup
Position the selection arrow next to
INCOM™ Setup
and press
Enter.
This screen, shown in figure 4.10,
indicates the baud rate at which the
IQ 200 will communicate over the
INCOM™ network, and indicates the
network address (in hexadecimal)
assigned to the IQ 200. The baud
Figure 4.10 INCOM™ Setup
rate and the address must be set to the values required by the INCOM™ network
for network communication to occur.
4.9.4 System Frequency
Position the selection arrow next to
System Frequency
and press
Enter.
This screen, shown in figure 4.11,
indicates the frequency selected as the
frequency of the system being
monitored. The screen will display
either
50 Hz
or
60 Hz
. If the frequency
displayed is
not
correct, proceed to
section 4.10 Edit Setpoints.
Figure 4.11 System Frequency
4.9.5 Wiring Configuration
Position the selection arrow next to
Wiring Configuration
and press
Enter.
This screen, shown in figure 4.12,
indicates the wiring configuration
selected as the configuration of the
system being monitored. The screen
will display
either
3 Wire
or
4 Wire
.
If the wiring configuration displayed
is
not
correct, proceed to
section
4.10 Edit Setpoints.
Figure 4.12 Wiring Configuration
Summary of Contents for IQ 200
Page 52: ...TD 17558 Effective 3 98...
Page 53: ...TD 17558 Effective 3 98...
Page 54: ...TD 17558 Effective 3 98...


