3. Installation
3.4 Preparations
3.4 Preparations
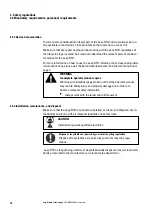
1. Select the installation location you want for the device.
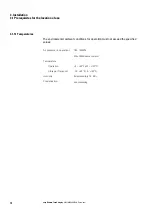
Make sure that all the requirements for the installation location are met →
page 32.
2. Make a cutout with the right size for the easy-RTD at the location you selec-
ted.
3. Make sure that the mounting cutout has the right size.
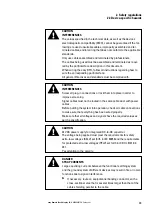
CAUTION
POOR SEALING
If the gasket cord is twisted when placed inside the groove or does
not provide adequate sealing all around, the degree of protection will
not be achieved.
The join of the sealing strip must be positioned on the bottom of the
device.
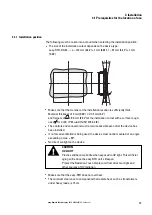
4. Pre-assemble the holding brackets with the set screws.
Screw the Internal hexagon M4x25, galvanized, S2 set screws into the holding
brackets.
Fig. 5: Pre-installing the holding brackets
Four holding brackets are included as accessories with the easy-RTD.
All four holding brackets need to be installed in order to get an IP65
degree of protection.
Together with the gasket, the holding brackets are the main element
required for achieving an IP65 (at front) degree of protection.
The purpose of the holding brackets is to secure the easy-RTD in the installation
cutout, e.g., on the control panel door.
To this end, the brackets must be hooked into the enclosure and screwed against the
control panel door, etc.
38
easy Remote Touch display
06/21 MN048027EN Eaton.com
Summary of Contents for 199740
Page 1: ...Manual 06 21 MN048027EN easy Remote Touch display Manual ...
Page 4: ......
Page 8: ...8 easy Remote Touch display 06 21 MN048027EN Eaton com ...
Page 14: ...0 1 About this documentation 14 easy Remote Touch display 06 21 MN048027EN Eaton com ...
Page 24: ...1 Description 1 10 Marine approvals 24 easy Remote Touch display 06 21 MN048027EN Eaton com ...
Page 48: ...4 External connections 4 2 Ethernet 48 easy Remote Touch display 06 21 MN048027EN Eaton com ...
Page 78: ...8 Faults 78 easy Remote Touch display 06 21 MN048027EN Eaton com ...


