10
EASTMAN
Form C-1555
Changing the Knife (continued)
WARNING
Unplug the attachment plug from power source.
1.
Make sure the sharpener is in the locked position.
2.
Raise the pressure foot (Figure 7, X on page 9) to the top
position using the pressure foot lever (Figure 7, R),
which is located next to the machine operating handle.
3.
Lay the machine on a table, as shown in Figure 7.
4.
Press in the turning knob (Figure 2, F on page 3) and turn
the knife to the bottom position.
5.
Insert the T-handle knife bolt wrench (Figure 7, Y) and
loosen the knife lockbolt (Figure 7, 1).
6.
Remove the knife through the bottom of the standard
(Figure 7, Z).
7.
After removing the knife, clean the knife slot in the
standard with the slot cleaner (Figure 7, 2).
8.
Insert a new knife in the knife slot. Be sure to set the
knife tightly against the knife lockbolt. Hold the bottom
of the knife against the back of the slot in the standard
and tighten the knife lockbolt.
9.
After tightening the knife lockbolt, check to see if the
knife runs freely in the standard by rotating the turning
knob.
10. Install new sharpener belts and operate the sharpener
three or four times before starting to cut.
Note: For best results, use only Eastman knives. The
limited warranty covering your machine is not valid if
you use knives other than those manufactured by
Eastman.
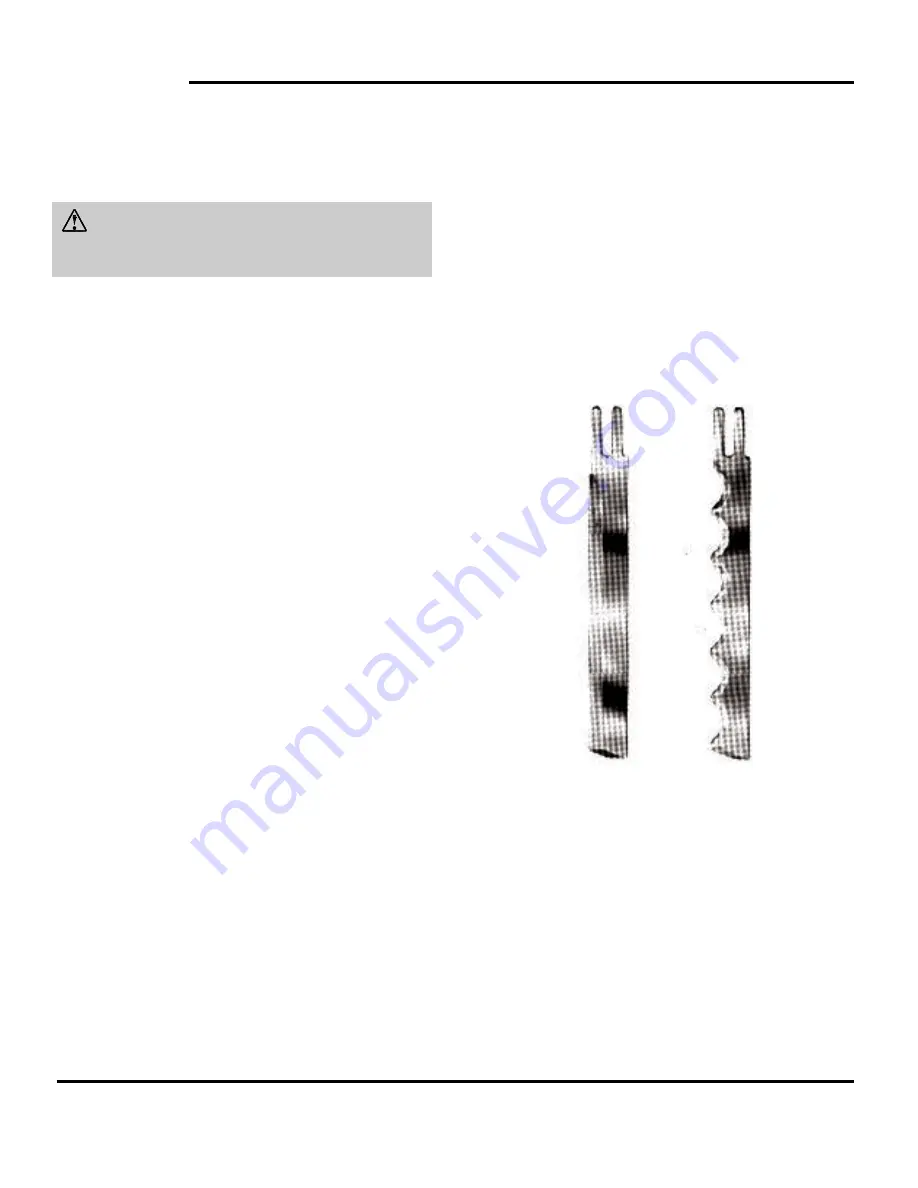
The available knives and accessories are shown
in Figure 8 and in the selection charts on the next page.
STRAIGHT
WAVE
KNIFE
KNIFE
Figure 8. Available Eastman Knife Types
Summary of Contents for Blue streak II 629X
Page 1: ......
Page 19: ...15 FormC 1555 Figure 12 Single Phase Electrical Configuration...
Page 40: ......


