18
KH 2370
19
KH 2370
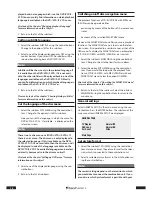
• have connected a digital audio component by means
of the stereo output (using the cinch cable to the cinch
jacks AUX IN R and L) to the combination unit.
The sound reproduction then only comes from two chan-
nels (Stereo). This is called stereo downmix.
Otherwise
you will not be able to hear the sound or only very
softly when playing back DVDs/VCDs/S-VCDs, audio
and MP3 CDs!
Select OFF, if none of the named reasons for switching on
the stereo downmix apply.
CENTER
To play back 5.1 channel surround sound, select the ON
option. If you would like to switch off the center loud-
speaker, select the OFF option.
REAR
To play back 5.1 channel surround sound, select the ON
option. If you would like to switch off the rear right and
left loudspeaker, select the OFF option.
Subwoofer
To play back 5.1 channel surround sound, select the ON
option. If you would not like to have any bass enhance-
ment by the subwoofer, select the AUS option.
CNTR DELAY
Here you can set the delay with which the sound of the
center loudspeaker reaches your listening position. If the
settings have been carried out optimally, the sound from
all loudspeakers will reach your listening position at the
same time.
The correct value depends on the distance of the center
loudspeaker from your listening position. Three millisec-
onds delay correspond to a distance of around one meter.
Set a delay between one and five milliseconds with the up
and down control buttons.
REAR DELAY
Here you can set the delay with which the rear loudspeak-
er arrives at your listening position. If the settings have
been carried out optimally, the sound from all loudspeak-
ers will reach your listening position at the same time.
The correct value depends on the distance of the rear
loudspeaker from your listening position. Three millisec-
onds delay correspond to a distance of around one meter.
Set a delay between one and fifteen milliseconds with the
up and down control buttons.
TEST TONE
Choose between the ON and OFF options. When the test
sound is switched on, you will hear a hissing sound com-
ing one after the other from all connected loudspeakers.
With this sound you can test, whether
• all loudspeakers are correctly connected to the combi-
nation unit and
• you have the optimal delay setting for the rear and the
center loudspeakers.
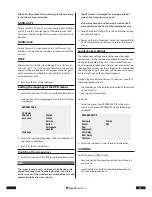
3
Return to the list of the subitems. Select the subitem
MAIN PAGE using the control buttons to return to the
main menu. Exit the OSD menu, by selecting the menu
item EXIT SETUP.
Set the volume level of the surround
loudspeakers
You can set the volume level for each surround loudspeak-
er and also the subwoofer individually. To do this:
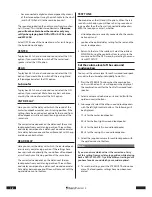
1
Press the STEREO/ST button when the combination
unit is switched on. FL +6 will appear in the display of
the combination unit for the front left surround loud-
speaker.
2
Select a volume value b6 and -6 dB with the
up/down control buttons.
3
Subsequently select the other surround loudspeakers
with the left/right control buttons. The following will
be displayed:
• CT +6 for the center loudspeaker
• FR +6 for the front right surround loudspeaker
• RL +6 for the back left surround loudspeaker
• RR +6 for the rear right surround loudspeaker
4
Select the required volume for each loudspeaker with
the up/down control buttons.
Note:
If you are not sure which value is the correct one: Carry
out this setting from your listening position while playing
back a DVD/VCD/S-VCD. Try all the different settings until
you have found a sound which you consider optimal.
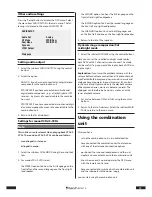
5
To save the settings, press the STEREO/ST button once
more. The loudspeaker settings have now been com-
pleted.

