background image

22

Changing channel settings

DX-24L200A12

Changing channel settings

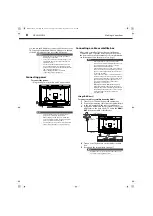
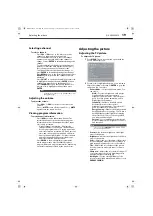
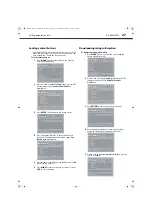
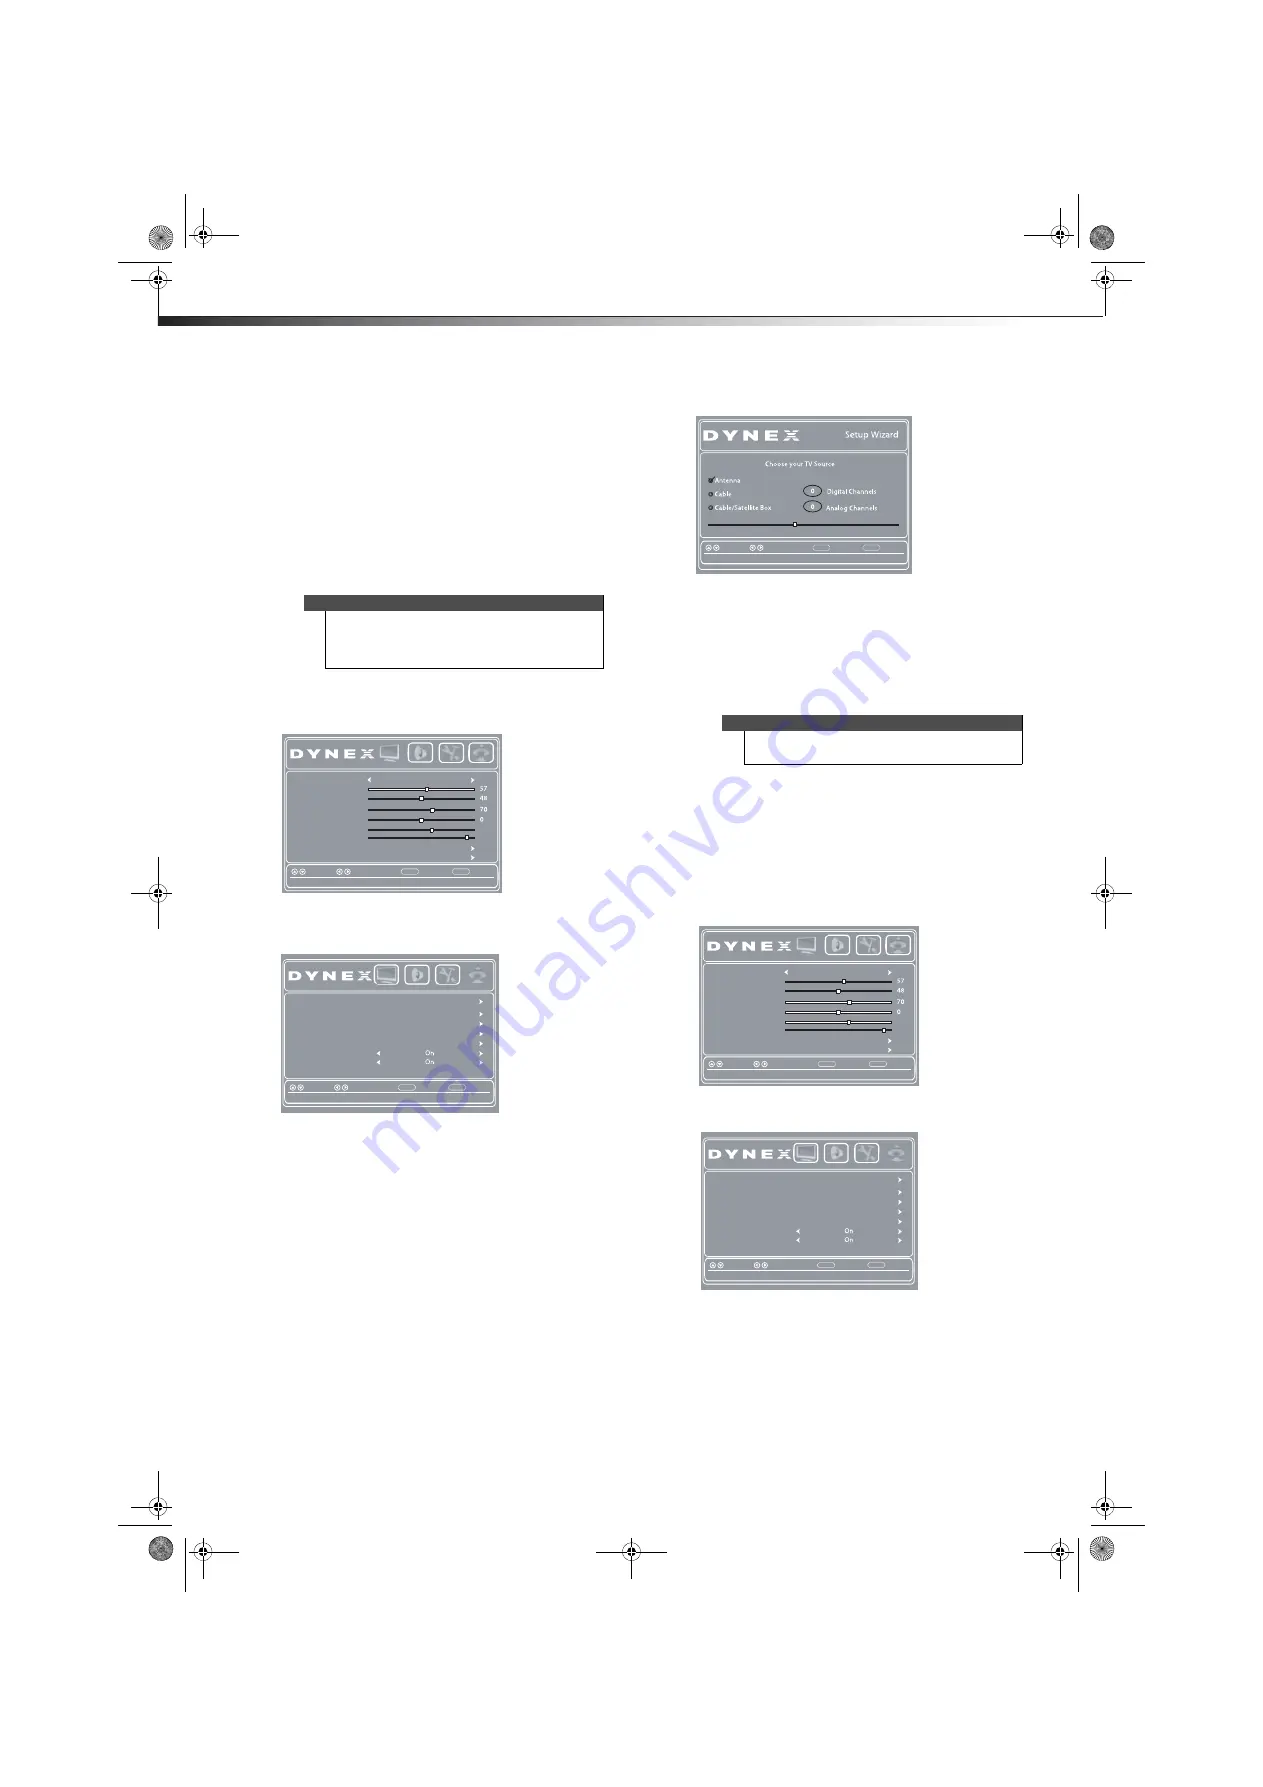
Automatically scanning for channels

When you scan for channels, your TV searches for 
channels available in your viewing area and stores the 
channel information in the channel list. When you press 

CH+

 or 

CH–

, your TV goes to the next or previous channel 

in the channel list.
If the TV signal source changes, for example you change 
from an outdoor antenna to cable TV (no box), you need 
to scan for channels again.

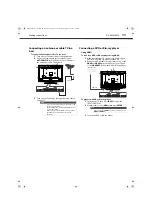
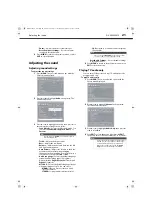
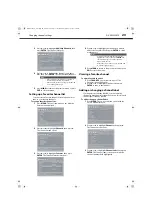
To automatically scan for channels:

1

Press 

MENU

. The on-screen menu opens with the 

Picture

 menu displayed.

2

Press 

 or 

 to highlight 

Channels

, then press


The 

Channels 

menu opens with 

Auto Channel Scan


highlighted.

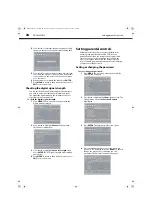
3

Press 

 or 

 to select your signal type. You can 

select:

Antenna

—Select this option if you use an 

antenna. Your TV scans for analog (VHF and UHF) 
and digital channels in your area.

Cable

—Select this option if you have cable TV 

and do not have a cable TV box. Your TV scans for 
analog and digital channels in your area.

Cable/Satellite Box

—Select this option if you 

use a cable or satellite TV box. Your TV does not 
scan for channels because the cable or satellite 
TV box provides the channel information.

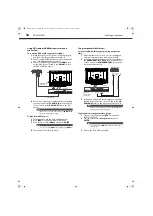
4

Press 

ENTER

 to start the auto channel scan.

If you selected 

Antenna

 or 

Cable

, your TV searches 

automatically for available channels in your area and 
stores the channel information in the channel list. 
This may take several minutes. While scanning, the 
TV displays a progress report.
- Or- 
If you selected 

Cable/Satellite Box

, the channel 

search is not necessary.

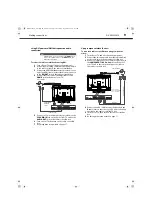
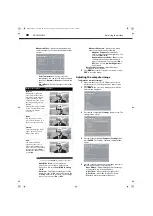
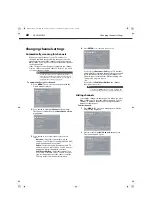
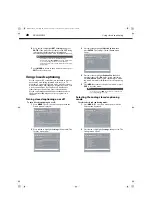
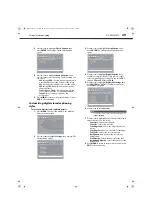
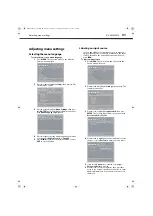
Hiding channels

You can hide channels in the channel list. When you press 

CH+

 or 

CH–

, your TV skips the hidden channels. You can 

still tune to a hidden channel by pressing the number 
buttons for the channel.

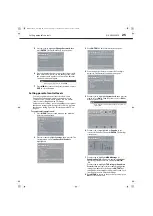
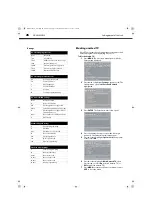
To hide channels:

1

Press 

MENU

. The on-screen menu opens with the 

Picture

 menu displayed.

2

Press 

 or 

 to highlight 

Channels

, then press


The 

Channels


menu opens.

Note

You do not need to scan for channels unless the 
available channels have changed since you ran the


Setup Wizard

. For more information, see “Turning on 

your TV for the first time” on page 17.

Picture Mode

Standard

Contrast
Brightness

Color

Tint

Sharpness
BackLight
Advanced Video
Reset Picture Settings

Back

Select

Move

Adjust settings to affect picture quality

MENU

EXIT

Exit

Picture

Audio

Settings

Channels

29

55

Auto Channel Scan

Add/Skip Channels

Favorites
Channel Label

Channel Strength
Audio Only

Back

Select

Move

Adjust the audio with the picture turned off

MENU

EXIT

Exit

Auto Zoom

Picture

Audio

Settings

Channels

Note

You can press 

EXIT

 at any time to stop scanning, but 

you must run the scan later to complete the process.

Back

Select

Move

MENU

EXIT

Exit

Select Antenna if using an antenna for standard or HD TV

RF CH            0

Picture Mode

Standard

Contrast
Brightness

Color

Tint

Sharpness
BackLight
Advanced Video
Reset Picture Settings

Back

Select

Move

Adjust settings to affect picture quality

MENU

EXIT

Exit

Picture

Audio

Settings

Channels

29

55

Auto Channel Scan

Add/Skip Channels

Favorites
Channel Label

Channel Strength
Audio Only

Back

Select

Move

Adjust the audio with the picture turned off

MENU

EXIT

Exit

Auto Zoom

Picture

Audio

Settings

Channels

DX-24L200A12_11-0584_MAN_ENG_V1.book  Page 22  Wednesday, September 14, 2011  12:59 PM

Summary of Contents for DX-24L200A12

Page 1: ...24 LCD TV DX 24L200A12 USER GUIDE DX 24L200A12_11 0584_MAN_ENG_V1 book Page 0 Wednesday September 14 2011 12 59 PM ...

Page 2: ... a home theater system with multiple devices 16 Using the remote control 16 Installing remote control batteries 16 Aiming the remote control 16 Turning on your TV for the first time 17 Understanding the basics 18 Turning your TV on or off 18 Selecting the video input source 18 Using the on screen menus 18 Navigating the menus 18 Selecting a channel 19 Adjusting the volume 19 Viewing program inform...

Page 3: ...menu language 31 Labeling an input source 31 Restoring settings to default 32 Maintaining 32 Cleaning 32 Servicing 32 Troubleshooting 32 Video and audio 32 Remote control 34 General 34 Specifications 35 Programming universal remote controls 36 Programming a different universal remote control 36 For additional help and information 36 Common universal remote control codes 36 Legal notices 37 One yea...

Page 4: ...iv DX 24L200A12_11 0584_MAN_ENG_V1 book Page iv Wednesday September 14 2011 12 59 PM ...

Page 5: ... larger than life TV Make sure that you place or install the TV where it cannot be pushed pulled over or knocked down Make sure that you route all cords and cables so that they cannot be pulled or grabbed by curious children Wall mounting If you decide to wall mount your TV always remember One size of wall mount does not fit all Use only a wall mount rated for the weight of your TV and that has be...

Page 6: ... no objects filled with liquids such as vases should be placed on the apparatus Warnings Electric shock hazard To reduce the risk of fire or electric shock do not remove any cover or expose the device to rain or moisture No user serviceable parts are inside Refer servicing to qualified service technicians Lightning For added protection for your device receiver during a lightning storm or when it i...

Page 7: ...FPA No 40 provides guidance for correct grounding Specifically it states that the cable ground must be connected to the grounding system of the building as close to the point of cable entry as practical Condensation Moisture forms on the TV if the TV is brought from cool surroundings into a warm room or if the temperature of the room rises suddenly When this happens the TV s performance may be imp...

Page 8: ... TV then remove the column 4 Attach the wall mount bracket to your TV using the mounting holes on the back of your TV See the instructions that came with the wall mount bracket for information about how to correctly hang your TV TV components Package contents Remote control and batteries 2 AAA Stand with screws Composite cable Quick Setup Guide Notes If you plan to wall mount your TV do not instal...

Page 9: ...necting a DVD or Blu ray player on page 11 or Using DVI same as HDMI but requires a sound connection on page 12 PC IN VGA Connect the video for a computer to this jack For more information see Connecting a computer on page 14 PC IN AUDIO Connect the audio from a computer or a DVI device to this jack For more information see Connecting a computer on page 14 or Using DVI same as HDMI but requires a ...

Page 10: ...Press to enter channel numbers and the parental control password Dot Press to enter a digital sub channel number For more information see Selecting a channel on page 19 INFO Press to display TV status information such as the channel number channel name if available or signal source For more information see Viewing program information on page 19 Press to navigate through the on screen menus and adj...

Page 11: ...st viewed channel GUIDE Press to display the program guide For more information see Viewing program information on page 19 EXIT Press to close the on screen menu CH CH Press to go to the next or previous channel in the channel list For more information see Selecting a channel on page 19 FAVORITE Press to open the Favorites channel list For more information see Setting up a favorite channel list on...

Page 12: ... power cord when connecting external equipment Notes Your TV should only be operated from the power source indicated on the label Always unplug the AC power cord from the power outlet when you will not be using your TV for an extended period of time The AC power cord is permanently attached to the back of your TV Do not try to pull it out Notes If the signal level for a channel is weak the picture...

Page 13: ...he cable in jack on the cable or satellite box 3 Connect a component video cable not provided to the COMPONENT IN Y PB PR jacks on the back of your TV and to the component video out jacks on the cable or satellite box 4 Connect an audio cable not provided to the L and R audio jacks on the side of your TV and to the audio out jack on the cable or satellite TV box 5 Turn on your TV then turn on the ...

Page 14: ...he cable or satellite box 3 Connect a coaxial cable not provided to the ANT CABLE IN jack on the side of your TV and to the coaxial out jack on the cable or satellite box 4 Turn on your TV then turn on the cable or satellite box 5 Go through the setup wizard on page 17 Y PB PR L AUDIO R COMPONENT IN ANT CABLE AV IN VIDEO HDMI 2 HDMI 1 DVI VGA PC DVI AUDIO IN DIGITAL OUTPUT SERVICE PORT Back of TV ...

Page 15: ... To play from a DVD or Blu ray player 1 Turn on your TV then press INPUT to open the INPUT SOURCE list 2 Press or to select HDMI then press ENTER 3 Turn on the DVD or Blu ray player Notes Use a coaxial cable to eliminate interference and noise from radio waves Do not bundle the coaxial cable with the power cord or other cables If the antenna is not installed correctly contact qualified service per...

Page 16: ... PR jacks on the back of your TV and to the COMPONENT OUT jacks on the component video device 3 Connect an audio cable not provided to the L and R audio jacks on the side of your TV and to the L R AUDIO OUT jacks on the component video device To play from the component video device 1 Turn on your TV then press INPUT to open the INPUT SOURCE list 2 Press or to select Component then press ENTER 3 Tu...

Page 17: ... your TV then press INPUT to open the INPUT SOURCE list 2 Press or to select AV then press ENTER 3 Turn on the VCR Note When you connect the audio using the L and R audio jacks the audio output is analog Note You can also press VIDEO to select the composite device Y PB PR L AUDIO R COMPONENT IN ANT CABLE AV IN VIDEO HDMI 2 HDMI 1 DVI VGA PC DVI AUDIO IN DIGITAL OUTPUT SERVICE PORT Back of TV DVD o...

Page 18: ...of your TV and to the LINE OUT or AUDIO OUT jack on the computer To play video from the computer 1 Turn on your TV then press INPUT to open the INPUT SOURCE list 2 Press or to select VGA then press ENTER 3 Turn on the computer and adjust the display properties if necessary Note When you connect the audio using the L and R audio jacks the audio output is analog Note You can also press VIDEO to sele...

Page 19: ... headphones The TV speakers are muted when headphones are attached To connect headphones Connect headphones to the headphone jack on the back of your TV Note You can also press HDMI repeatedly to select HDMI1 or HDMI2 Y PB PR L AUDIO R COMPONENT IN ANT CABLE AV IN VIDEO HDMI 2 HDMI 1 DVI VGA PC DVI AUDIO IN DIGITAL OUTPUT SERVICE PORT Back of TV HDMI cable Warning Loud noise can damage your hearin...

Page 20: ...sensor on the front of your TV Notes When connecting an AV receiver with the ARC function we recommend that you connect the AV receiver s HDMI OUT jack to your TV s HDMI ARC jack by using an HDMI ARC compliant cable In the following situations the HDMI cable routes Dolby Digital audio to the AV receiver so you do not need to connect a separate digital audio cable When you have a game console conne...

Page 21: ... OR If you selected Retail Mode a message appears If you select Retail Mode then Energy saving is not realized Select Yes to continue or select No to exit 12 Press or to highlight Antenna Cable or Cable Satellite Box if your cable TV uses a box select Cable Satellite Box then press ENTER If you chose Antenna or Cable your TV automatically starts scanning for channels available in your viewing area...

Page 22: ...in TV mode unless otherwise indicated The screens shown in this manual are for explanation purposes and may vary from the actual screens on your TV Component INPUT SOURCE Picture Mode Standard Contrast Brightness Color Tint Sharpness BackLight Advanced Video Reset Picture Settings Back Select Move Adjust settings to affect picture quality MENU EXIT Exit Picture Audio Settings Channels 29 55 Sound ...

Page 23: ...he picture Adjusting the TV picture To adjust the TV picture 1 Press MENU The on screen menu opens with the Picture menu displayed 2 Press or to highlight an option press or to adjust the setting or press or ENTER to go to the sub menu You can select Picture Mode Selects the picture mode You can select Vivid Provides a bright and vivid picture Significantly increases the contrast brightness and sh...

Page 24: ...cally adjusts the image settings such as position and phase H Position Moves the image right or left V Position Moves the image up or down Clock Adjusts the sample frequency Aspect ratio option Example Normal Displays the original 4 3 aspect ratio with vertical black bars on the left and right of the image If the original aspect ratio is 16 9 the image displays in 16 9 Zoom Expands the image to fi...

Page 25: ...ram audio only To play TV audio only 1 Press MENU The on screen menu opens with the Picture menu displayed 2 Press or to highlight Channels then press The Channels menu opens 3 Press or to highlight Audio Only then press or to select On 4 Press EXIT to close the menu After pressing EXIT the picture turns off in approximately 3 to 5 seconds Note You can also press AUDIO on the remote control to sel...

Page 26: ...s not necessary Hiding channels You can hide channels in the channel list When you press CH or CH your TV skips the hidden channels You can still tune to a hidden channel by pressing the number buttons for the channel To hide channels 1 Press MENU The on screen menu opens with the Picture menu displayed 2 Press or to highlight Channels then press The Channels menu opens Note You do not need to sca...

Page 27: ...el Label screen opens with the channel number field highlighted Notes A channel with a check mark is not hidden A channel with no check mark is hidden If the list has more than one page press or to scroll through the pages Back Select Move Manually add and skip channels in your program list MENU EXIT Exit Picture Audio Settings Channels Channel No Channel Name Show Picture Mode Standard Contrast B...

Page 28: ... displayed 2 Press or to highlight Settings then press The Settings menu opens with Parental Controls highlighted 3 Press ENTER The Enter Password screen opens 4 Press the number buttons to enter the four digit password The default password is 0000 You should change the password to something you can remember The Parental Controls menu opens Back Select Move Create labels for channels up to 11 char...

Page 29: ...o block then press ENTER OR Press or to highlight TV Ratings or Canadian French then press or or to highlight the rating you want to block then press ENTER That rating and all other higher ratings are blocked Lock icons appear next to all locked ratings 8 Press MENU to return to the previous menu or press EXIT to close the menu Note If you forget your password enter 9999 Back Select Move Enter a n...

Page 30: ...t rated G General audiences PG Parental guidance suggested PG 13 Suitable for children 13 and older R Parental guidance suggested for children under 17 NC 17 Not suitable for children under 17 X Adults only Canadian English ratings E Exempt programming C Children C8 Children over 8 years old G General audiences PG Parental guidance 14 Over 14 years old 18 Adult programming Canadian French ratings ...

Page 31: ...Audio Settings Channels 29 55 Time Closed Caption Menu Settings Computer Settings Input Labels Back Select Move Set various TV options MENU EXIT Exit System Info Power on in Vivid Mode Off Reset to Default Picture Audio Settings Channels Parental Controls Back Select Move Enter your 4 digit password Default is 0000 MENU EXIT Exit Picture Audio Settings Channels Back Select Move Turn parental contr...

Page 32: ...ioning mode 1 Press MENU The on screen menu opens with the Picture menu displayed 2 Press or to highlight Settings then press The Settings menu opens Note If you want to clear the downloaded rating information select Reset RRT The rating information is cleared If rating information is broadcast by another program your TV downloads the new rating information Picture Mode Standard Contrast Brightnes...

Page 33: ... Style Selects the edge style for the words Font Edge Color Selects the color for the edges Font Color Selects the color for the text Background Color Selects the color for the background Font Opacity Selects the opacity for the text Background Opacity Selects the opacity for the background 8 Press MENU to return to the previous menu or press EXIT to close the menu CC1 CS1 Analog Caption Digital C...

Page 34: ...turn to the previous menu or press EXIT to close the menu Picture Mode Standard Contrast Brightness Color Tint Sharpness BackLight Advanced Video Reset Picture Settings Back Select Move Adjust settings to affect picture quality MENU EXIT Exit Picture Audio Settings Channels 29 55 Time Closed Caption Menu Settings Computer Settings Input Labels Back Select Move Set various TV options MENU EXIT Exit...

Page 35: ...al characters You can enter as many as 10 characters Picture Mode Standard Contrast Brightness Color Tint Sharpness BackLight Advanced Video Reset Picture Settings Back Select Move Adjust settings to affect picture quality MENU EXIT Exit Picture Audio Settings Channels 29 55 Time Closed Caption Menu Settings Computer Settings Input Labels Back Select Move Set various TV options MENU EXIT Exit Syst...

Page 36: ...Video Reset Picture Settings Back Select Move Adjust settings to affect picture quality MENU EXIT Exit Picture Audio Settings Channels 29 55 Time Closed Caption Menu Settings Computer Settings Input Labels Back Select Move Set various TV options MENU EXIT Exit System Info Power on in Vivid Mode Off Reset to Default Picture Audio Settings Channels Parental Controls Warning Do not try to repair your...

Page 37: ... stripes appear on the screen Make sure that the antenna or cable TV is connected correctly and securely See Connecting a cable or satellite box on page 8 or Connecting an antenna or cable TV no box on page 11 If you are using an antenna the digital channel signal may be low To check the digital channel signal strength see Checking the digital signal strength on page 24 If you are using an antenna...

Page 38: ...r message is displayed Press INPUT and make sure that you have selected the correct input for the device or service you are trying to use If you are using a cable or satellite box use the remote that came with that box to change channels Problem Solution After Auto Channel Search there are no channels Reception can vary by channel depending on the broadcast power level of a given station Contact y...

Page 39: ...Hz 800 600 60Hz 1024 768 60Hz 1280 1024 60Hz 1920 1080 60Hz DX 24L200A12 Analog NTSC Digital ATSC 8 VSB Clear QAM DX 24L200A12 HDMI 2 bottom E EDIDcompliant HDCP compliant DVI to HDMI1 only Component video 1 bottom Composite video 1 bottom Shared audio component and composite Yes S Video No PC VGA 1 bottom 3 5mm PC audio input 1 bottom DVI 1 HDMIport1 bottom USB 1 bottom Supports firmware upgrade ...

Page 40: ...ode that matches your TV See your universal remote control s instructions for details If your universal remote control has a Learn feature you can manually program it using the Dynex TV remote to teach the commands one at a time See your universal remote control s instructions for details Notes This note only goes with TV Blu ray or TVs The following codes may not provide full functionality You ma...

Page 41: ...ect the interference by one or more of the following measures Reorient or relocate the receiving antenna Increase the separation between the equipment and receiver Connect the equipment into an outlet on a circuit different from that to which the receiver is connected Consult the dealer or an experienced radio TV technician for help FCC warning Changes or modifications not expressly approved by th...

Page 42: ...38 Legal notices DX 24L200A12 DX 24L200A12_11 0584_MAN_ENG_V1 book Page 38 Wednesday September 14 2011 12 59 PM ...

Page 43: ...at Best Buy or Future Shop branded retail stores or websites What does the warranty not cover This warranty does not cover Customer instruction education Installation Set up adjustments Cosmetic damage Damage due to acts of God such as power surges Accident s Misuse Abuse Negligence Commercialpurposes use includingbutnotlimitedtouseinaplaceofbusiness or in communal areas of a multiple dwelling con...

Page 44: ...01 Penn Ave South Richfield MN 55423 U S A 2011 BBY Solutions Inc All rights reserved DYNEX is a trademark of BBY Solutions Inc Registered in some countries All other products and brand names are trademarks of their respective owners DX 24L200A12_11 0584_MAN_ENG_V1 book Page 1 Wednesday September 14 2011 12 59 PM ...

Reviews: