Chapter 4: Web Configuration
29
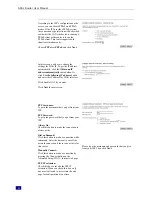
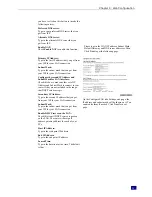
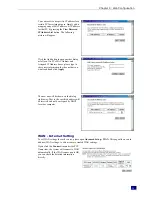
you have to click on this button to invoke the
following entries.
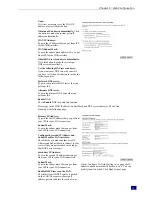
Preferred DNS server:
Type in your preferred DNS server that you
got from ISP.
Alternate DNS server:
Type in the alternate DNS server that you
got from ISP.
Enable NAT:
Check
Enable NAT
to enable this function.
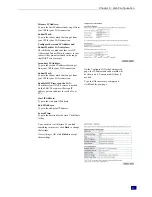
Please type in the WAN IP address, Subnet Mask,
Default Gateway and DNS server addresses. Then
Click
Next
to get the following page.
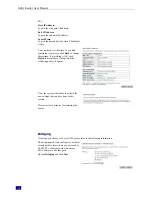
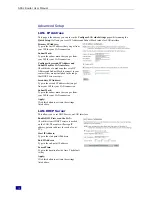
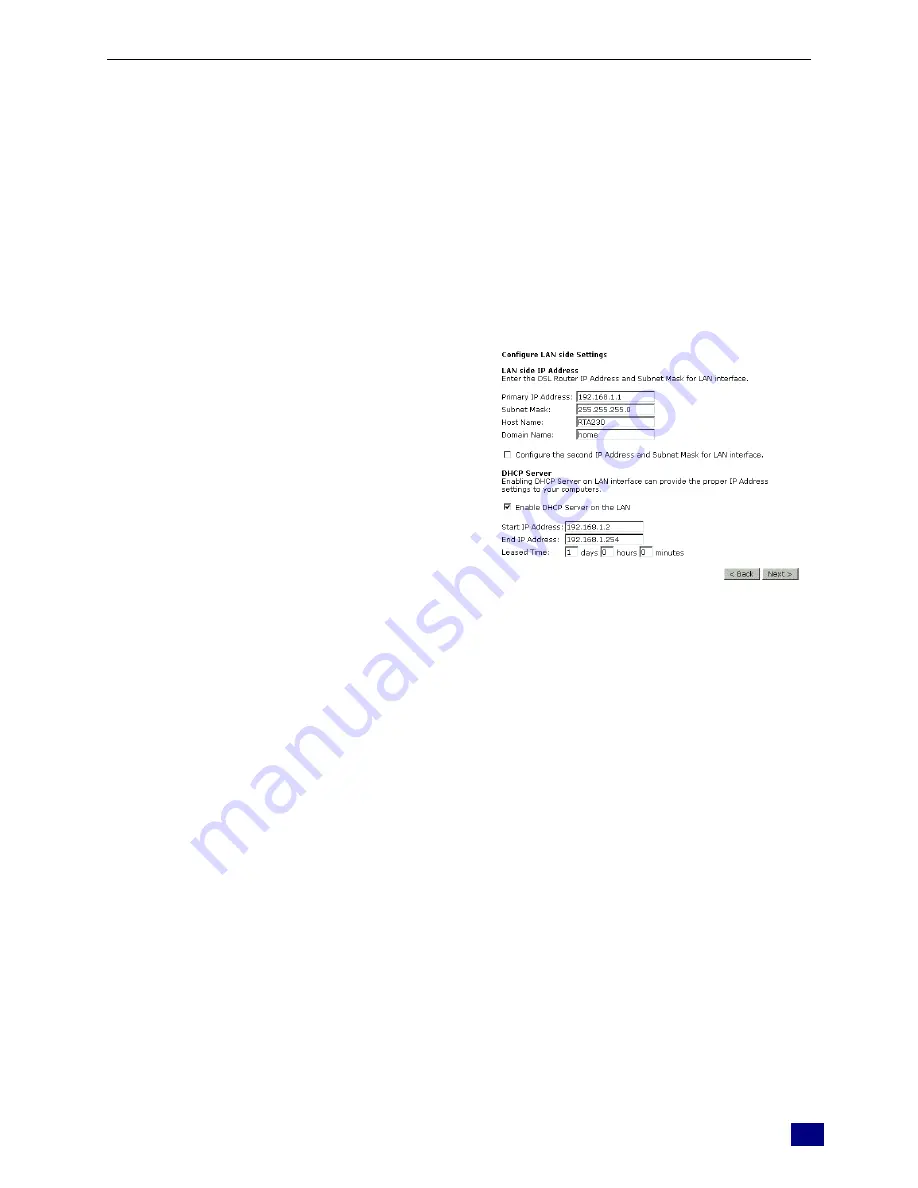
Primary IP Address:
Type in the first IP address that you got from
your ISP for your LAN connection.
Subnet Mask:
Type in the subnet mask that you got from
your ISP for your LAN connection.
Configure the second IP Address and
Subnet Mask for LAN interface:
Check this box to make another set of IP
Address and Subnet Mask to connect to your
router if they are not included in the range
that DHCP server accepts.
Secondary IP Address:
Type in the second IP address that you got
from your ISP for your LAN connection.
Subnet Mask:
Type in the subnet mask that you got from
your ISP for your LAN connection.
Enable DHCP server on the LAN:
Check this item if DHCP service is needed
on the LAN. The router will assign IP
address, gateway address for each of your
PCs.
Start IP Address:
Type in the start point IP address.
End IP Address:
Type in the end point IP address.
Leased Time:
Type in the duration for the time. The default
is 1day.
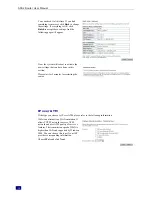
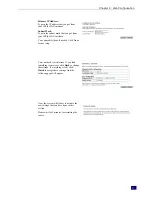
On the Configure LAN side Settings web page, the
IP address and subnet mask will be shown on it. You
can modify them if needed. Click
Next
for next
page.
Summary of Contents for RTA230
Page 1: ...User Manual RTA230 ADSL Router Modem ...
Page 6: ...ADSL Router User Manual vi Appendix 78 Software 78 Hardware 79 ...
Page 75: ...Chapter 5 Connection Mode 67 9 Now the router is well configured You can access into Internet ...
Page 79: ...Chapter 5 Connection Mode 71 ...
Page 85: ...Chapter 7 Glossary 77 ...
Page 88: ...ADSL Router User Manual 80 ...

