USB
Connecting the DSP 260 to a PC for operation via the DSP 260 Graphic User
Interface application is accomplished via the front panel USB port. The port
conforms to the USB 1.0. Type B specification. Type B USB cables are readily
available at computer dealers.
Connection to Amplifiers
It is very important to confirm correct connection to all
amplifiers. DSP 260 has the ability to configure each output
for a specific frequency range; sub, low freq. mid freq, high
freq. You must make sure that each output is connected to the
correct amplifier and loudspeaker(s). Incorrect connections
could lead to unexpected results or damage to loudspeaker
components.
Note also that each preset in the DSP 260 includes DSP and
bandpass parameters for the output channels. It is possible
for a new preset to change an output from Hi to Sub, for
instance. Make sure that connections to amplifiers and
loudspeakers are correct before using a new preset.
Input Level Adjustment
The final step in setting up, installing and connecting the DSP 260 is to set
proper input levels to the unit. The DSP 260 does not itself have input level
controls. Proper input level setting is accomplished by setting the output level
from the (L / R) bus outputs from the connected mixer (or other audio output
device). The input meters monitor the input level of either analog or AES/EBU
inputs, depending on the input mode selection set in the Setup Menu.
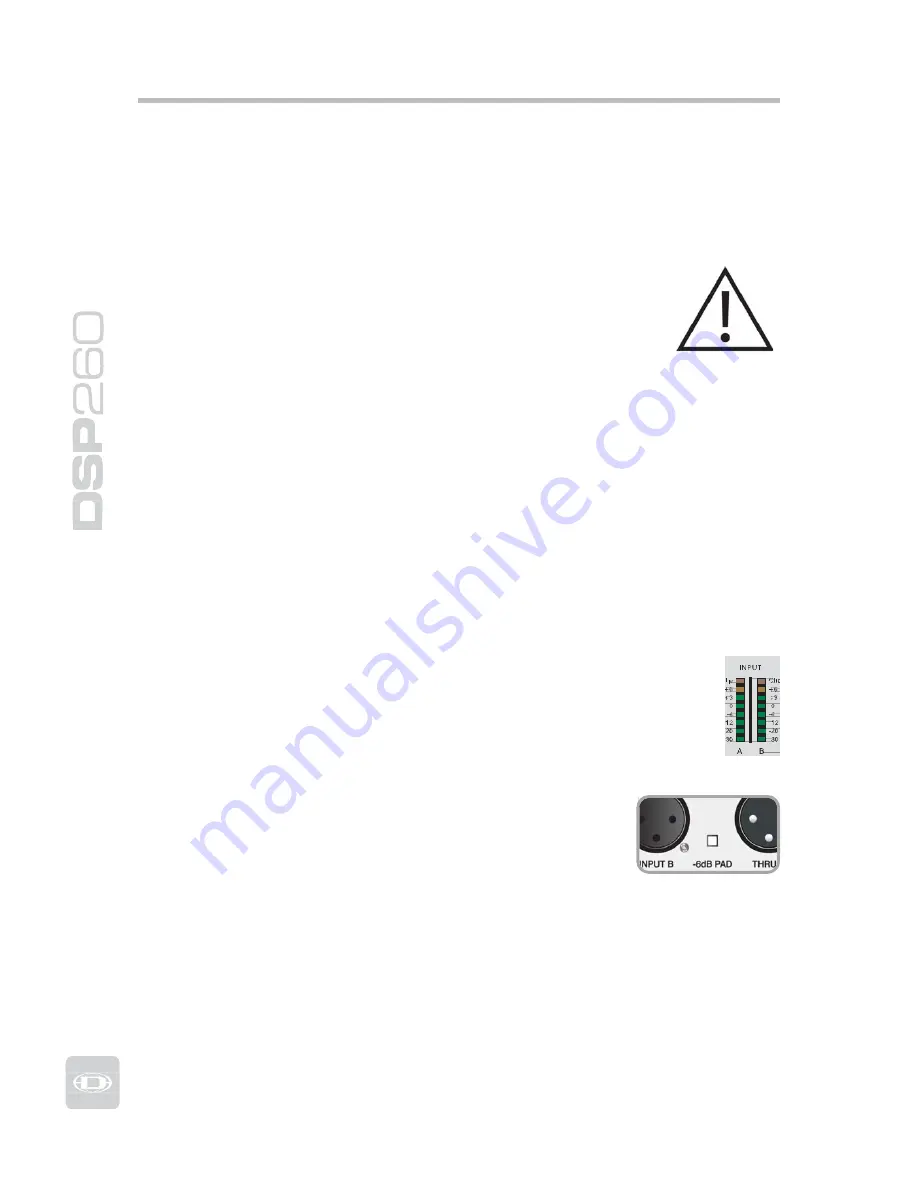
Optimal signal-to-noise performance is obtained when the nominal
(average), input level consistently lights the +3dBu (green) and /
or +6dBu (Yellow) LED indicators. As the DSP 260 is a digital audio
device – and digital clipping produces very unpleasant results – the
Clip (red) LED should never light. If it does, reduce the output level
of the connected mixer.
Input levels to the DSP 260 can be reduced -6dB with
the rear panel pad switch to compensate for higher-level
output from mixers and other audio devices. For ideal
signal to noise performance when connecting the
DSP 260 to high output level devices, engage the
-6dB pad rather than turning down the output of the
connected device.
18
Summary of Contents for DPS260
Page 1: ...Owner s Manual...
Page 2: ...www dynacord com...
Page 45: ...45 Owners Manual EQ Plot Images 6dB PEQ Cuts Q Changes 6dB Oct Shelves at 200Hz and 2kHz...
Page 46: ...46 12dB PEQ Cuts Q Changes 12dB Oct Shelves at 200Hz and 2kHz...
Page 47: ...47 Owners Manual Bessel Filters Butterworth Filters...
Page 48: ...48 Hi Lo Pass Filters Linkwitz Riley Filters...
Page 49: ...49 Owners Manual PEQ Gains...
Page 54: ...Notes 54...


