background image

15

5

Select one of the following:

Yes

 to print collated.

No

 to print normally.

6

Press 

 to begin printing.

Printing Separator Lines between Cells

For multi-cell labels, such as breaker and module labels, 
you can choose whether or not to print a separator line 
between each of the cells. By default, separator lines are 
printed between cells.

To turn off printing of separator lines

1

Press  

.

2

Select 

Print options 

and press 

3

Select 

Separator lines

 and press


.

4

Select 

No

 and press 

.

Pausing Between Labels

When printing multiple copies, the printer pauses after 
printing each label so you can cut the label. You can turn 
this feature off to have the labels print continuously. 

To print continuously

1

Press  

.

2

Select 

Print options

 and press 

3

Select 

Pause to cut

 and press 

.

4

Select 

No

 and press 

.

Advancing the Label

To add additional blank space to the beginning or 
end of your label, you can advance the label in 1/4” 
increments.

To advance the label

1

Press  

.

2

Press 

 to advance the label.

Adjusting the Print Contrast

Depending on the label material you choose, you may 
need to lighten or darken the printed text on the label.

To adjust the print contrast

1

Press  

.

2

Select 

Print options 

and press 

3

Select 

Print contrast

 and press 

.

4

Press 

 or 

 to increase or decrease the 

print contrast.

5

Press .

6

Repeat as necessary until you are satisfied with the 
print quality.

Cleaning Your Printer

Your printer is designed to give you long and trouble-free 
service, while requiring very little maintenance.

Clean your printer from time to time to keep it 
working properly.

To clean the cutter blade

1

Remove the label cassette.

2

Press and hold the cutter button to expose the 
cutter  blade.

3

Use a cotton ball and alcohol to clean both sides of 
the blade.

The cutter blade is extremely sharp.Use caution 

when cleaning.

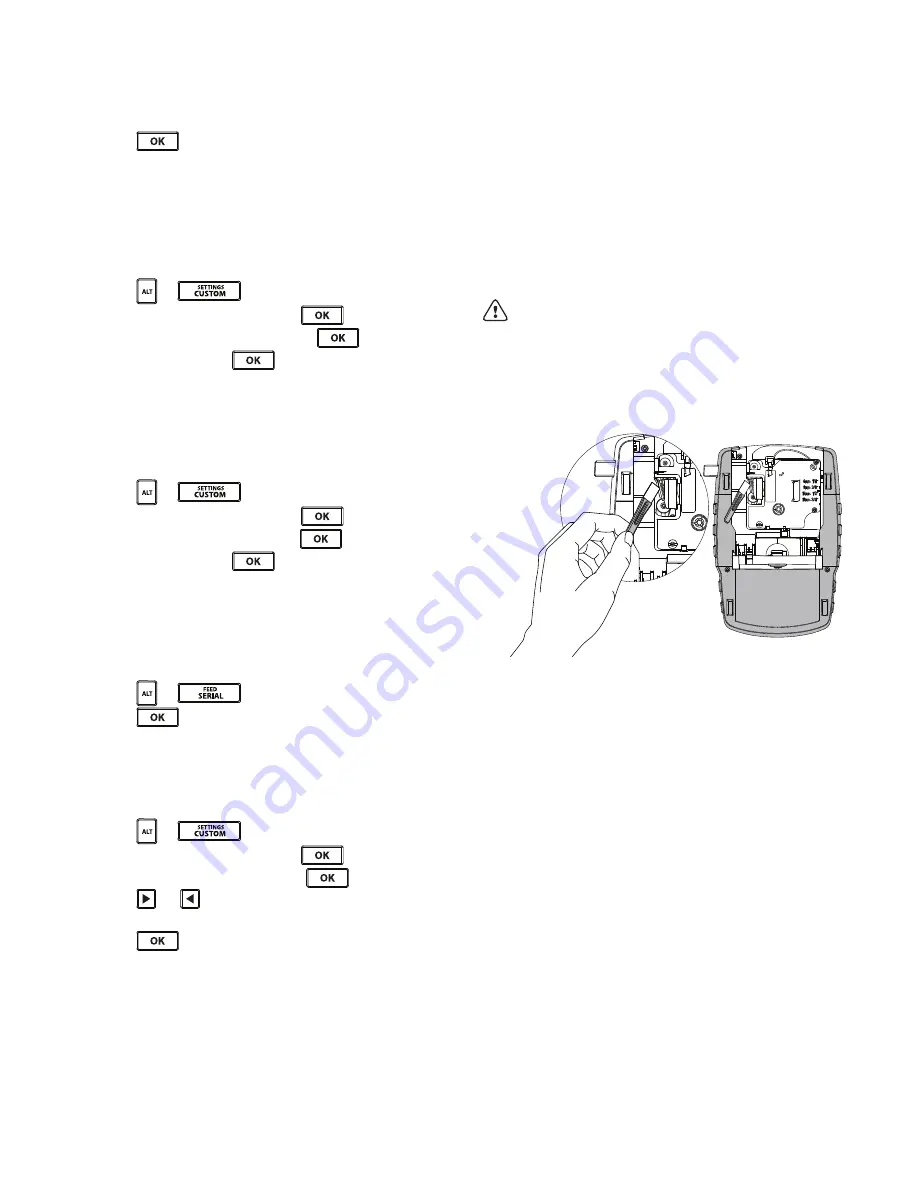
To clean the print head

1

Remove the label cartridge.

2

Remove the cleaning tool from inside the label 
cartridge door.

Figure 7 

3

Gently wipe the padded side of the tool across the 
print head. See Figure 7.

Summary of Contents for Rhino 4200 Industrial Label Printer

Page 1: ...Rhino 4200 User Guide...

Page 2: ...may be reproduced or transmitted in any form or by any means or translated into another language without the prior written consent of Sanford L P Trademarks DYMO and RHINO are registered marks in the...

Page 3: ...ith Labels 8 Creating a Label 8 Adding a Label 8 Removing a Label 8 Printing Labels 9 Formatting a Label 9 Changing the Text Size 9 Changing the Text Style 9 Rotating Text 9 Aligning Text 9 Creating M...

Page 4: ...Items from the Favorites list 14 Printing Options 14 Printing Multiple Copies 14 Collating Multiple Copies 14 Printing Separator Lines between Cells 15 Pausing Between Labels 15 Advancing the Label 15...

Page 5: ...ot 10 Favorites 18 Alt 3 LCD Display 11 Add Remove 19 Hot Keys 4 Cutter button 12 Custom Settings 20 Escape 5 Print 13 Serial Feed 21 Clear 6 OK 14 Library Save 22 Power 7 Navigation 15 Size Styles 23...

Page 6: ...AC power adapter For optimal power use the optional rechargeable Lithium ion battery pack or the AC power adapter To save power the printer automatically goes into standby mode after two minutes of i...

Page 7: ...nd Removing the Label Cartridge Your printer comes with a starter label cartridge Visit www dymo com for information about purchasing additional label cartridges To insert the label cartridge 1 Gently...

Page 8: ...fit is shaded If you attempt to print the label containing text that will not fit the excess text will not be printed Using the Backlight In low light conditions you can turn on the backlight to see...

Page 9: ...ng on when the power was turned off You need to clear that label text and formatting before you create a new label To create a new label 1 If necessary press to clear the previous label and formatting...

Page 10: ...ls including most symbols To set the text style 1 Press 2 Select the desired text style and press 3 Select On or Off to turn the selected style on or off 4 Press To insert an underlined 6 or 9 charact...

Page 11: ...2 Select the length of the label and press Any text that does not fit within the fixed length appears shaded in the display and will not print Creating Wire Cable Labels A wire cable label is placed...

Page 12: ...end of the label 6 Press Each module is separated by a line in the display 7 Enter the text for each module Press and to move from module to module By default a separator line is printed between each...

Page 13: ...om defaults 1 Press the Hot Key for the desired label type 2 Press 3 Make any desired adjustments to the settings for the label type and press 4 Do one of the following Press to use the settings for t...

Page 14: ...e place the cursor within the text you want to save 2 Press 3 Select Term and press 4 Select a location for the term and press The term is added to the My terms category of the library Inserting Terms...

Page 15: ...ou no longer need an item in the Favorites list you can delete the item from the Favorites list To delete an item from the Favorites list 1 Press 2 Select the symbol term or label to delete and press...

Page 16: ...el in 1 4 increments To advance the label 1 Press 2 Press to advance the label Adjusting the Print Contrast Depending on the label material you choose you may need to lighten or darken the printed tex...

Page 17: ...16 Symbols The following tables show the commonly used symbols by category Arrows and Brackets Hazard and Warning Pro AV and Security Numbers Currency Electrical...

Page 18: ...SPKR VOLUME CONTROL OPTICAL ZONE PHONO CATV NANNY CAM COMPONENT PROJECTOR COMPOSITE REMOTE DVD RF DVI RGB DVR RS 232 HDMI SAT HDTV S VIDEO IR TOUCH SCREEN KEYPAD TV MONITOR VCR BACK DOOR HIGH WATER CA...

Page 19: ...properly See Inserting and Removing the Label Cartridge Unable to return to the previous menu Press to return to the previous menu Nothing shows in the display Ensure the printer is turned on Insert...

Page 20: ...This could cause deterioration of performance or failure This may also damage the protection device installed in the battery pack This could damage equipment or injure users Thoroughly follow the inst...

Page 21: ...products Device Certification This product is CE marked in accordance with the EMC directive and the low voltage directive and is designed to conform with the following international standards Applied...

Reviews: