198
8. User Supportware
Step 2: Connect the projector to a LAN.
Connect the projector to the LAN by following the instructions in “Connecting to a Wired LAN” (
→
page
169
) and “9.
Controlling the Projector by Using an HTTP Browser” (
→
page
44
)
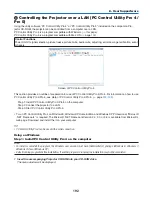
Step 3: Start Image Express Utility Lite.
1. On Windows, click “Start”
→
“All programs”
→
“NEC Projector UserSupportware”
→
“Image Express Utility
Lite”
→
“Image Express Utility Lite”.
Image Express Utility Lite will start.
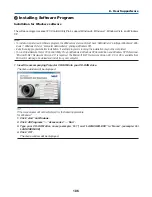
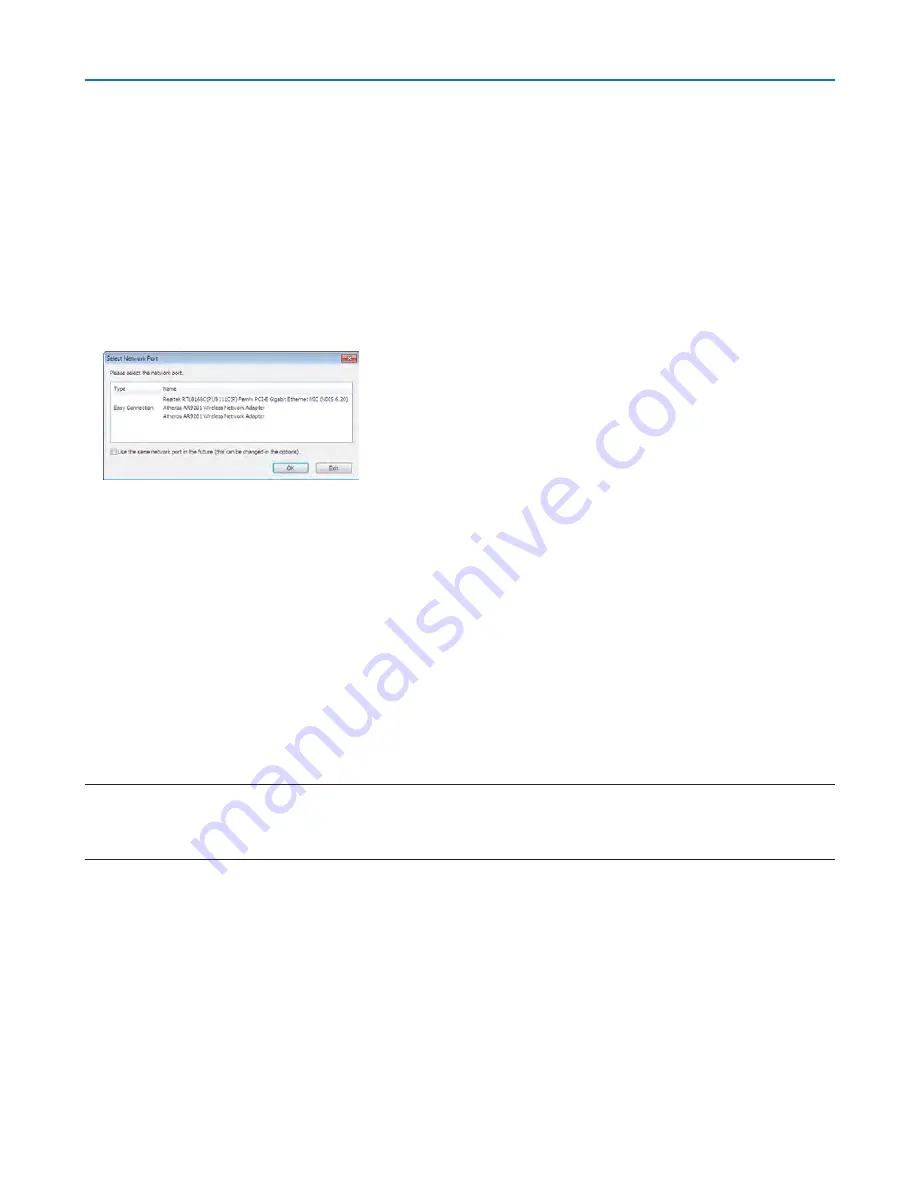
The select window for network connection will be displayed
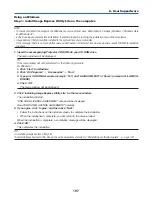
2. Select Network and click “OK”.
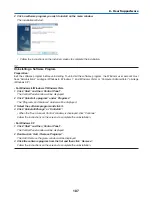
The select window for destination will show a list of connectable projectors.
• When connecting the computer directly to the projector by one-to-one, “Easy Connection” is recommended.
• When one or more networks for “EASY CONNECTION” are found, the “Easy Connection Selection Screen”
window will be displayed.
• To verify the network used by the projector to be connected, display the [INPUT TERMINAL]
→
[ETHERNET]
→
[NETWORK SETTINGS (MM)]
→
[NETWORK INFORMATION] screen on the on-screen menu of the projector
and check the “SSID” character string.
3. Select the network you wish to connect, and click “Select”.
The target selection window will be displayed.
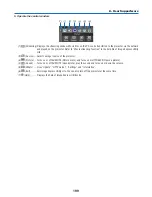
4. Place a check mark for projectors to be connected, and then click “Connect”.
• When multiple projectors are displayed, display the [INPUT TERMINAL]
→
[ETHERNET]
→
[NETWORK SET-
TINGS (MM)]
→
[NETWORK INFORMATION] screen on the on-screen menu of the projectors to be connected
and check the [IP ADDRESS].
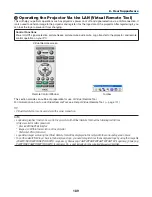
When connecting with the projector is established, you can operate the control window to control the projector. (
→
page
199
)
NOTE:
• Projectors in which the [STANDBY MODE] in the on-screen menu has been set to [NORMAL] (power indicator is lighted up in red)
and those in which the [PROGRAM TIMER] has been set up (power indicator blinks slowly) will not be displayed in the connection
destination options when the unit is in the standby mode.

