44
RTS HUMIDIFIER RX SERIES INSTALLATION, OPERATION, AND MAINTENANCE MANUAL
Outdoor enclosure: Piping
INSTALLATION
See Piping beginning on Page 19 for directions on
installing water and drain on the RTS humdifier RX series.
For Outdoor Enclosure specific items, see below.
SUPPLY WATER AND DRAIN
• Using the pipe chase
Use insulation to completely fill the area around
the pipes in the chase to maintain proper enclosure
pressure and protect unit components from elevated
moisture levels within the building; insulation must
serve as an effective vapor barrier.
Use the provided pipe chase cover to seal off the pipe
chase. Cut necessary holes, and seal after installation.
• Using the designated knockouts that best fit the specific
installation
Heat trace and insulate piping if freezing temperatures
are a concern.
• Insulate supply water piping
inside the unit to avoid
dripping from condensation.
• For
cold climates
, see Freeze Protection Piping on Page
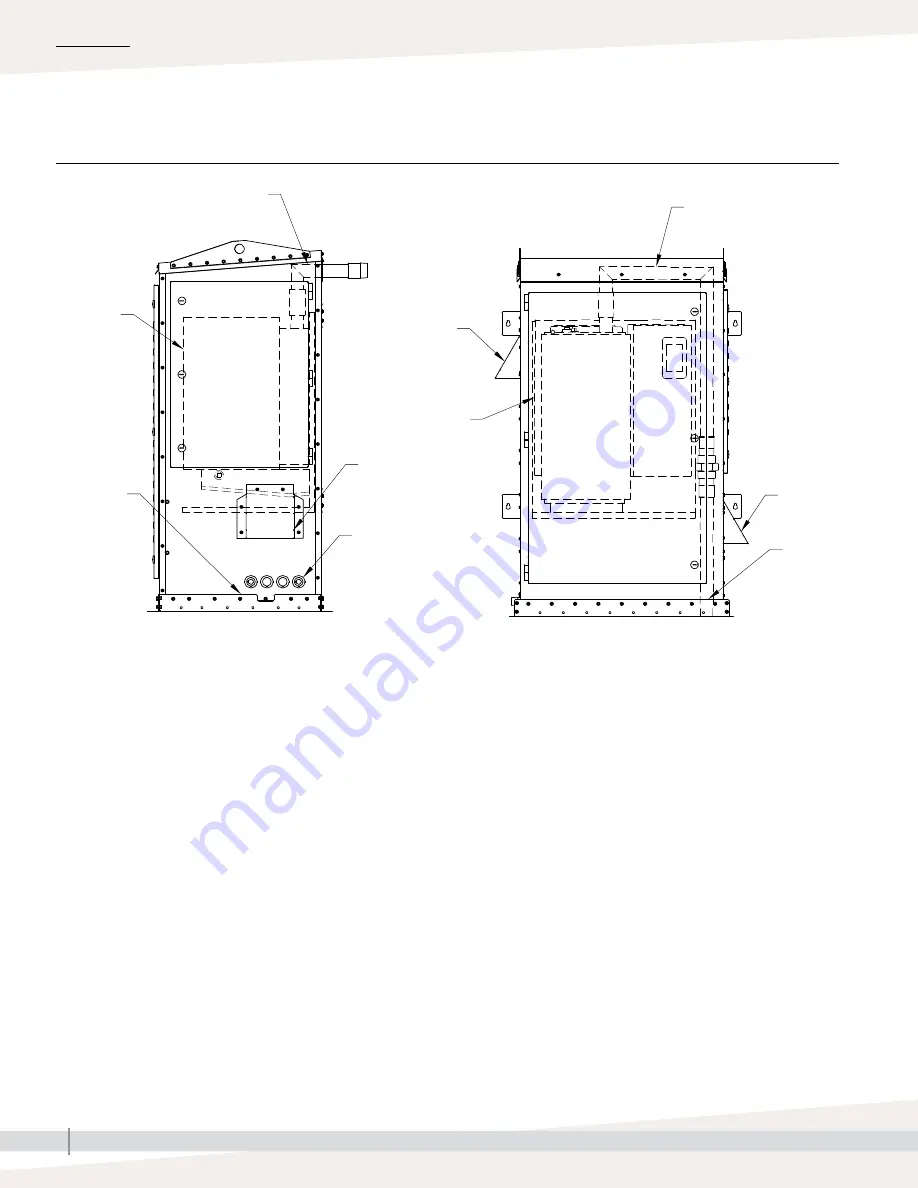
FIGURE 44-1: RTS OUTDOOR ENCLOSURE STEAM OUTLET OPTIONS FOR -1 AND -2 MODELS
External steam outlet
Steam outlet
Steam outlet
Ventilation
fans
Two center ones
are dual size
(1-3/8" & 2"),
the outer two are
three sized (7/8",
1-3/8", 2")
Note: same
knockout pattern
on back wall
Pipe chase
OM-8098
Pipe
chase
RTS RX
humidifier
OM-8099
STEAM
The humidifier has two available steam distribution
configurations. The standard configuration has a steam
outlet on the back side of the enclosure. The optional
internal steam distribution configuration routes steam
within the enclosure and down through the pipe chase into
a building.
ELECTRICAL
The RTS humidifier and the outdoor enclosure require two
separate electrical connections.
Ventilation
fans
RTS RX
humidifier
Ventilation
fans
Front view
Side view


