background image


  14


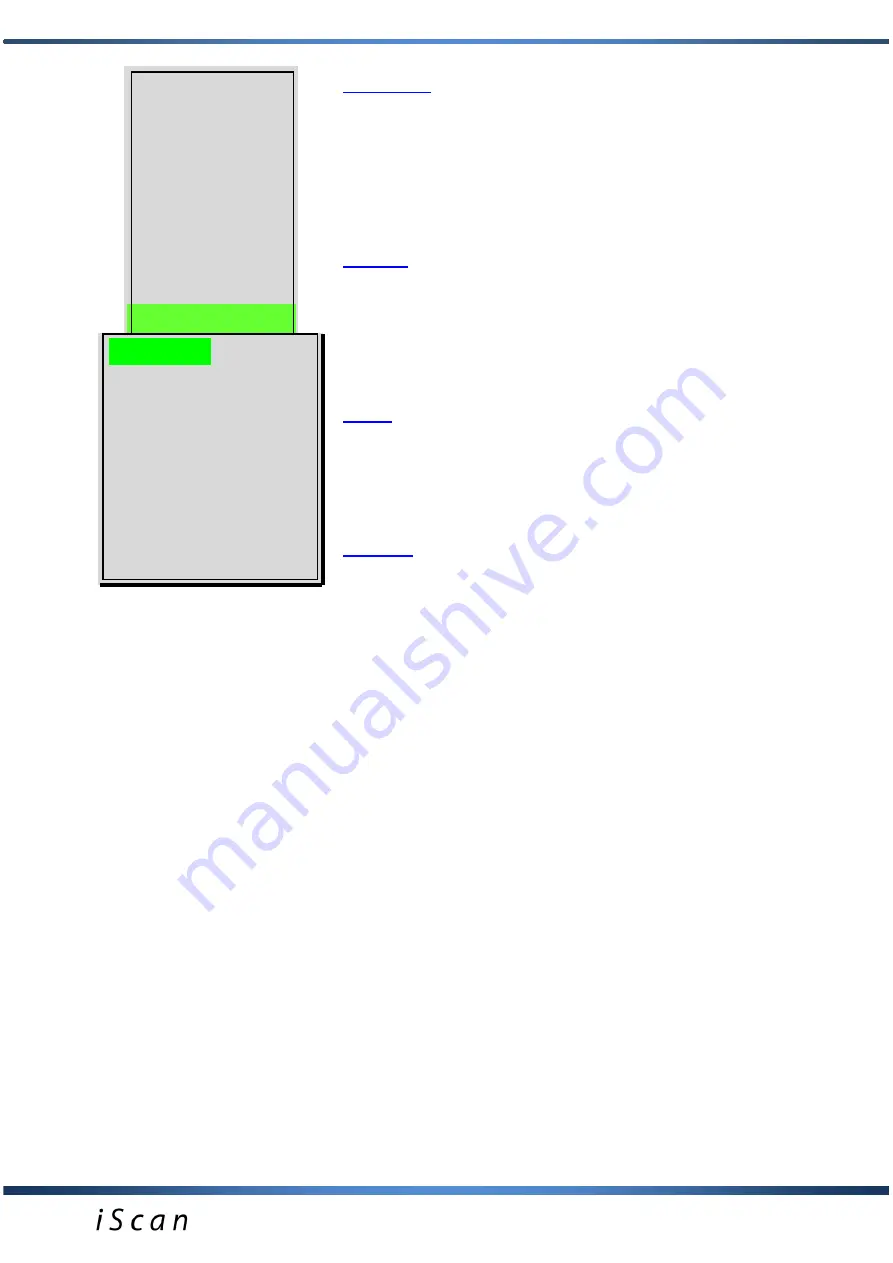
Frequency.

  Option  of  changing  signal  frequency  from 

head in order to optimise the image.


Option  enables  filtering  of  frequency  generated  from  a 
broadband  head,  in  range  from  4MHz  to  9MHz.  Frequency 
value is shown under the image in the lower part of the screen. 
The higher the frequency, the shorter the wave, so scanning is 
shallower. 


Gamma.

 Option of image change in scope of  greyscale in 

order to optimise the image 


on 8 levels (0-7).


This option enables a change of image properties in scope of 
contrast and brightness 

– gamma correction. In the upper part 

of  the  screen  there  is  a  graphic  form  of  a  gamma  curve. 

Gamma level can be changed with 

buttons.


Zoom.

 Option of enlarging image.


With this option you can enlarge the shown image from 100% 

to 120%, 140%, 160%. To adjust zoom you can use 

buttons 

and  confirm  with  the  OK  button.  This  option  works  both  with 
image freeze and in real time. 
 

Settings.

  Options  for  changes  of  system  settings  and 

memory clearing. 
 

Switch  L-R. 

Option  of  reversing  image  from  head  to  the 

left or the right side.


After  choosing  this  option  the  user  can  change  the  shown 
image to side reflecting the anatomical structure of the animal. 
It is important in the case of rectal examination by left-handed 
or right-handed users. 

Marking 

*

  on  the  screen  shows  the  actual  image  setting  and 

indicates the end of the probe.


Brightness.


Option  of  adjusting  brightness  level  of  the 

LCD monitor.


After  choosing  this  option  you  can  change  brightness  of  the 
monitor in range value of 1 to 15.


Date, Time.

 Option of setting date and clock.


In the lower part of the screen a message with proper fields to 
set Year / Month, day and Hour / Minute appears. Settings are 

done  with 

buttons,  whereas  moving  between  fields  can  be 

done by pressing 



buttons. Correctly set date and time are 

confirmed with the OK button. 

Language.


Option  of  setting  language  version  of  the 

system.


After  choosing  this  option  a  window  with  a  language  table  to 
choose from appears  (on the Polish market the only available 
version is Polish). 
After  choosing  the  language  and  pressing  the  OK  button  the 

Image


Cine 
Measure 
Grid 
Mode 
Frequency 
Gamma 
Zoom 
Settings 
Info 

Uwaga!


Przy  wybieraniu  opcji  z  menu  zawsze  wyświetlane  są  informacje 

Settings


Switch L-R 

Brightness LCD 
Date, Time 
Language 
Erase memory 
Factory Settings 
Auto shutdown 
Sound 
Save option 

Summary of Contents for iScan

Page 1: ...portable diagnostic ultrasound scanner with an electronic probe instruction manual 25 04 2017r ISO 9001...

Page 2: ...d 7 V FUNCTION KEYS DESCRIPTION Left hand keyboard 8 VI MENU STRUCTURE 10 VIII PREPARATION TO WORK 18 IX EXAMINATION OF ANIMALS 18 X CHARGING BATTERIES 18 XI DEVICE AND PROBE MAINTENANCE 20 XII OPERAT...

Page 3: ...es tendons and eyeballs and in case of every examination where the electronic linear probe can be used Read this instruction manual carefully before starting the ultrasound scanner It will guarantee s...

Page 4: ...al III CONSTRUCTION The device comprises of three main elements 1 Housing with membrane keyboard 5 screen with LED illumination and port for communication with a PC 2 Ultrasound probe 3 External packa...

Page 5: ...ation the package is mounted with a special strap at the bottom of the device Photo 3 Battery life cycle is estimated at 500 charging cycles Thanks to the use of advanced high capacity batteries it is...

Page 6: ...every time when you turn on scanner It remembers last setting all the time To switch back to the main display press and hold OK button for 4 seconds Then you can disconnect goggles from the scanner 3...

Page 7: ...on confirming settings 2 Confirming marker position when measuring On off switch Exit menu Navigation keys scrolling through menu and set of parameter values Cineloop function automatic rewind fast fo...

Page 8: ...n confirming settings 2 Confirming marker position when measuring On off switch Exit menu Navigation keys scrolling through menu and set of parameter values Cineloop function automatic rewind fast for...

Page 9: ...wska niki poziomu wzmocnie wska nik stanu baterii poziom zoom stan pracy aktualna data g eboko skanowania data zapisu cine poziom focus cz stotliwo g owicy linijka direction set for displayed image R...

Page 10: ...order to go from option to option in menu you can use navigation buttons chosen option will be marked with a green background To confirm chosen menu option use the OK button To exit chosen menu optio...

Page 11: ...buttons Press OK and the image will appear on the display Cine Option of saving video sequences to memory to show them on screen load 1 Save Cine Option of saving Cine loop After freezing the image y...

Page 12: ...ments of the test object and to determine the age of the fetus After entering the Measurements option and pressing G2 button an advanced measurement menu is displayed Select options with arrow buttons...

Page 13: ...eeze button in this option an active image stops and by using ESC button it can be moved to the left side of the screen Pressing the Freeze button again will activate the image on the right hand side...

Page 14: ...ight side After choosing this option the user can change the shown image to side reflecting the anatomical structure of the animal It is important in the case of rectal examination by left handed or r...

Page 15: ...able desc will appear The user can choose YES or NO using navigation buttons If the user change this setting to YES then describing of the image will be possible during saving them to the memory with...

Page 16: ...he ruler icon there is a red triangle which can be moved with navigational buttons at the image height which we want to sharpen This function is designed to sharpen the image of the examined object as...

Page 17: ...confirm its position by pressing OK a new green marker appears and simultaneously under the image there will be a message about measuring state distance between cursors e g L0 12mm This result will be...

Page 18: ...experience 3 During the examination the keyboard is used to set the best working parametres in given conditions The device remembers last used settings To achieve the optimal image of the examined ob...

Page 19: ...integrated whole Do not throw battery packs into fire and heat them Do not exert physical force on packs or throw them In situation when an electrolyte discharge from pack can be observed you should i...

Page 20: ...be cleaned with running not hot water or immersed in water with an addition of detergent or properly dissolved disinfectant Do not use highly concentrated agents and scrubbing agents During cleaning a...

Page 21: ...on control membrane keyboard Cineloop image sequence 256 frames ca 20 seconds image memory 200 images with date index No and description Cine memory 50 cine loops with date index No and description tr...

Page 22: ...Owocowa 17 10 860 Olsztyn and returning a functioning device to the user at the manufacturer s expense Guarantee does not include mechanical damage damage resulting from improper use storage and repa...

Page 23: ...23 Software installation manual and image transmission to the PC...

Page 24: ...omputer install software first Run installation programme setup exe from the CD attached to the device The programme will guide you through the software installation process After starting the program...

Page 25: ...to the driver folder Driver folder can be found in the DRIVER file Choose Next to continue You have to choose a folder in which the programme shortcut will be placed It can be found later for example...

Page 26: ...inue Installation programme informs about the proper course of installation Choose Finish to successfully finish the installation After installation of iScan cine data transmission programme the compu...

Page 27: ...ar Press Get iScan images to transmit images Press Get iScan cines to transmit cine loop 3 On the computer s screen a window appears with a possibility to choose a place to download images to the comp...

Page 28: ...ss To stop transmission click the Break button on the computer screen A window with message Finish on the computer s screen appears to confirm successful action Images and cine loops can be deleted fr...

Page 29: ...e product Caution read the instruction manual carefully Product manufacturer s name and address Recycle separately with other household waste according to the Commission s Directive UE 93 86 EEC or lo...

Reviews: