14
Quick Start: How to Connect to the NetGuardian 224A
7
Most NetGuardian 224A users find it easiest to give the unit an IP address, subnet and gateway through the front
craft port (TTY interface) to start. Once these settings are saved and you reboot the unit, you can access it over LAN
to do the rest of your databasing via the Web Browser interface.
Alternative option:
You can skip the TTY interface by using a LAN crossover cable directly from your PC to the
NetGuardian 224A and access its Web Browser.
...via Craft Port (using TTY Interface)
7.1
NetGuardian 224A Craft Port
Use the front panel craft port to connect the NetGuardian 224A IT to a PC for onsite unit configuration. To
use the craft port, connect the included DB9 download cable from your PC's COM port to the craft port.
Note
: The following images display the setup process done in Windows XP.
The following steps will occur the first time any DPS USB equipment is used on this PC. If you've used a
different DPS USB device before and have installed the DPS USB drivers, then
skip to Step 9
.
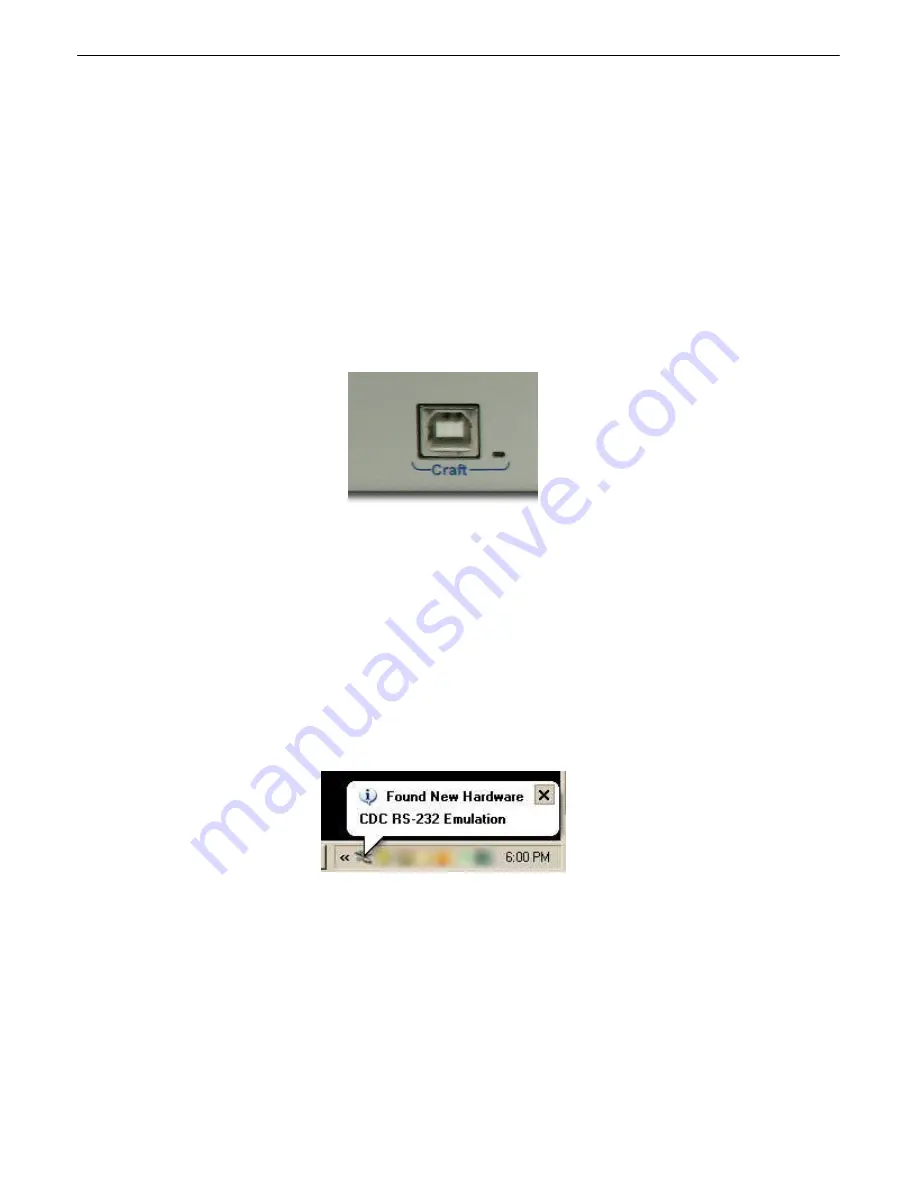
When you first connect the NetGuardian 224A to your PC via USB, a "Found New Hardware" message will
appear:
1. Click the "Found New Hardware" message/icon to launch the "Found New Hardware Wizard".
Summary of Contents for D-PK-NG224-12003
Page 9: ...5...
Page 11: ...7 Optional Shipping Items Available by Request 3 1 Small WAGO connector 2 802 01020 00...
Page 16: ...12 66Block diagrams 6 3 66 block pinout for Amphenol 1 TTL Discretes 1 24...
Page 17: ...13 66 block pinout for Amphenol 2 Controls 1 2...
Page 77: ...73...
Page 78: ......


