7. 5
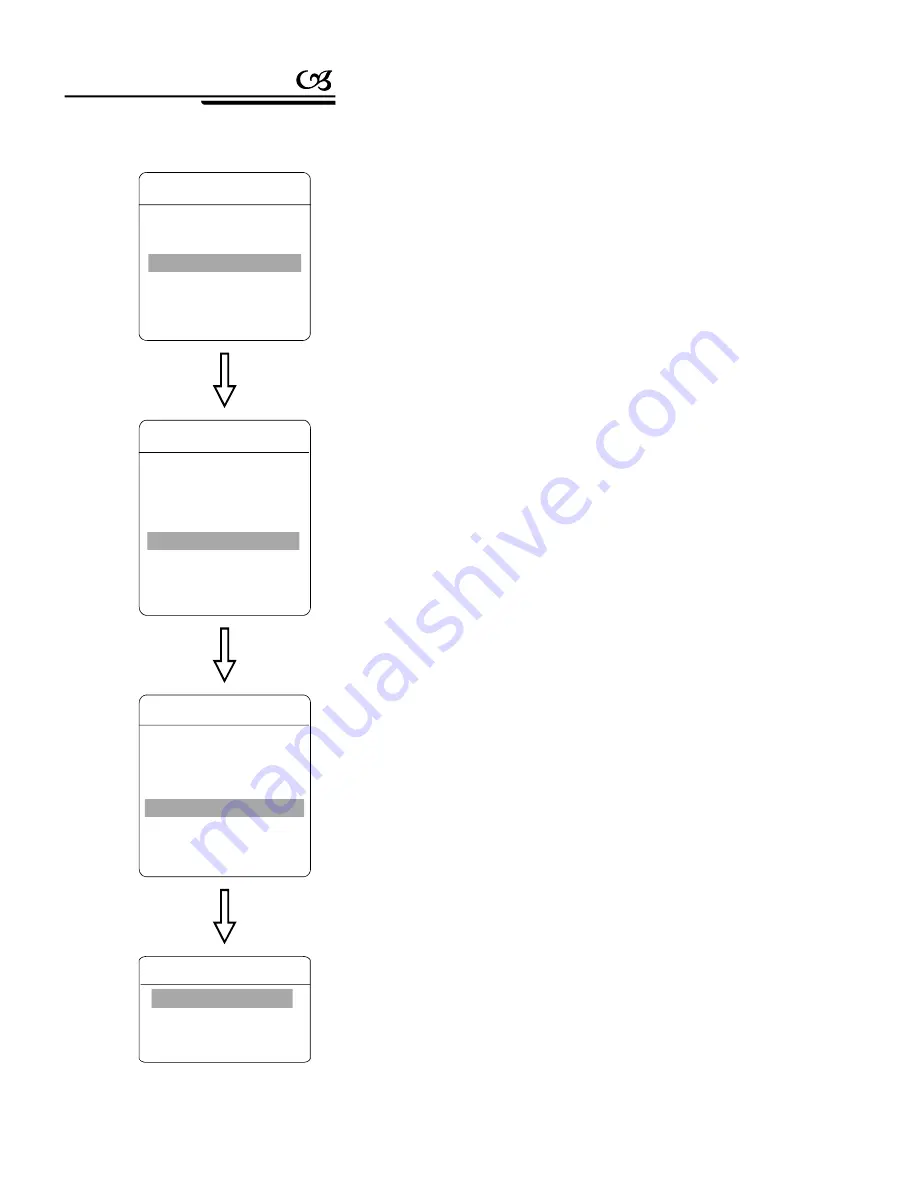
Zone setting
1.The system enters into the main menu by calling 95 preset or by calling
9 preset twice within 3 seconds.
2
Click the up and down button
3
Click the up and down button
ZONES NUMBER
SET LEFT LIMIT
SET RIGHT LIMIT
CLEAR ZONE
EDIT ZONE LABEL
【
】
【
】
【
】
● 【
】
● 【
】
● 【
】
● 【
】
● 【
】
A dome may be set up to 8 zones; the regional scene can't be
overlapped. User will set label for each zone. When setting
ZONE
LABEL
as ON, the dome will display zone label as it runs some zone.
It is convenient to know the zone that the camera shoots by setting zone
label.
, move the cursor to
FUNCTION SETTING
,
click the right button to enter submenu.
, move the cursor to
ZONES
, click the
right button to enter submenu, as the left picture shows.
choose zone number as current zone,
there choices in the menu aim at current zone.
set current zone's left limit
set current zone's right limit
clear current zone setting
edit current zone label, as zone number
is 1. Zone label will auto-change as ZONE-1
Regard the left/right limit as the demarcation line, and set the
middle part as a zone. Various operational ways are the same as other
settings in the menu. Therefore we won't explain it again.
、
、
EDIT ZONE LABEL
LABEL
ZONE-1
BACK
EXIT
:
ZONES
ZONES NUMBER
1
SET LEFT LIMIT
SET RIGHT LIMIT
CLEAR ZONE
EDIT ZONE LABEL
BACK
EXIT
FUNCTION SETTING
PRESETS
SCAN
PATTERNS
TOUR
ZONES
TIME RUNNING
BACK
EXIT
30
Function instruction
MAIN MENU
SYSTEM SETTING
CAMERA SETTING
FUNCTION SETTING
WINDOW BLANKING
ALARMS
EXIT


