


GGGGGGGGGGGGGGGGGGGGGGGGGGGGGGG
G
10
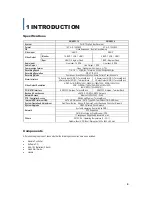
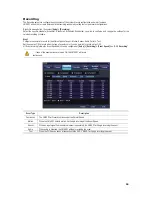
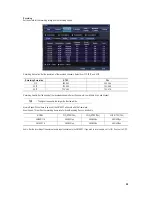
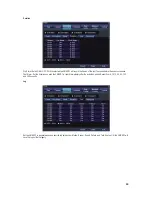
The VMAXD1 series can be controlled easily by using the front panel buttons, front panel jog/shuttle, remote controller, and/or the mouse.
Remote Controller
No
Name
1
Power Button
2
Number Buttons in Input Number
3
DVR ID Button
4
System Operation and Setup
Menu: Enter Menu
Esc: Exit to Previous Mode
Search: Search Recorded Image
Select: Select Category or Execute Sequence
Copy: Copy Recorded Videos
Direction: Move within the Menu and Submenu
5
Up & Down: Move Up and Down on Log Page
PTZ: Shift to PTZ Camera Control Mode
6
Record Button
Sensor and Relay Type
NC (Normal Close)
: Normally Closed; opens when a signal is
received.
NO (Normal Open)
: Normally Open; closes when a signal is received.
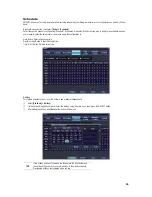
Mouse
The mouse pointer, as shown below, appears if a mouse is connected to the USB terminal located at the front panel.
MOUSE CONTROL FUNCTIONS
Click Right Button
Monitoring Mode
Move from Monitoring Mode to Monitoring Setup
Open or Hide Play Menu
Show Submenu of the certain Setup window
Click Left Button
Select Setup
Double-Click Right Button
Select Setup
Double-Click Left Button
Move a certain window
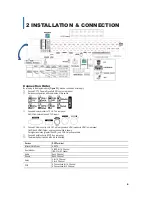
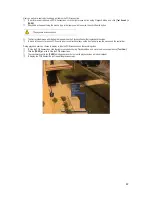
Power ON
ཛ
Check the VMAXD1 Series (100-240V, 50/60Hz) and connect the power.
ཛྷ
Booting will be initiated by pressing the power button in the front panel.
ཝ
After booting is finished, the Monitoring Screen, Channel Indication, and Clock are all displayed.
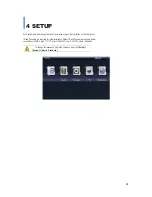
3 SYSTEM CONTROL


