3.
Click the Save button.
4.
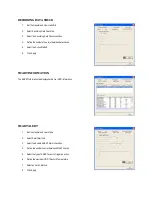
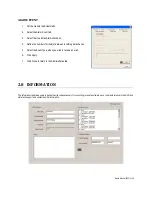
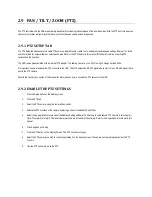
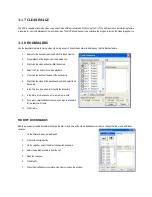
Select the Export Type: Image File (JPG) or AVI File.
Note: Different image formats provide different file sizes, quality, and compatibility.
If Image File is selected for Export Type:
a.
Select the Quality (50 – 100). If size is not an issue, set the quality to 100.
If AVI File is selected for Export Type:
a.
Enter the AVI Duration (seconds) to record. Although 100 is the longest time displayed, a longer duration may be entered
manually.
a.
Select a Compression Codec. Each codec provides different levels of file size, quality, and compatibility.
b.
Select the Quality (50 – 100). If size is not an issue, set quality to 100.
5.
Click the Export button to save the file. The Cancel button exits the window without exporting the file.
3.5 SINGLE CLIP BACKUP
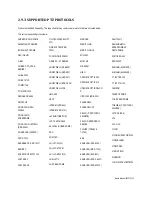
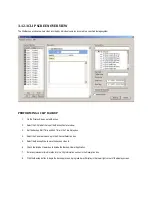
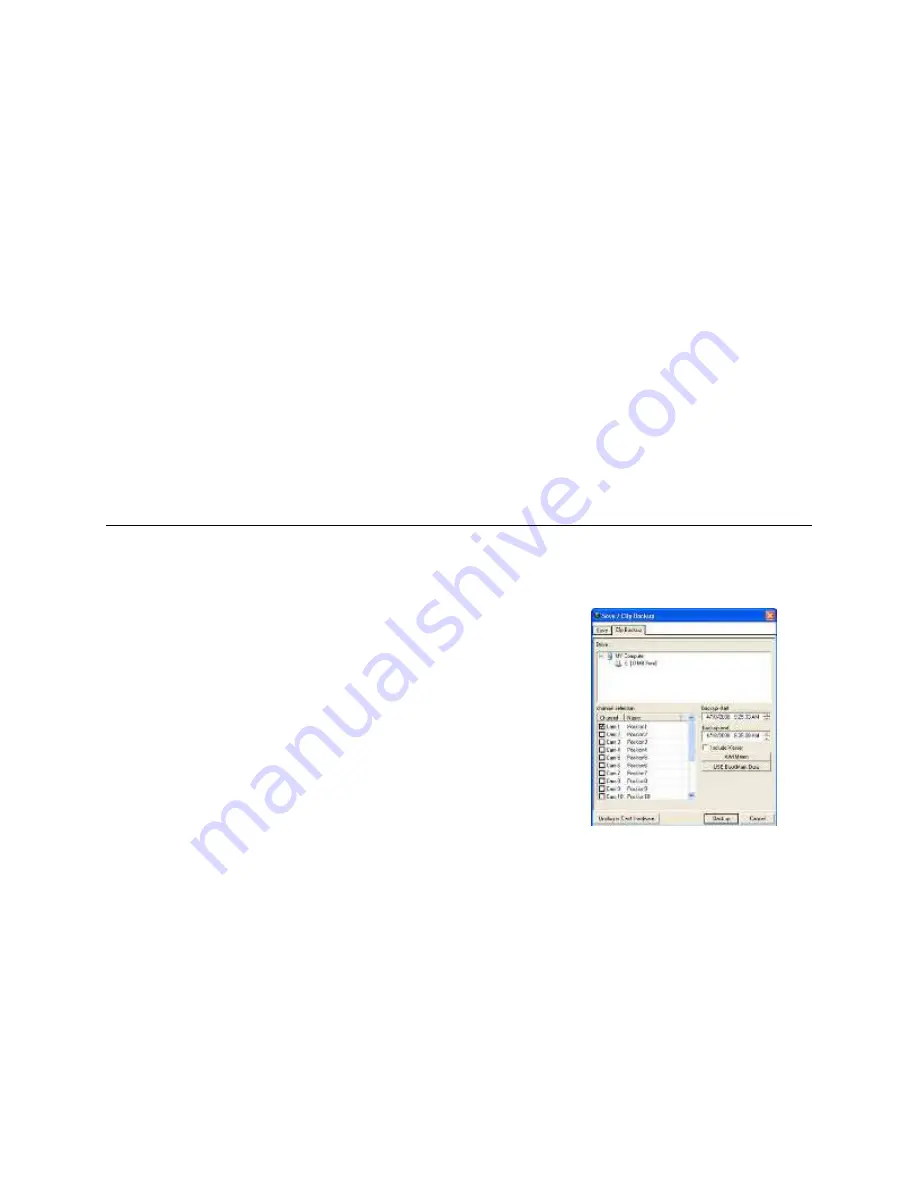
Along with the Save option, a single camera backup option is also included with the Digital Watchdog software. The single camera backup, also
known as Clip Backup, allows the user to back-up a single camera at a given time. The Clip Backup option allows the user to choose a backup
time frame, choose a specific camera, add a memo, and even include the Backup Viewer if
needed.
1.
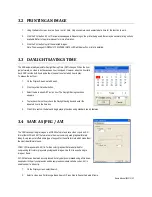
On the Display Screen, select Search.
2.
Click the Save button.
3.
From the file tree, select the Drive where you wish to save the data. The data can be
saved to a hard disk drive, a USB drive, or a CD/DVD drive.
4.
Select cameras from the Channel Selection list.
5.
Define the Backup Start and Backup End time of the backup clip.
6.
Select the Include Viewer checkbox to include a copy of the proprietary backup viewer software. The Viewer enables user to view
the backup clip on any windows machine.
7.
Click the Add Memo button to include additional information.
8.
Click the Backup button to begin backup. Note: If backing up to a removable USB device, click the Unplug or Eject Hardware button
after backup is complete to remove the device safely.

