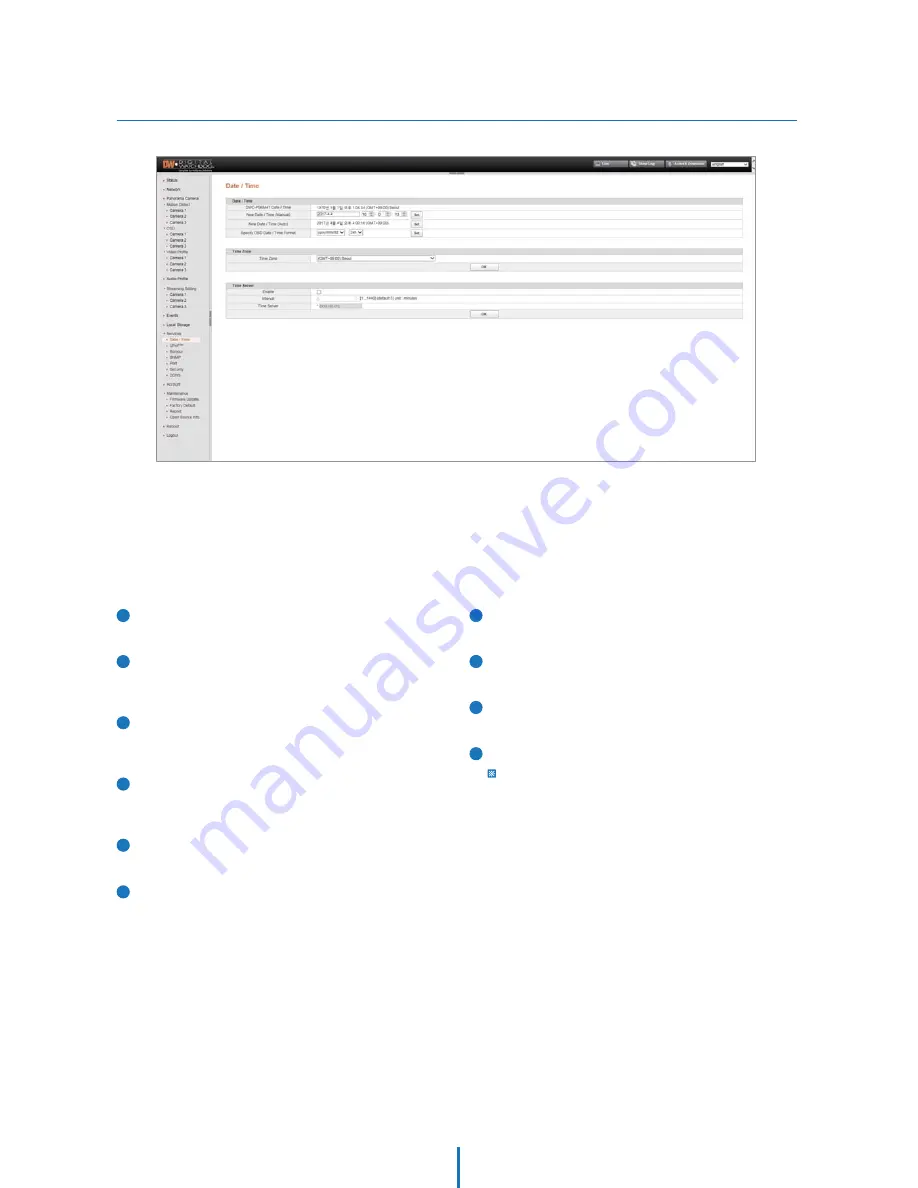
Date/Time
Webviewer - Settings
Use this menu to adjust the camera’s local date, time, and time server settings.
1
Date/Time
Displays the current time.
2
New Date/Time (Manual)
Adjust the camera’s time manually. Click the “Set” button
to apply the changes.
3
New Date/Time (Auto)
Synchronize the time with the time of the monitoring PC.
Click the “Set” button to apply the changes.
4
Specify OSD Date/TIme Format
Set the date and time format. Click the “Set” button to
apply the changes.
5
Time Zone
Select the time zone from the available options.
6
Click OK to apply any changes to the settings.
7
Enable
Check the box to enable.
8
Interval
Set the request time intervals (in minutes).
9
Time Server
Enter the IP address or hostname of a time server.
10
Click OK to apply any changes to the settings.
Time Server : If enabled, the camera will synchronize its date
and time with a time server.


