S M - 5 3 0 0 S e r v i c e M a n u a l
S M - 5 3 0 0 S e r v i c e M a n u a l
|
|
52
52
Initial Setup
Initial Setup
––––––––––––––––––––––––––––––––––––––––––––––
––––––––––––––––––––––––––––––––––––––––––––––––––––––––––––––––
––––––––––––––––––
5.5 Software Setup
5.5 Software Setup
5.5.7 Daylight Saving Time
5.5.7 Daylight Saving Time
Procedure
Picture
Procedure
Picture
1)
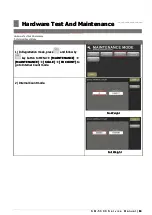
1) In
In Registration
Registration mode,
mode, press
press
and
and follow
follow by
by
key button to MENU
key button to MENU
[MAINTENANCE]
[MAINTENANCE]
[MAINTENANCE]
[MAINTENANCE]
[SERVICE ADVANCE]
[SERVICE ADVANCE]
to go
to go
to Service Advance mode.
to Service Advance mode.
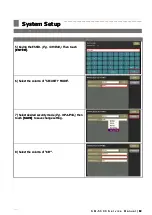
2) Keying the Password and select
2) Keying the Password and select
[ENTER]
[ENTER]
button.
button.
Password:
Password:
0953
0953
3) In Service
3) In Service Advance mode, select
Advance mode, select
[TIME ZONE /
[TIME ZONE /
NTP / DST CONFIG]
NTP / DST CONFIG]
..
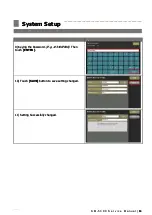
4) Set the setting and touch
4) Set the setting and touch
[SAVE]
[SAVE]
button to save
button to save
the setting changed.
the setting changed.


