Chapter 5: Web Manager
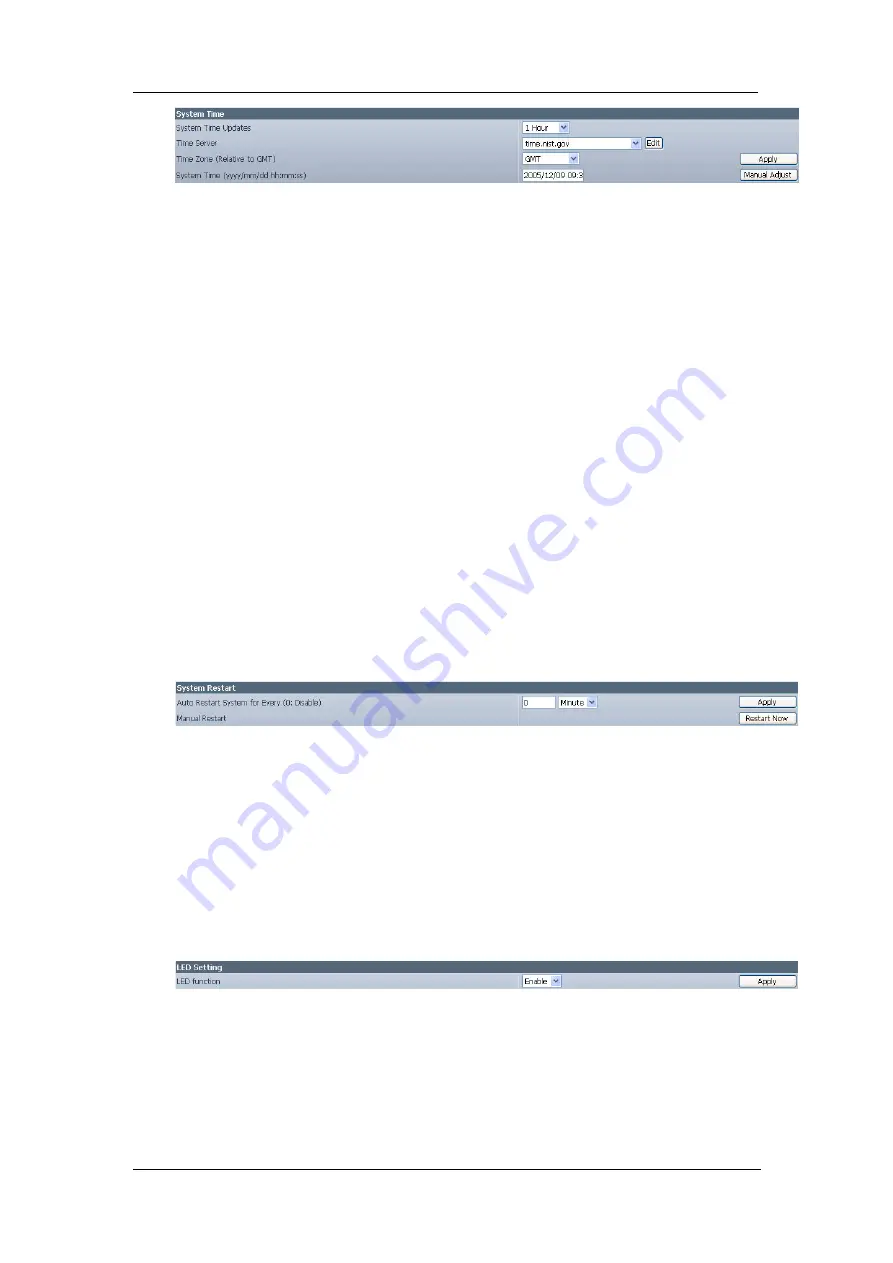
Fig.39. System Time
“Time Between Automatic Updates”
The administrator can set an interval for time synchronization. Select either 1, 3,
12 hours or 1, 10 & 30 days.
“Time Server”
Choose the nearest Time Server to your IP Camera location. The
administrator can choose from the list of a maximum of 30 Time Servers.
To add a new Timer Server the administrator must first make space by deleting
some Time Servers. Once this is done, the add dialog box will appear as below.
Click “Back” to return to the System Settings Page.
“Time Zone (Relative to GMT)”
Select the appropriate time zone for your area. Click “Apply” to save.
“System Time (yyyy/mm/dd hh:mm:ss)”
This section is to manually set IP Camera System Time. The format is
pre-determined to: yyyy/mm/dd hh:mm:ss. Click “Manual Adjust” to save any
manual changes.
ii. System
Restart
Fig.40. Auto Restart setting
“Auto Restart System Every”
The administrator can choose to restart IP Camera at certain intervals (choose
between minutes and hours only). This will ensure that IP Camera will work
smoothly. Click “Apply” to save changes.
“Manual Restart”
Click “Restart Now” to restart the system immediately.
iii. LED
Settings
“LED function”
The administrator can enable or disable the LED (except the Power LED) on IP
Camera here. Click “Apply” to save settings.
iv. SNMP
Settings
iCAMView user manual -43-


