Featur
es & Options
10
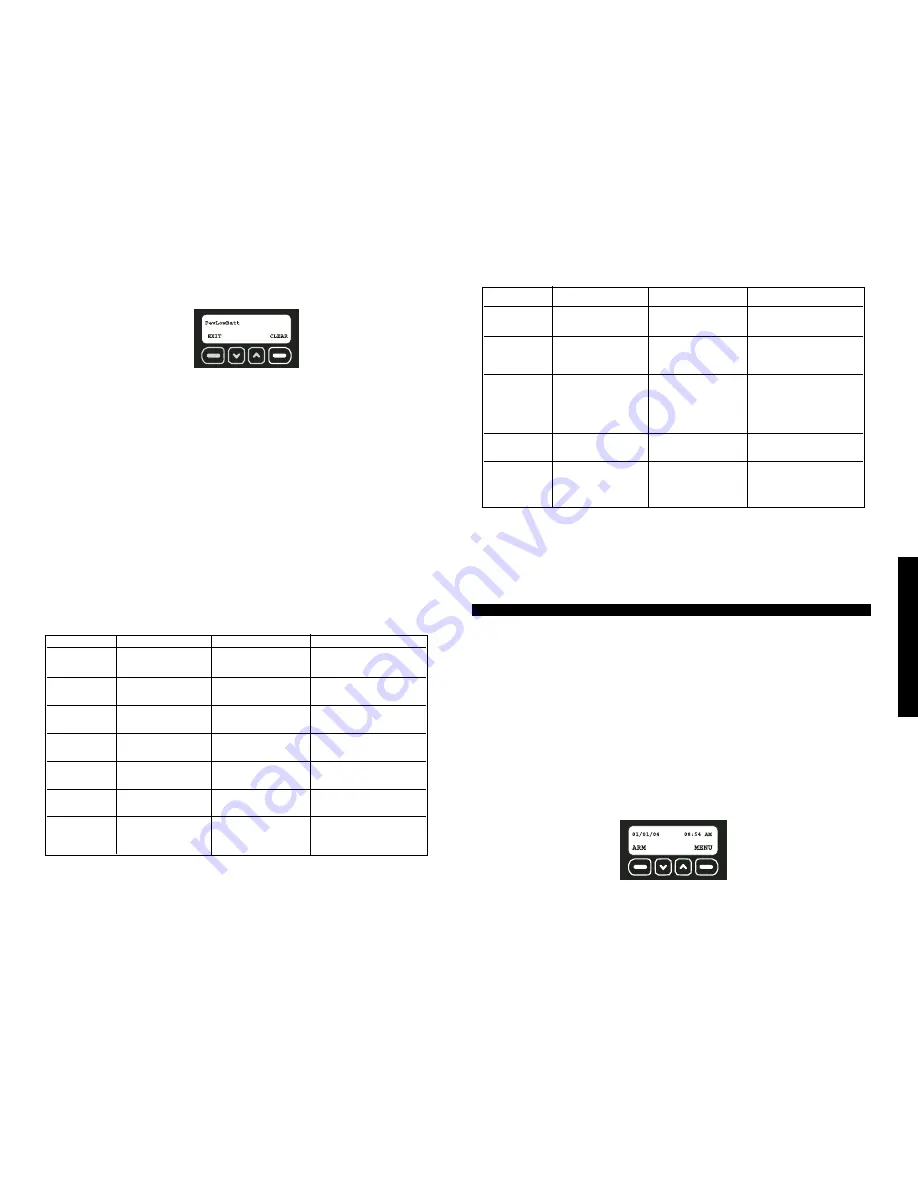
2. The fault code will be displayed. Use the up and down arrows to scroll through the
faults. Resolve the issue with the action listed in
Description of Fault Codes
chart and
the Fault screen will disappear. To remove a tamper fault, select CLEAR.
IMPORTANT:
See the
Description of Fault Codes
for more details regarding a fault and
resolution actions. All faults, except a tamper, will
automatically
be cleared when the issue
has been resolved. An event will be recorded in the event log indicating the date and time
that the event occurred and was resolved.
NOTE:
A tamper fault will not be automatically cleared. After the device has been
inspected, checked for damage, and the cover closed, the fault will need to be cleared.
See
Clearing a Fault
. This process was designed to create awareness of the tamper
with the master user and require verification that the problem has been resolved.
CLEARING A FAULT
To clear any fault other than a tamper fault, correct the condition at the sensor. For
example: replace the battery, relocate to an area with a better signal, etc.
To Clear a Tamper Fault:
IMPORTANT:
Before clearing a tamper fault, be sure that the issue has been resolved.
Only the master user can clear tamper faults.
1. When the Fault Code screen is displayed; select CLEAR.
2. Use the keypad to enter the master code.
3. Select OK.
DESCRIPTION OF FAULT CODES
NOTE:
See the
Troubleshooting Guide
for more detailed information.
Fault Code
Fault Display
Description
Action
Power
Primary Power
No power to
Check power supply
Lost Base
Base Unit
DevPower
Primary Power Lost
No battery power
Change battery, reset
Device #
in device
BaseLowBatt
Base
Base Unit
Plug in power supply
Low Battery
battery low
to recharge battery
DevLowBatt
Low Battery
Device battery
Change battery, reset
Device #
low
WeakSig
Weak Signal
Transmission signal
Check for interference;
Device #
from device is weak
move device
Unsecured
Unsecured
Device has
Check for intrusion;
Device #
been tripped
re-secure device
NoCheckIn
No Check In
Device check-in
Check for interference;
Device #
messages have not
move device
been received
DESCRIPTION OF FAULT CODES
NOTE:
The battery will take up to 24 hours to charge completely. To avoid draining
the battery, do not use an outlet that is controlled by a wall switch. The battery is
designed to be a back-up source of power for up to 8 hours. If the monitoring service
has been activated, the Base Unit will send a low battery message to the monitoring
servce approximately 1 hour before the battery is drained. If power is not restored
within that remaining hour, the Base Unit will disarm and shut down.
IMPORTANT:
After power has been restored, the Base Unit will not be armed.
System Settings
The systems settings menu allows for changes in user codes, wireless devices, automatic
arming, delays and account information.
• Wireless Device Maintenance
• Clear Settings
• Change Master Code
• Auto Arm ON/OFF
• User Code Maintenance
• Auto Arm Time Set
• Set Console Devices
• Review Account
• Set Delay/Instant
• Choose Language
WIRELESS DEVICE MAINTENANCE
After the initial setup, a device such as a sensor or Key Chain Remote can be added,
edited or removed.
• Adding or Replacing a Device
• Editing a Device
• Removing a Device
1. Start at the main screen.
2. Select MENU or press MAIN MENU on the keypad.
3. Using the keypad, enter the master code.
FEATURES & OPTIONS
Fault Code
Fault Display
Description
Action
Tamper
Tamper
Device has been
Close device or
opened or damaged
replace if damaged
BaseBadBatt
Bad Battery
Base Unit battery has
Needs to be repaired
Base
dropped below the
at D
E
WALT authorized
voltage limit
service center
CellRadio
Cell Radio
Cellular radio
Move Base Unit to
Fault
signal is lost
a location where
or scrambled
CELL light is solid;
call Customer Service
if problem persists
Receiver
Receiver Fault
2-way transmission
Call customer service
Device #
of device is lost
to test system for issues
NetControl
Base Network
Base RF processor
Internal check; will clear
Control
communications
itself; call Customer Service
if problem persists
DESCRIPTION OF FAULT CODES
cont.
Summary of Contents for DS200
Page 2: ......
Page 29: ...Appendix 22 Coverage Map ...
Page 61: ...54 Appendice Carte de la zone de couverture cellulaire analogique ...
Page 95: ...88 Mapa de cobertura Apéndice ...
Page 102: ......
Page 103: ......


